First steps
User Data
- Responsive Email Editor Review
- Designing your email
- Creating Synchronized Modules
- Setting Up Responsive Email Design
- Setting Up Smart Containers
- Creating a Gmail Promotions Annotation
- Adding The Rollover Effect
- Adding Anchor Links
- Module Library
- Adding a Table to an Email
- Adding Custom Fonts
- Creating CTA Button
- Working with Images
- Creating Timer
- Using AI in the Email Editor
- Messenger Protocol Support in Email Clients and Platforms
Omnichannel
- Setting Up Widgets for Your Site
- Widgets Gamification
- Widget Calling
- Setting Up Locations for the Widget Calling Rules
- Storing data from widgets to contact fields
- Using Annoyance Safeguard
- Actions After Form Submission
- Replacing Double Opt-In System Workflow
- Creating Pop-ups via Google Tag Manager or WordPress
- Sending Yespo Widget Events to Google Analytics
- Using A/B Tests for Widgets
- Collecting Contact Information Using Request Forms
Automation
- Building and Editing Workflows
- Configuring Workflow Start/Stop Conditions
- Start Block
- Popular Blocks
- Message Blocks
- Using One from Many Message Block
- Contact Blocks
- Conditions Blocks
- Other Blocks
- Message to Segment Blocks
- Time Blocks
- Advanced Workflow Block Parameters
- Setting Up Allowed Send Time
- Using Workflow Launch History
- Webhook Workflows
- Workflow Troubleshooting
- Double Opt-In
- Welcome Сampaign
- Welcome Series Segmented by Category
- Launching a Workflow After a Contact Import
- Regular Workflow for a Segment
- Birthday Campaign
- Linking Workflow to the Button
- Using Variables from Order in Workflow
- Collecting Order Feedback
- Customer Reactivation
- Sending Extra Campaigns
- Sending Reminders at the Time Specified by the User
- Sending Campaign to Those Who Did Not Open the Previous One
- Using A/B Tests In Workflows
Personalization
Analytics
- Email Campaign Report
- Web Push Campaign Report
- Viber Campaign Report
- Mobile Push Campaign Report
- App Inbox Campaign Report
- Telegram Campaign Report
- In-App Report
- Widget Report
- Triggered Campaign Report
- AMP Campaign Report
- SMS Campaign Report
- Multilingual Campaign Report
- Setting up UTM Tags
- Revenue from Campaigns
- Tracking Campaign Performance in Google Analytics 4
- Message Analytics
Multilanguage Campaigns
Events and Behaviour Tracking
Recommendations
API
Security and Compliance
Widgets
Yespo’s Widgets are built for online projects to speed up and simplify converting visitors into leads.
Lots of templates, triggers, and integrations will help you unlock your website's hidden potential.
Special coding is not needed from now. Just create your desired popup in drag and drop builder, set up appropriate display conditions, and enjoy conversion rate growth for your website.
Grab your new leads on the fly and move them through the sales funnel with all of Yespo’s omnichannel communication tools.
Widget Types
We provide 4 widget types:
1. Subscription forms – widgets for collecting contact data: email, phone, name.
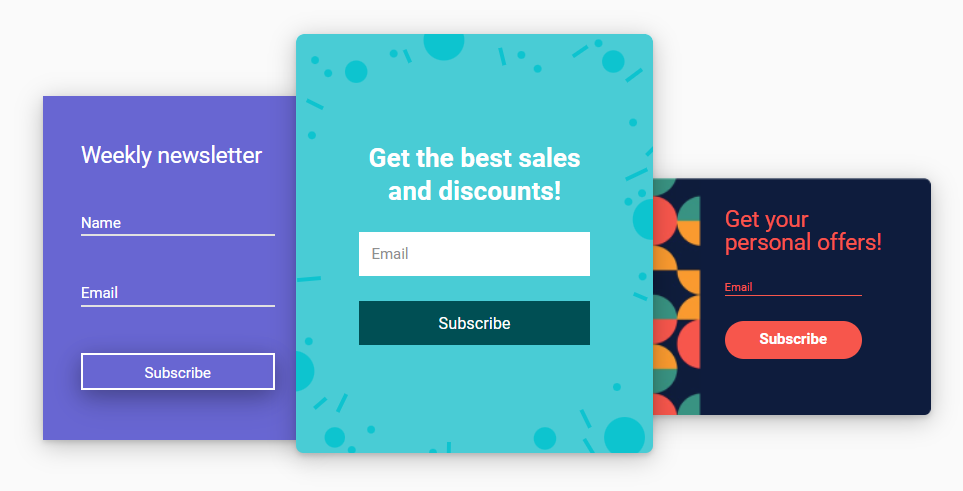
2. Informers – clickable widgets to inform site visitors about promotions, discounts, new arrivals, upcoming events, and increase their involvement in social media.
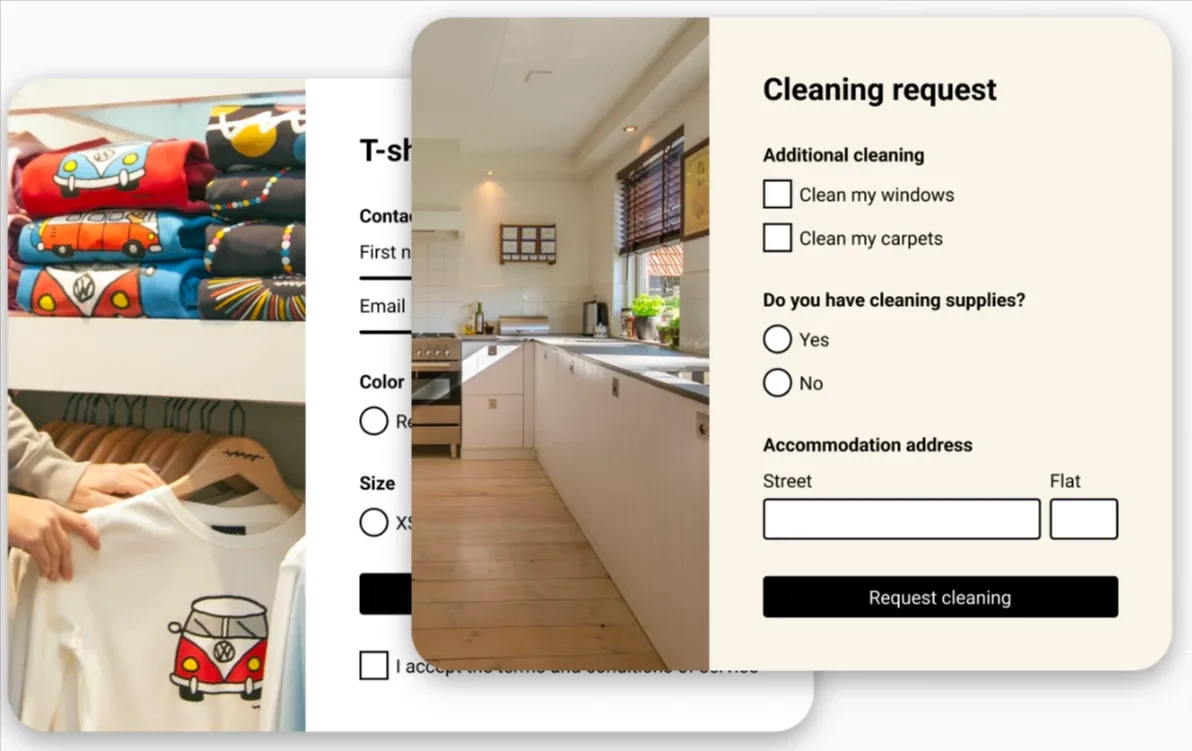
3. Request forms – widgets for collecting additional information about existing contacts and processing their requests for services and feedback.
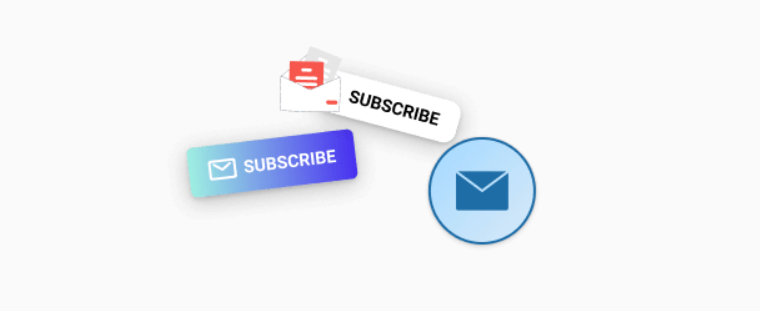
4. Launchers – call buttons on web pages that allow visitors to subscribe at a convenient moment.
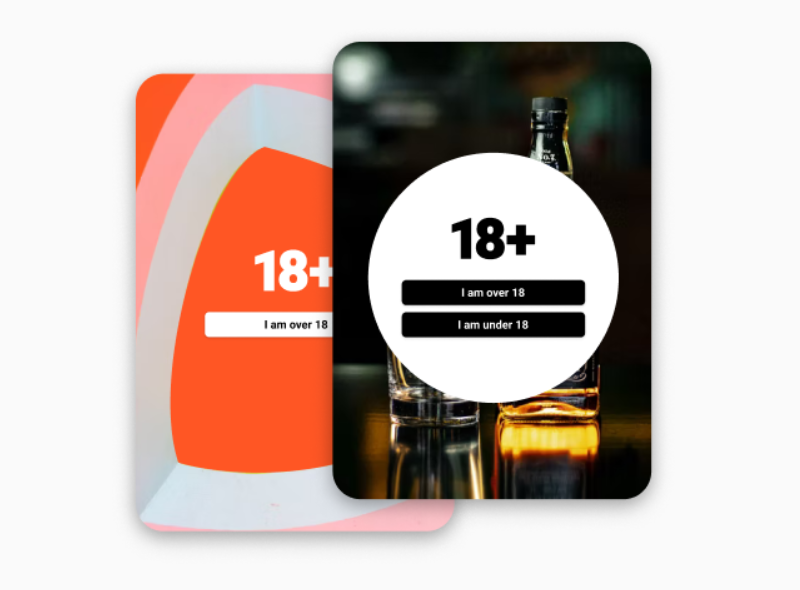
5. Age gate – a widget that overlaps the main site content until the visitor confirms age.
Creating and Managing Widgets
1. Create a widget. If your site is visited by users from different countries, prepare a multilingual form, and the system will show each visitor the appropriate language version.
2. Set the widget calling rules and set up annoyance safeguard so that multiple forms are not displayed at the same time.
3. Configure actions after form submission: double opt-in (DOI), redirection page, onboarding workflow, and messages. If you need to change DOI system workflow, see the instructions.
4. Analyze the widget’s performance. Learn how to integrate your widgets with Google Analytics >
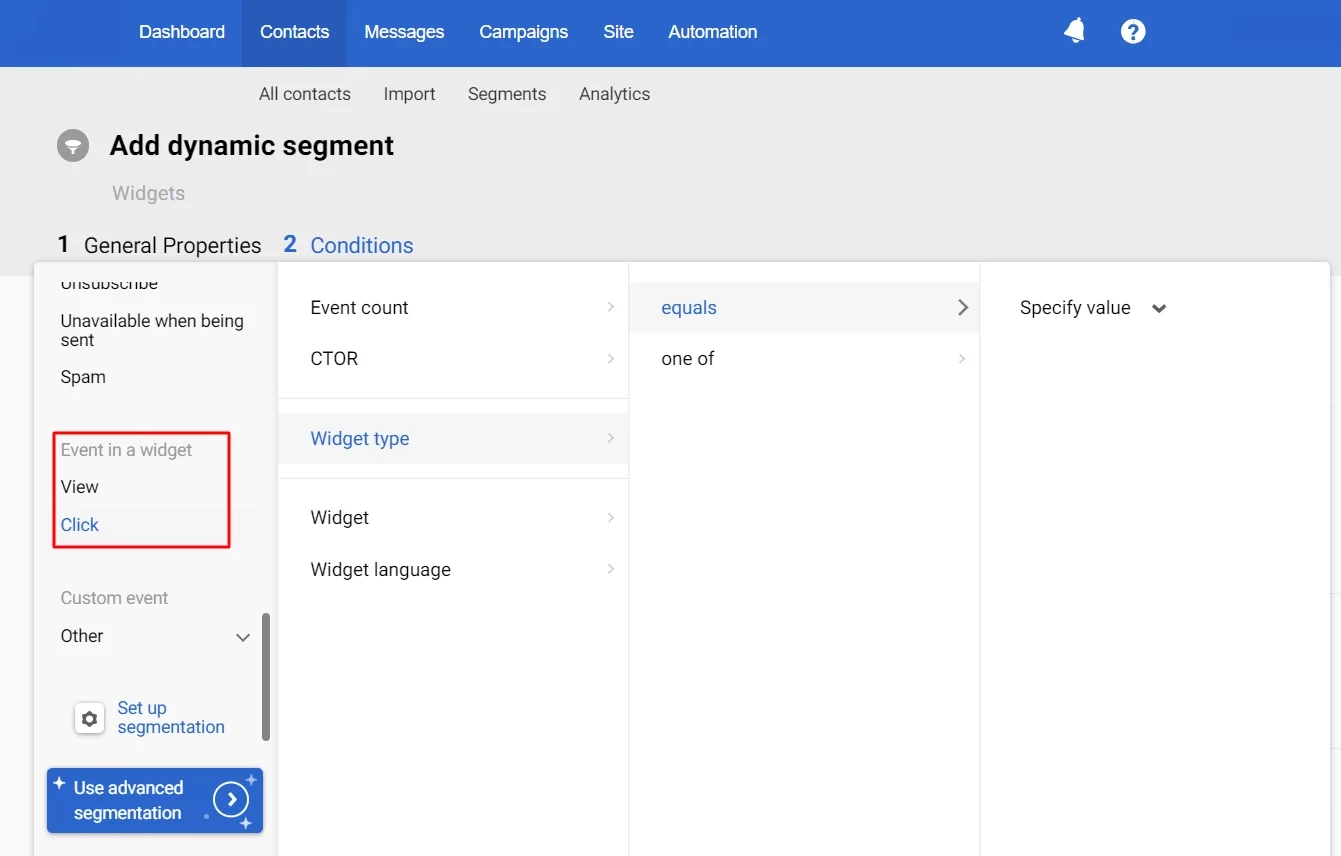
Segmentation by Contact Activity in Widgets
Create dynamic segments based on contact views and clicks in widgets.
Segmentation conditions:
- Event count
- Widget type
- Widget
- Widget language
- CTOR (for clicks)