
User Profile
After integration with Yespo, the system automatically creates the user profile for each person who fills out forms on your website, downloads your app, etc. Here you can collect all user information, preferences, behaviors and use these data for personalization or segmentation.
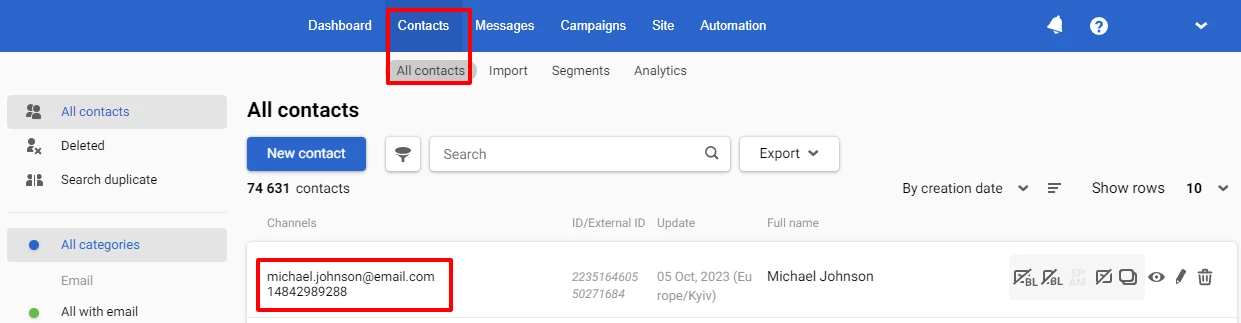
To see a full contact profile, click on any blank space in the corresponding contact line in the Contacts → All contacts tab.
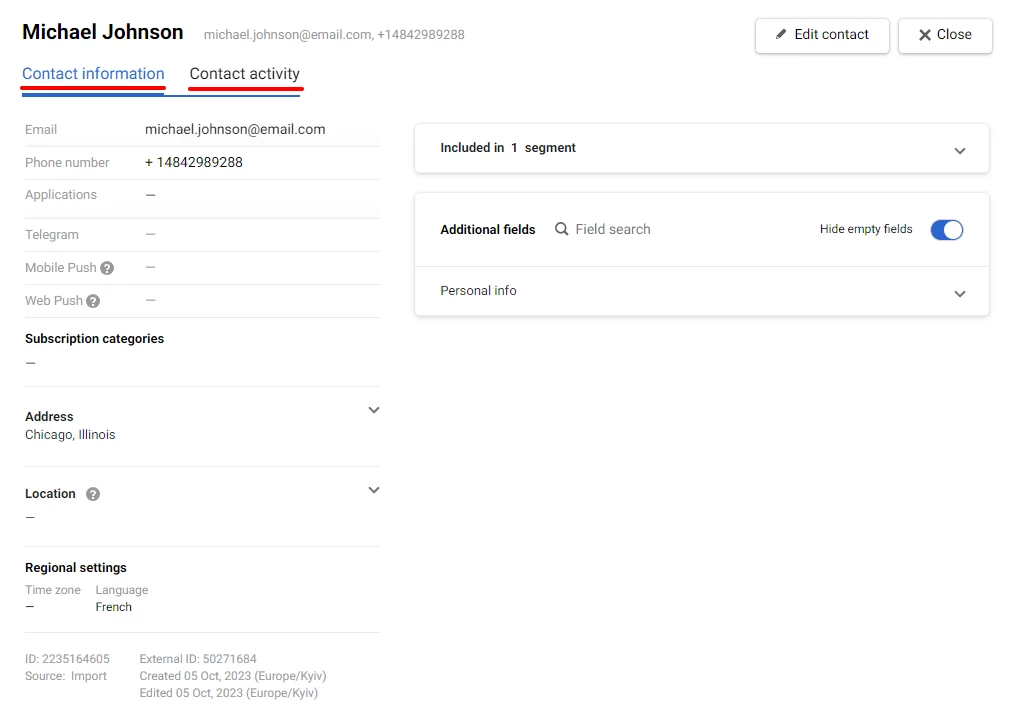
The information in the profile is divided into two tabs: Contact information and Contact activity.
Contact information
This tab contains:
- User identifiers — email, phone number, applications, Telegram bot ID, mobile and push tokens.
- Personal data contains name, age, gender, address, regional settings (time zone/language), etc. Also, you can add specific to your business custom fields.
- Subscription categories for campaign segmentation.
- Additional information — contact ID, created date, last edit date, source (import, subscription form, order, API, etc.)
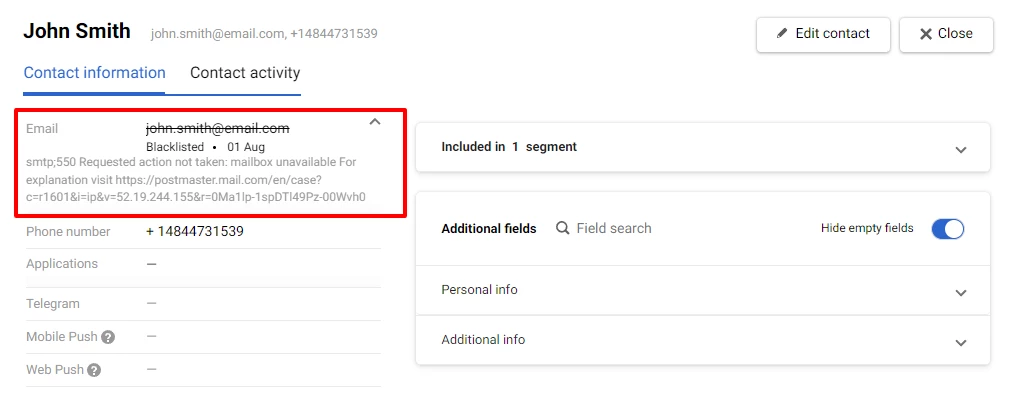
Also, here you can find information on the email address status. If the contact is blacklisted, the system automatically records the date and reason (for example, inactive email address) in the contact profile.
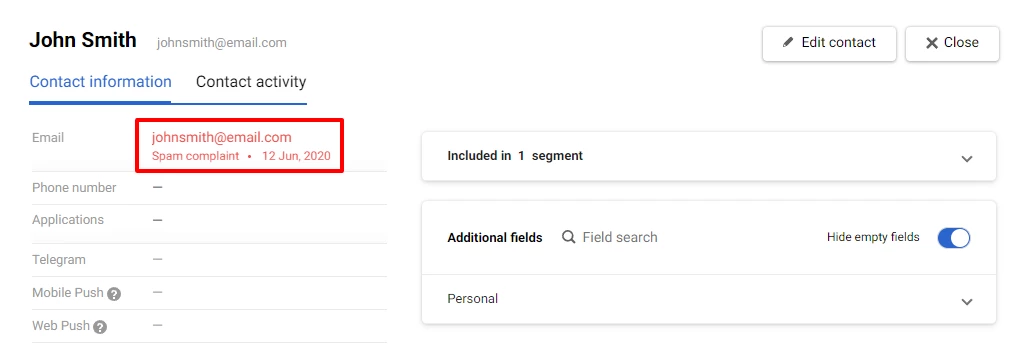
The system automatically records the date and reason in the contact profile if the contact has reported on spam or unsubscribed.
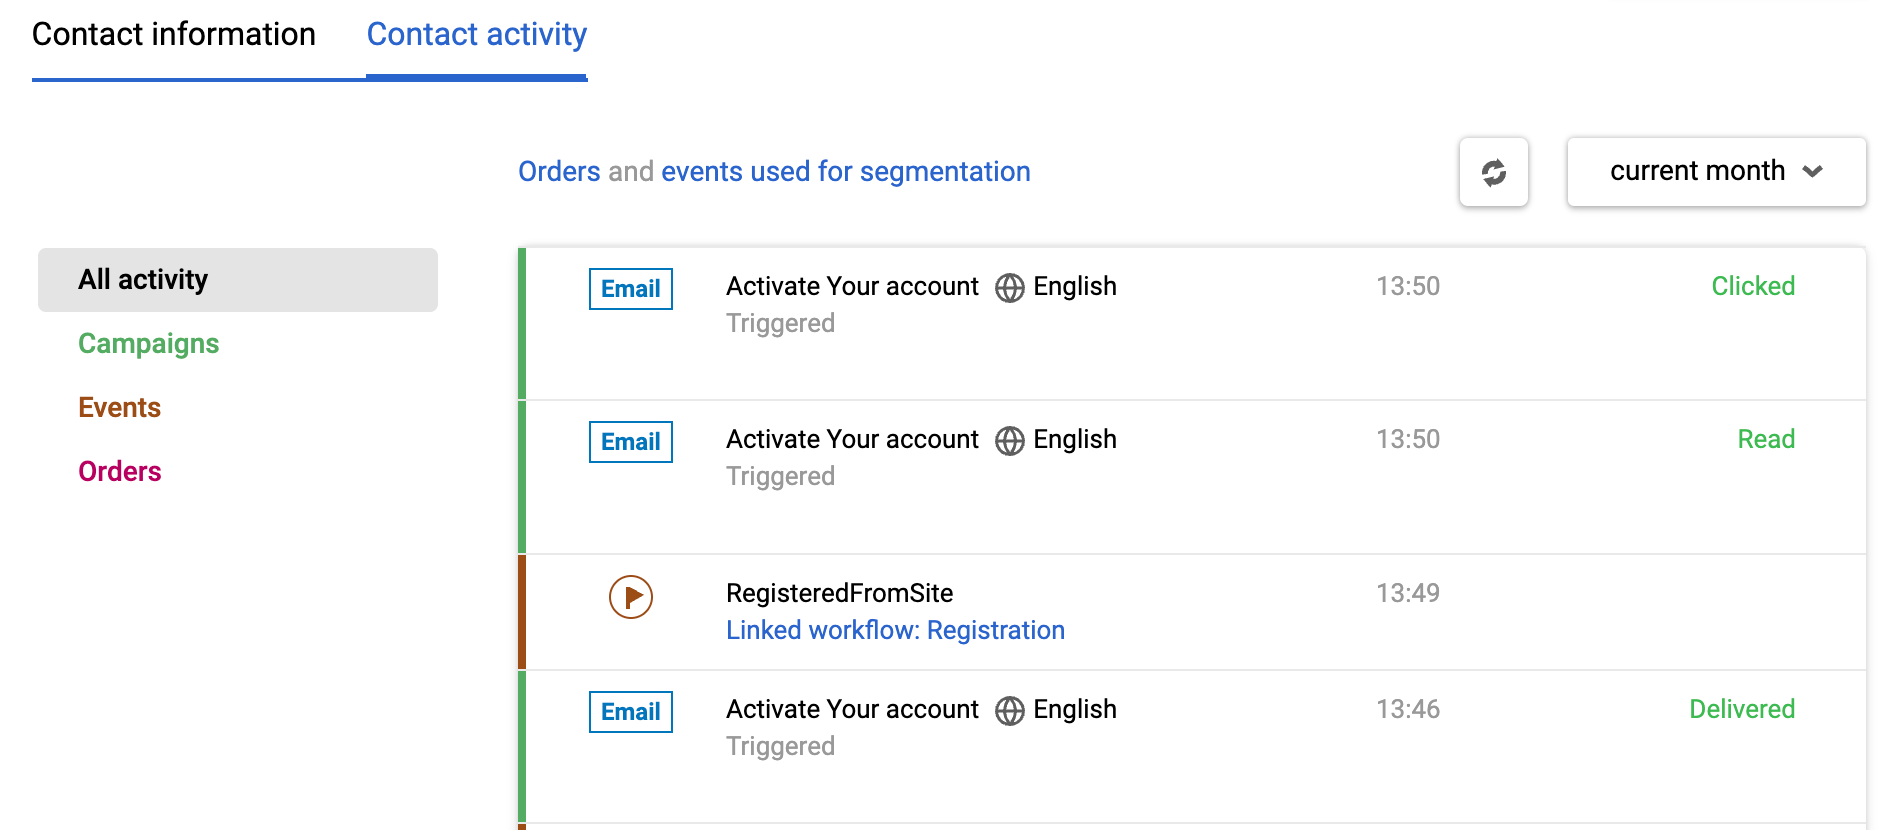
Contact activity
This tab contains a history of user actions in your app, messages, or website. You can find the number of contact activities, channel, the sent message's name, date, and status here.
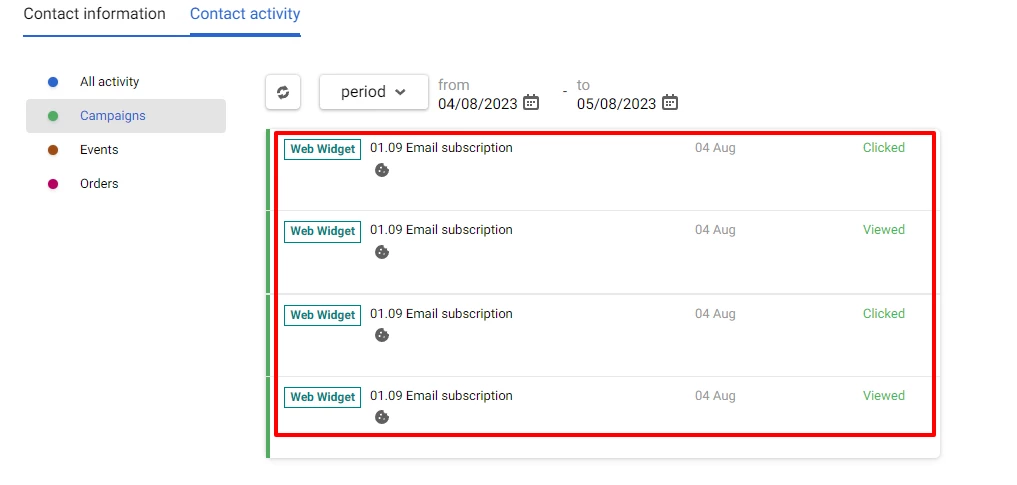
Attention
A widget can be displayed more times than allowed by the display frequency. This can happen when a customer visits the website in incognito mode or after clearing their cache, cookies, and local data on their device.
Apart from Delivered, Read and Clicked, the status field can also contain the Undelivered and Unsubscribed statuses.
Updated 3 months ago