
Subscription Categories
Subscription categories allow companies to manage campaigns and send them to particular contact segments. You can create unlimited subscription categories, for example:
- Newsletters;
- Product categories;
- Promo and sales;
- Subscriptions to products of a particular brand.
Contacts will be included in categories based on their preferences and will receive only campaigns they are interested in.
Note
Subscription categories aren’t a default feature. You need to create them manually.
Creating Category
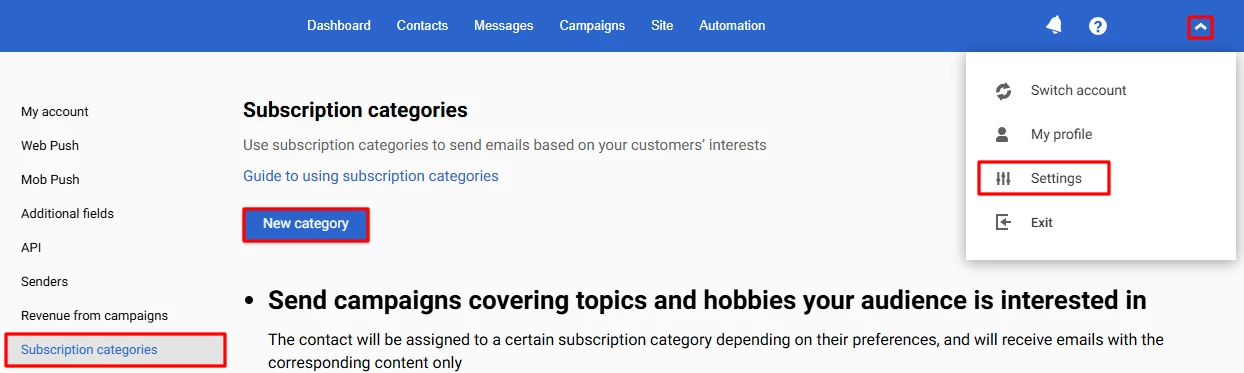
- Go to your profile → Settings → Subscription categories and click New category.
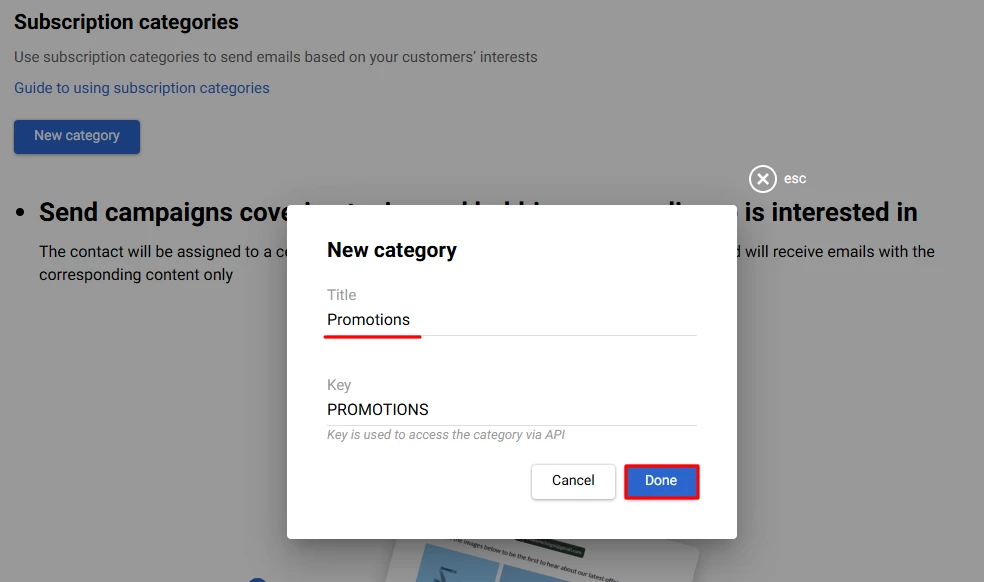
- Enter the title and click Done. The key is created automatically based on the title. Keys are used for API integrations.
- The system will create the category:
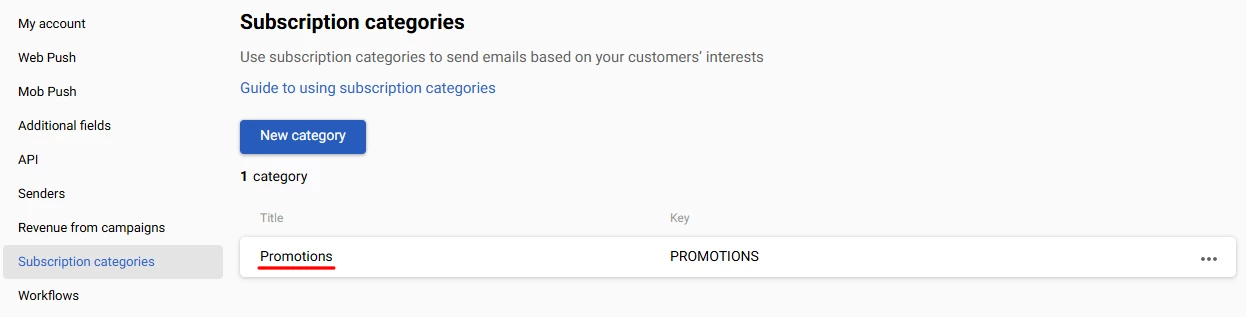
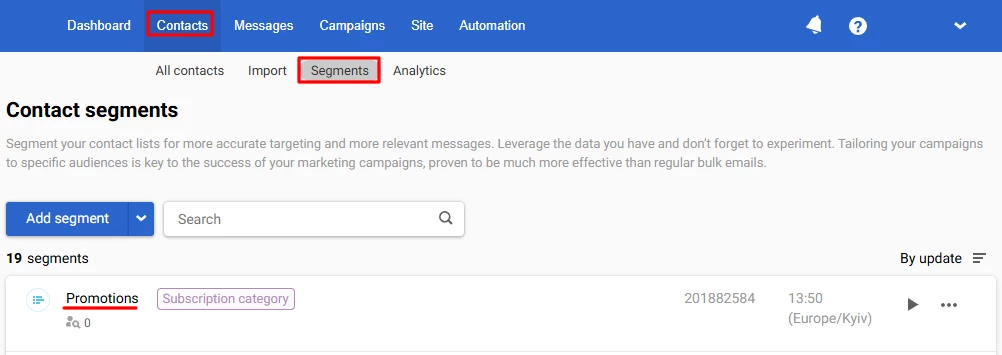
and a segment with the same name that will appear in the general list of segments. The corresponding label marks each segment assigned to the category.
You can create unlimited categories.
Important
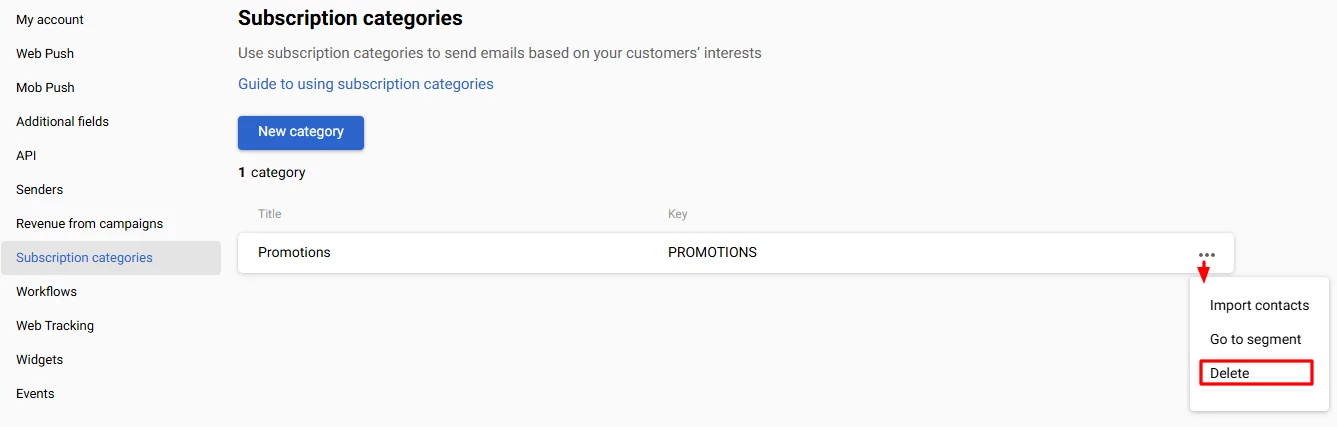
A segment assigned to the subscription category cannot be deleted or renamed in the general list. Delete the corresponding subscription category in Settings → Subscription categories to delete the segment. Contacts included in the deleted segment will remain in the system.
Adding Contacts to the Category
You can add contacts to the category in the following ways:
- Importing new contacts;
- Exporting existing contacts;
- Transferring contacts from the subscription form or CRM via API.
The same contacts added to one category via different methods are not duplicated.
Importing New Contacts
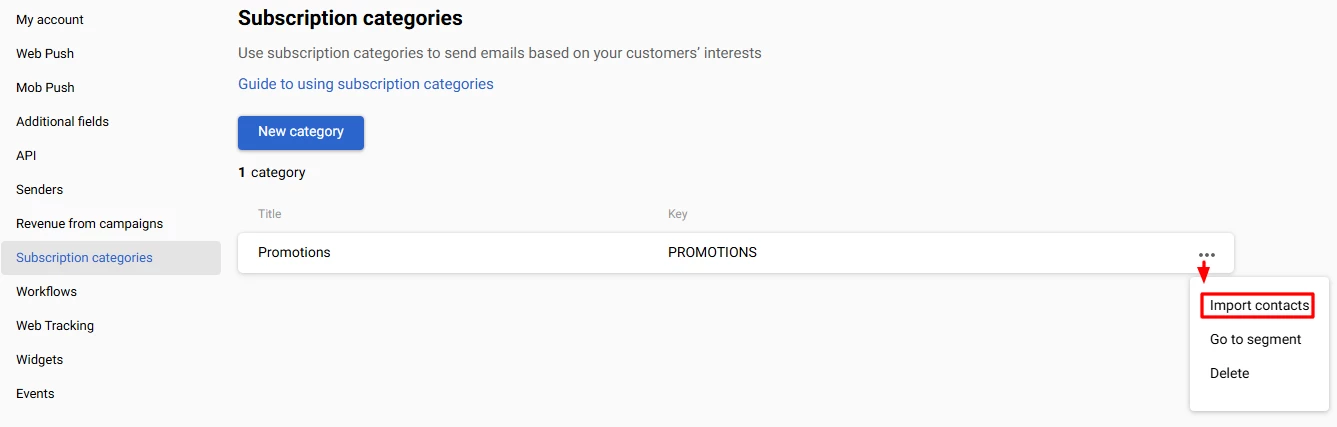
1. Choose the necessary subscription category and click Import contacts.
2. You’ll be directed to New import. Upload the file with contacts and map contact fields.
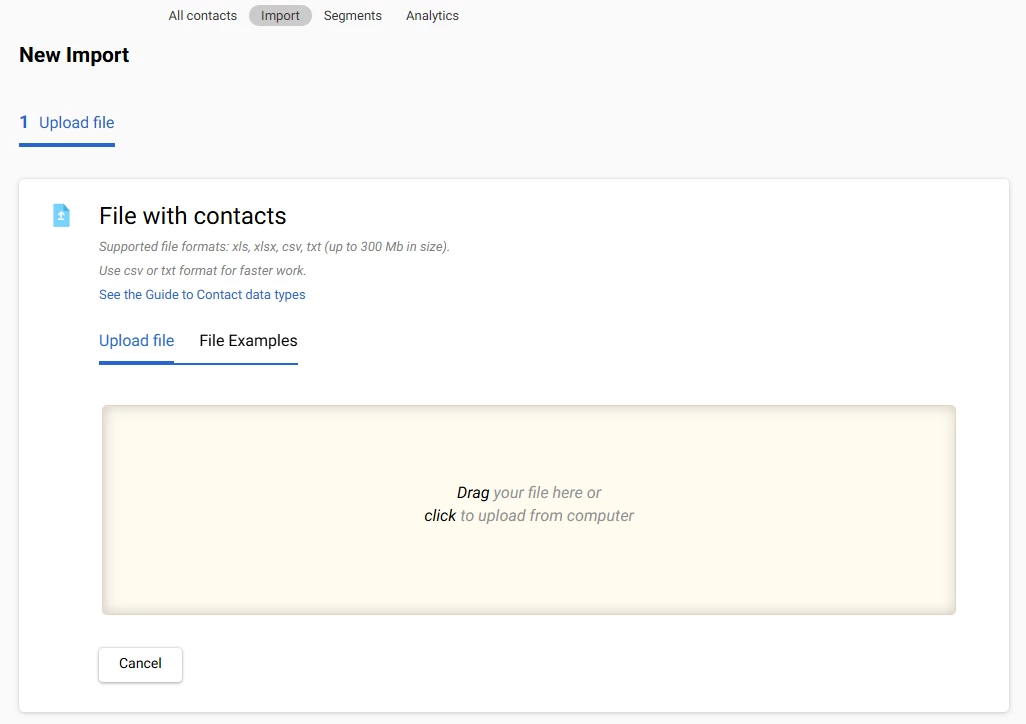
3. The assigned segment will be specified automatically.
4. Once the import is successfully completed, contacts will appear in the category.
Exporting Existing Contacts
You can export to the category existing single contacts or list segments.
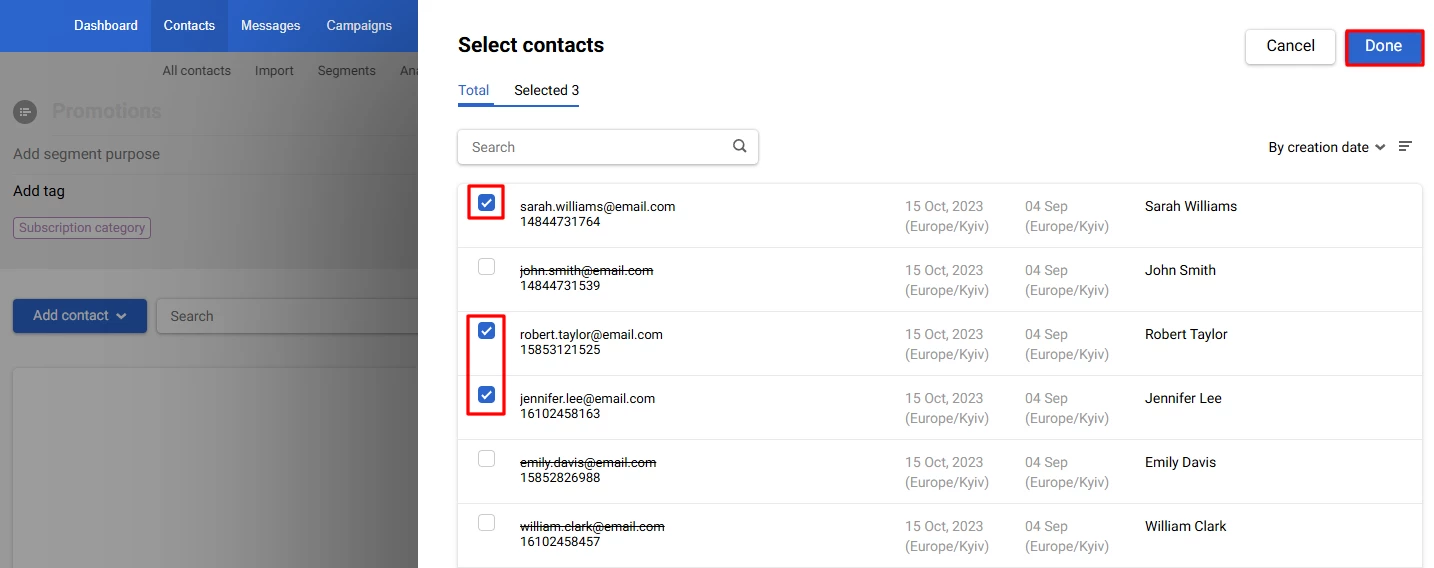
- To export a single contact:
- Go to segment, click Add contact and select Add from existing.

- activate the checkboxes next to the required contacts in the list and click Done.
- To export from the segments list:
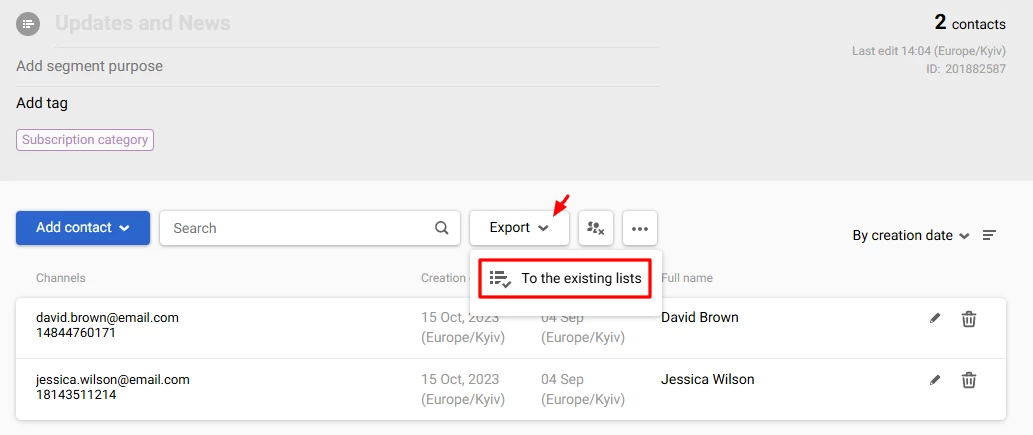
- Go to the segment from which you will be adding contacts, click Export, and select To existing lists from the dropdown menu.
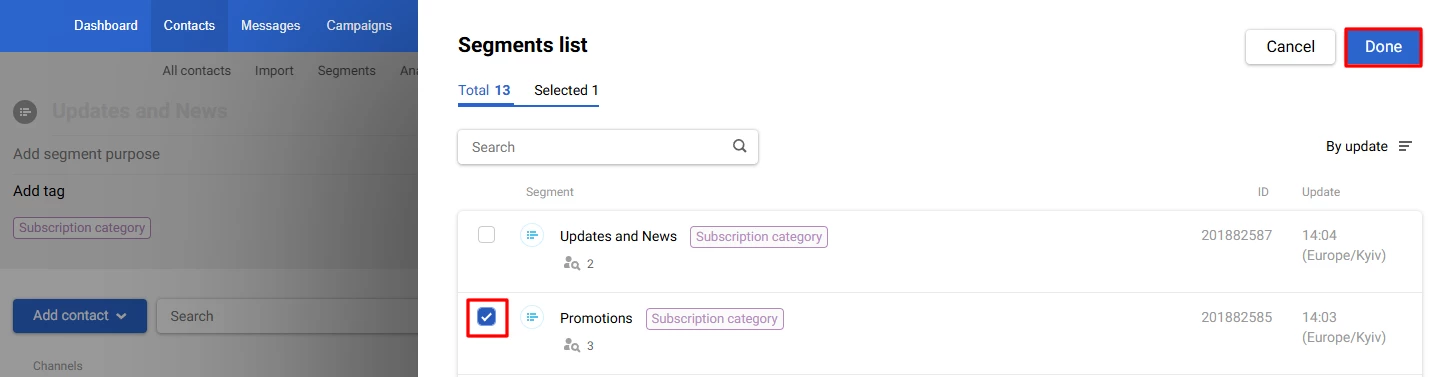
- Activate the checkboxes next to the segment to which you will add contacts and click Done.
Transferring Contacts via API
If you want to configure subscription category transmission via API, use:
- The subscriptions field in v1/contact/subcribe.
- The groups field in v1/contact.
- The groupNames field in v1/contacts.
Contact Management
You can exclude contacts from a category in the following ways:
- Exclude all contacts
- Delete individual contacts
- Delete a category from a contact card.
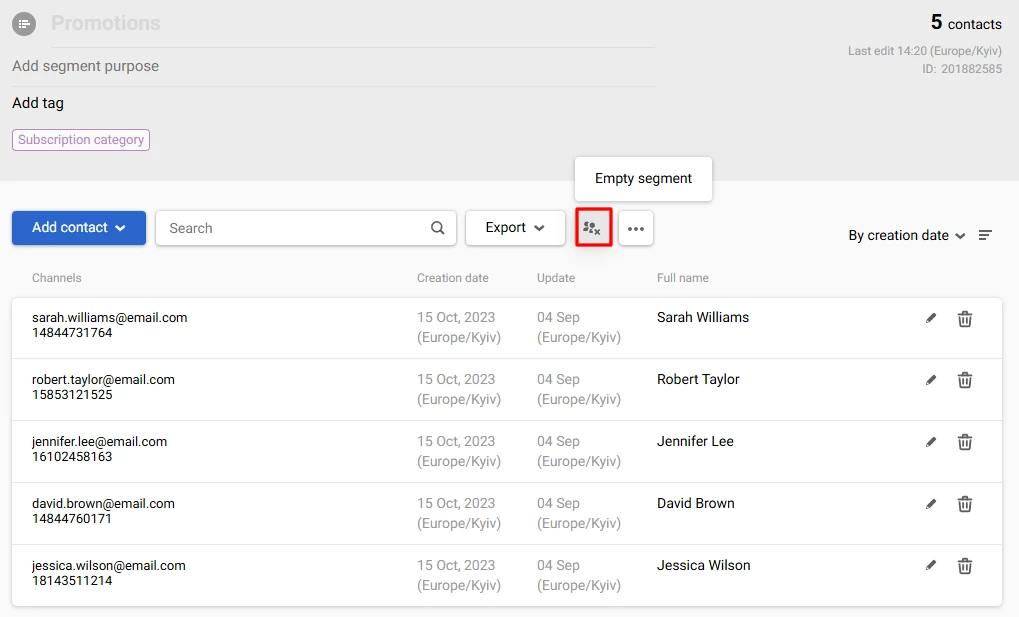
To delete all contacts from the category, click Empty segment.
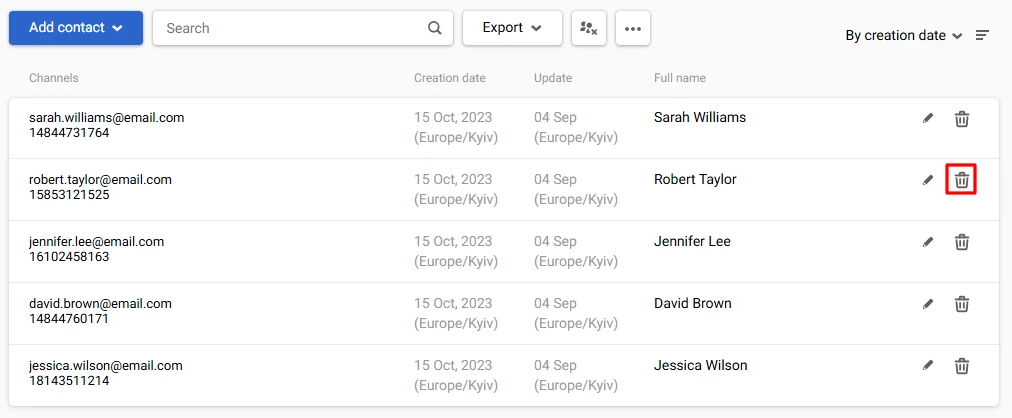
To delete a single contact click the trash icon on the right of the necessary contact.
To remove a category from a contact card, go to it and click Edit contact.
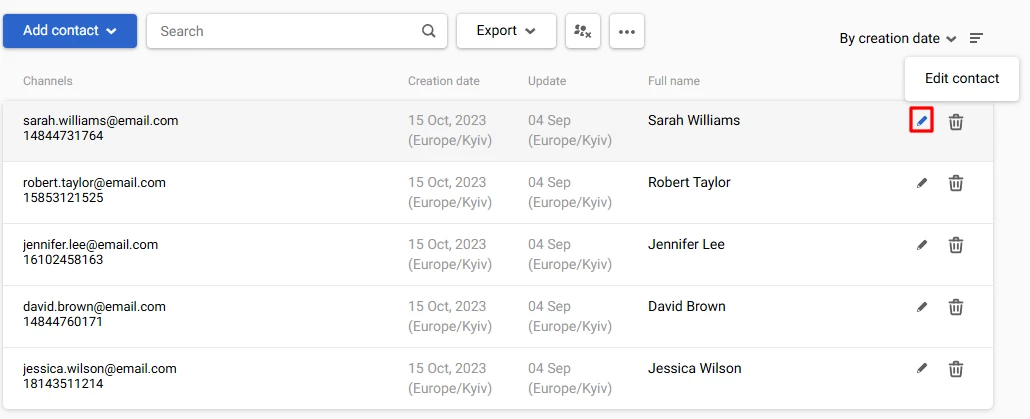
Next, click Edit contact subscription and uncheck the unnecessary categories.
Contacts that are excluded from the category remain in the account and will be available for other campaigns. The category itself is not deleted.
Setting Up Unsubscription
You can set up unsubscription from all campaigns or from a certain category. A contact can unsubscribe:
- In the personal account on the site;
- In the email;
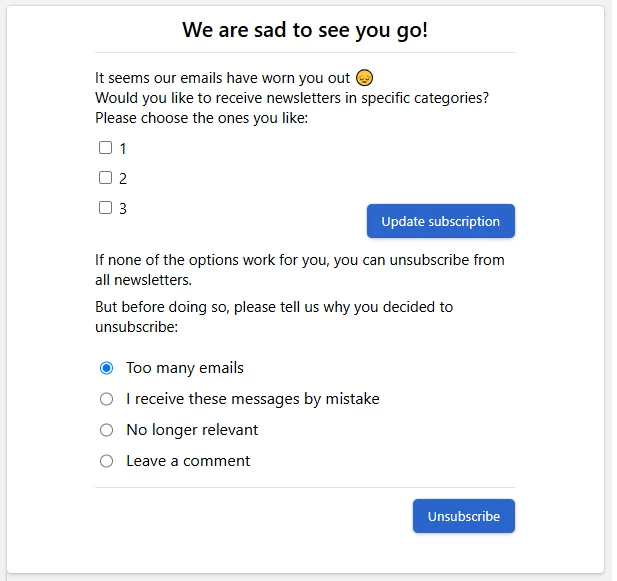
- On the unsubscribe page.
Subscription categories can be displayed on the unsubscribe page so that users can update their preferences on their own. To set up such a page, send a request to our support team.
Creating Category-Based Campaign
You can use subscription categories to control the frequency of campaigns depending on their subscriber’s interests. Subscription categories apply to all communication channels. Subscription categories are specified when the message is created.
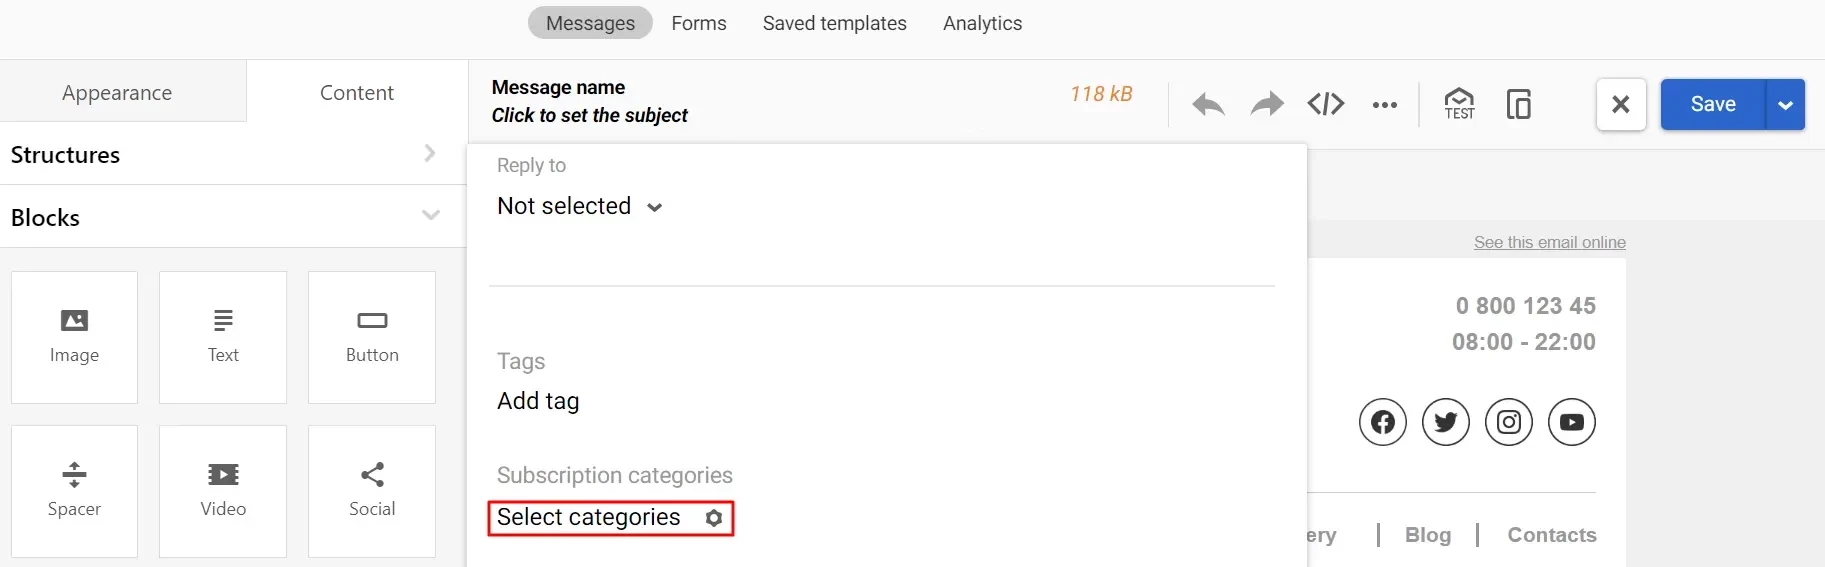
- In Messages → Messages, create a message or choose the existing one.
- Open its general settings, click Select categories, and select categories applicable to the message. You can select several categories. Below is an example of choosing categories for email.
When scheduling the campaign, you can select any other segments to send it.
The system will automatically calculate the contacts following the rules:
- The message is sent only to contacts from the selected segments who have subscribed to the corresponding subscription category.
- If the message isn’t assigned to any category, it will be sent to all contacts from selected segments.
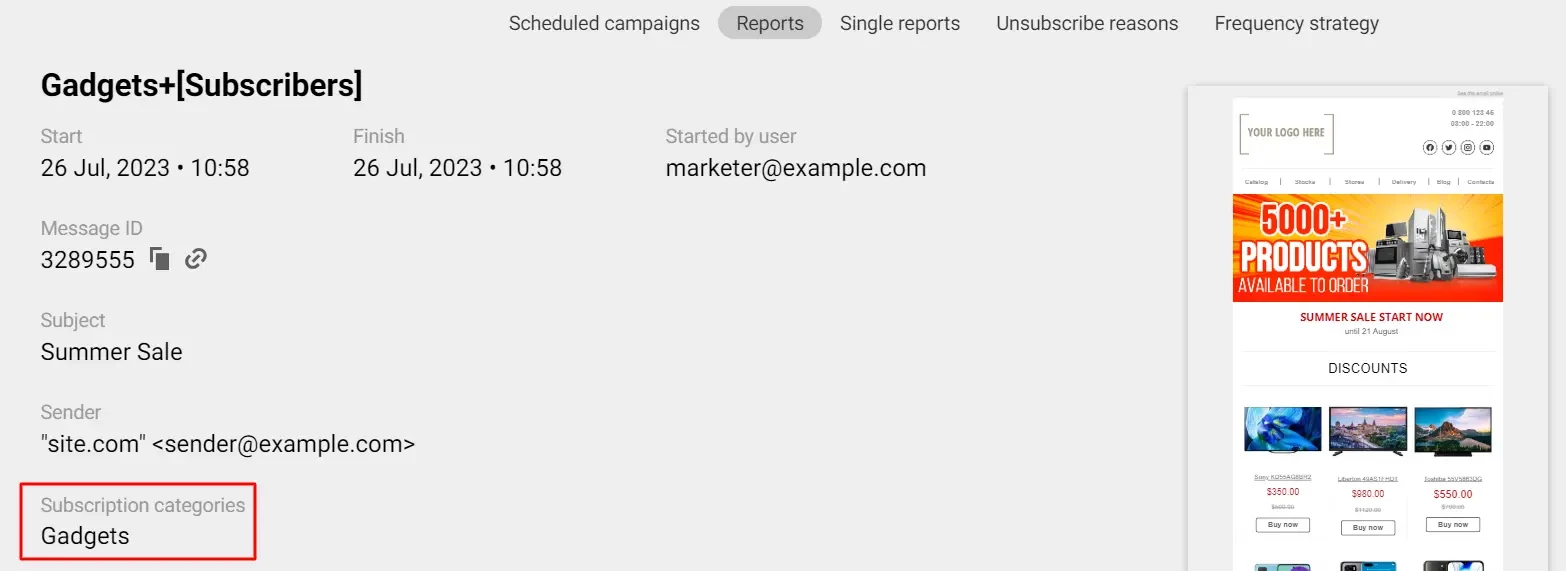
A campaign report will show the subscription categories applied to the message.
Updated 2 months ago