
Birthday Campaign
Automate your birthday campaigns so that each contact gets greetings or discount offers on the right day. You can schedule campaign send time before the actual date to give customers time to take advantage of your offer.
In the system, you can set up a birthday campaign in two ways:
- send it to a segment;
- include it in a workflow.
Before getting started with settings, you need to create a birthday campaign and save it in the system.
You also need to import contacts. Make sure to check the correctness and validity of the contact data: name, email address, date of birth, phone number (for SMS and Viber campaigns).
Sending a Birthday Campaign to a Segment
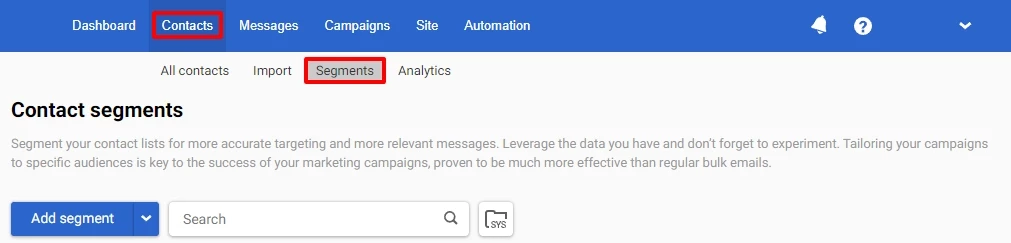
- Go to Contacts → Segments, and click Add a segment.
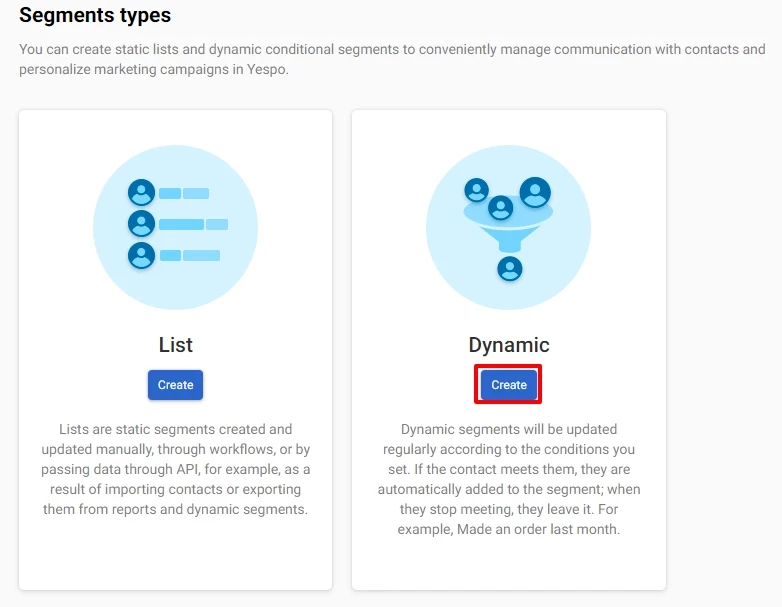
- Choose Dynamic, and click Create.
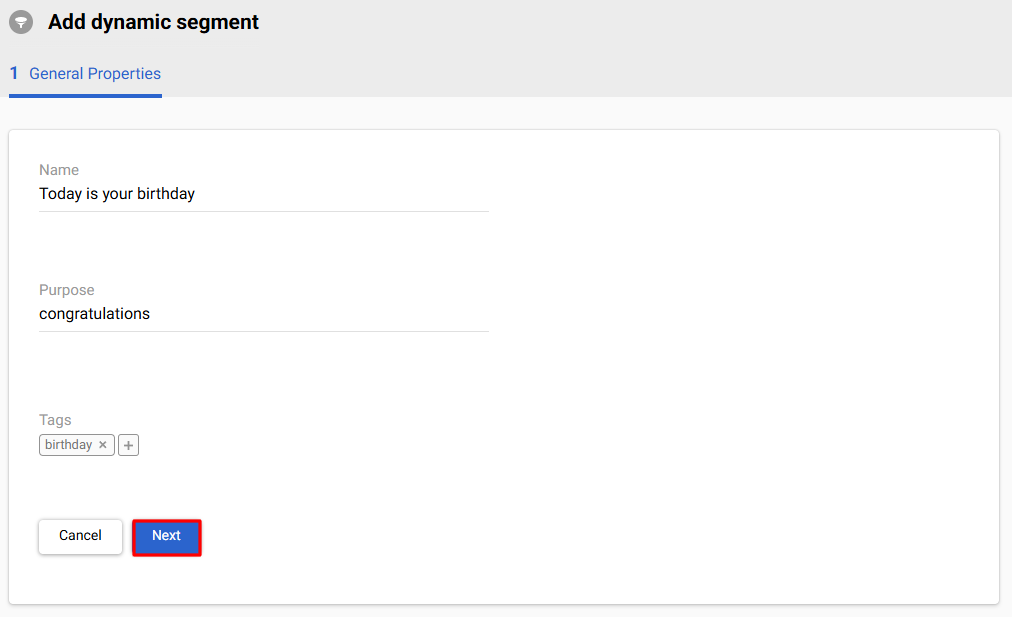
- Fill in general properties:
- Name (required) — displayed in the general segment list.
- Purpose (optional) — specify how the campaigns will be used. For example, for triggered emails, regular promo campaigns, etc.
- Tags (optional) — select from the list or add a new one for quick filtering and segment search.
- Click Next.
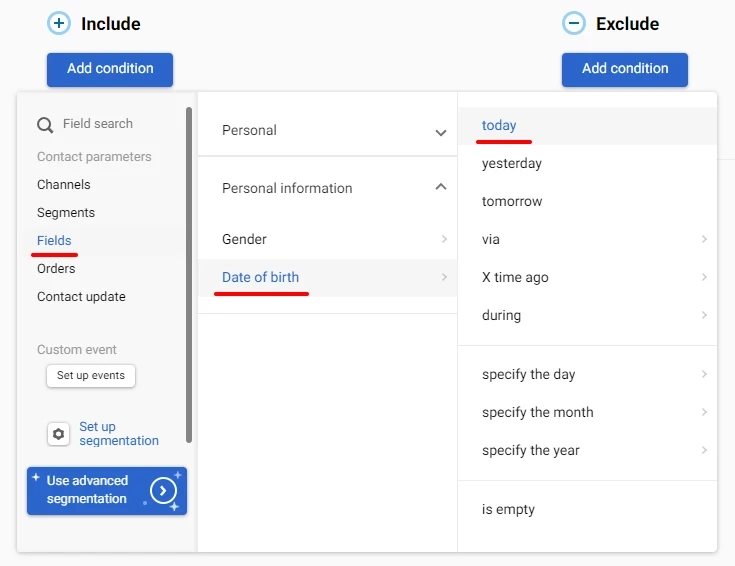
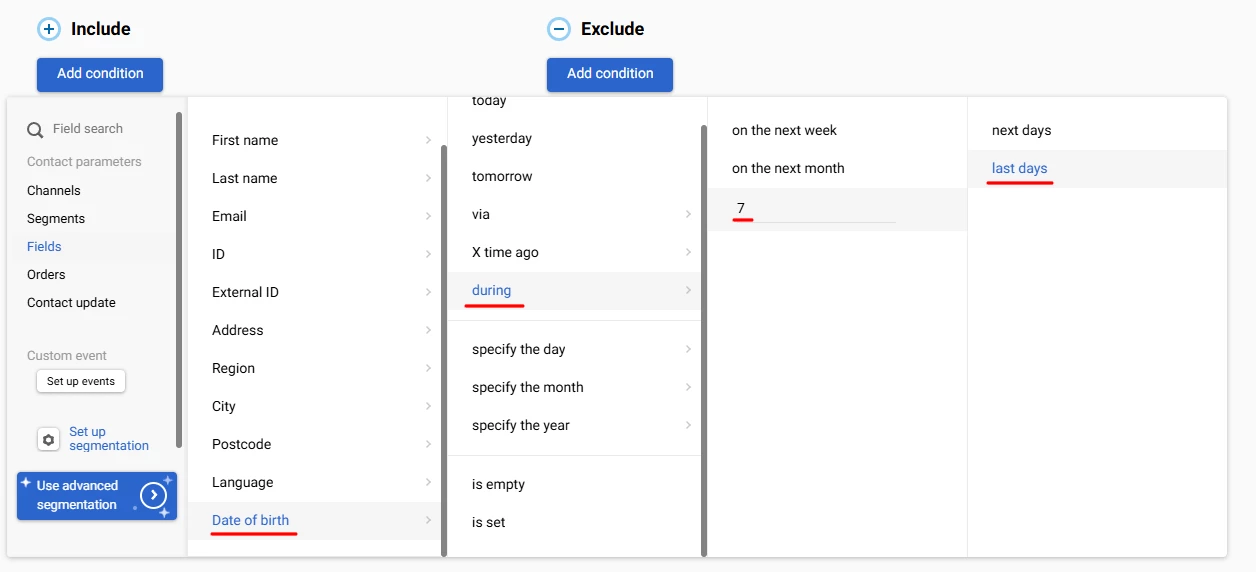
- Click Add card. In Fields → Personal → Date of birth, choose today.
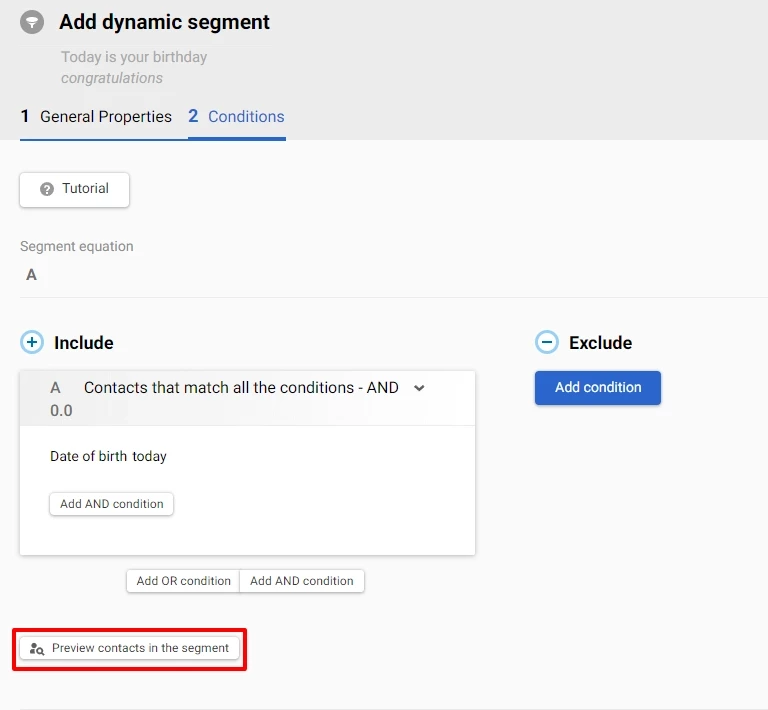
- To see all the contacts included in the segment, click Preview contacts in the segment.
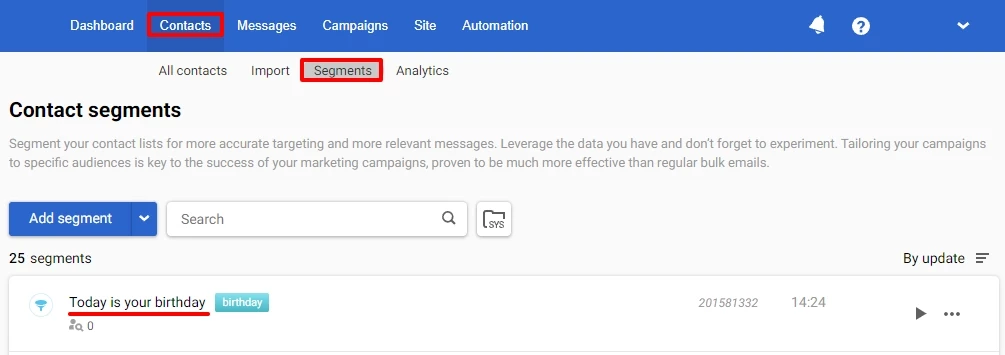
- Click Done. The segment will be saved, and you will be able to see it in the general list in Contacts → Segments.
Note
Contacts are updated every day based on this condition. Only contacts with a birthday on the corresponding day are included in the segments. The segment is updated at 3 a.m.
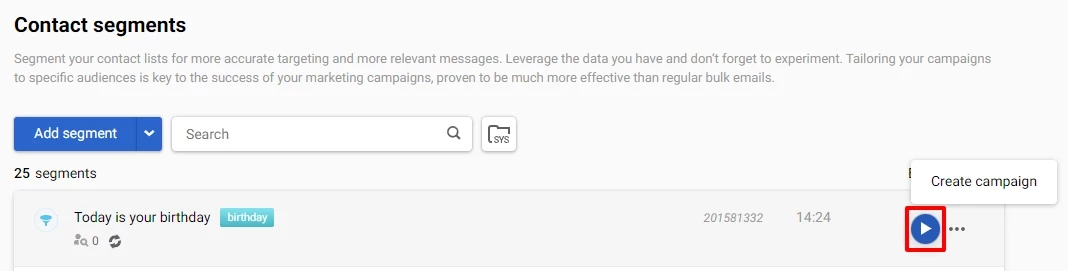
- To launch a campaign, click Create campaign and choose the necessary email.
- In Send options below, click Schedule, choose Every day, schedule the launch of the campaign, and click Confirm.
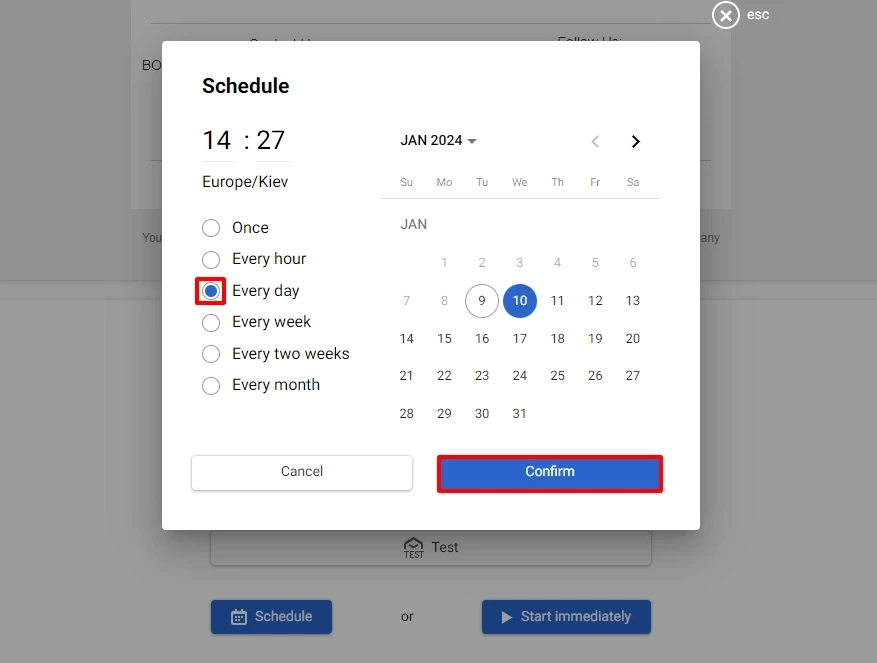
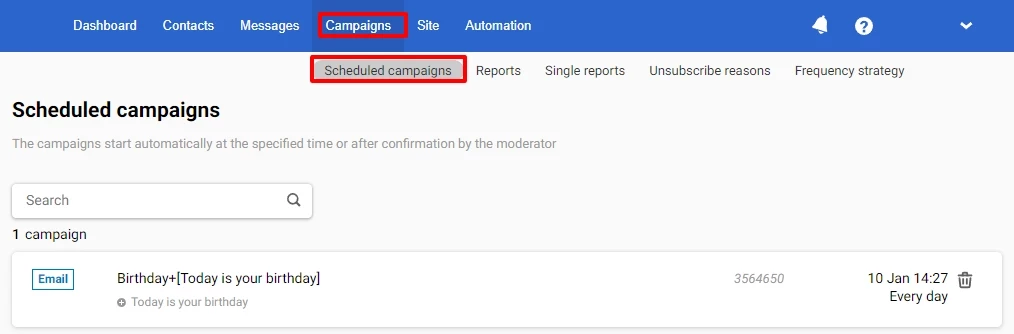
All scheduled campaigns are listed in Campaigns → Scheduled campaigns. If there are no contacts in the segment on any day of sending, the email won’t be sent to anyone.
Sending a Birthday Campaign from a Workflow
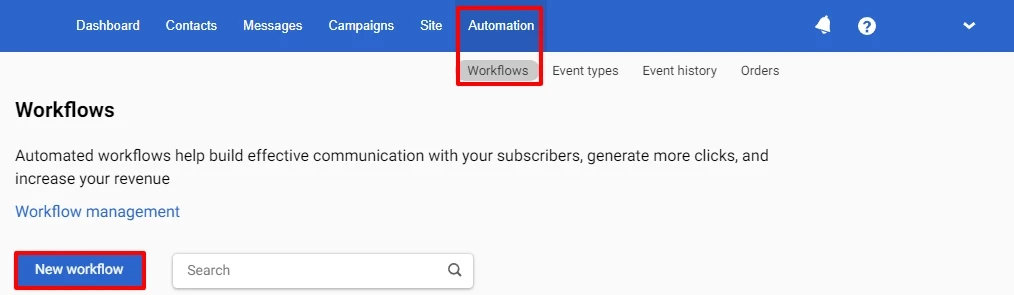
- Go to Automation → Workflows, and click Add workflow.
- Add and configure the following blocks:
- Start
- Timer
- End
(See How to create a workflow in the system, Workflow blocks description)
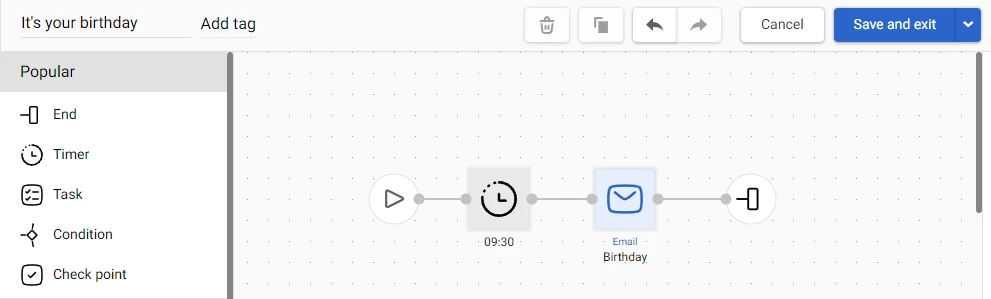
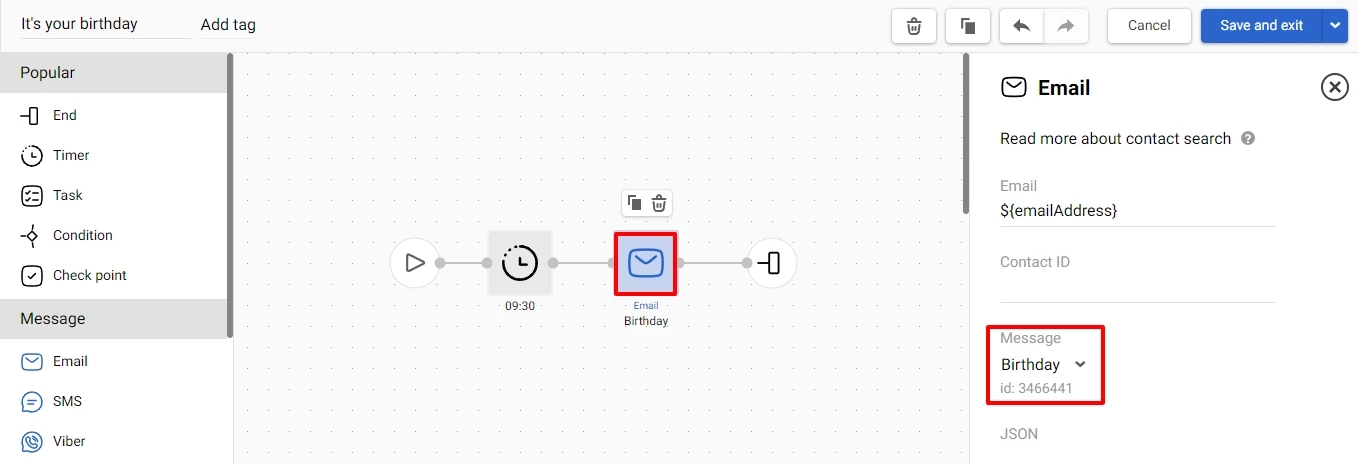
3. In Email settings, you need to choose the message to be sent.
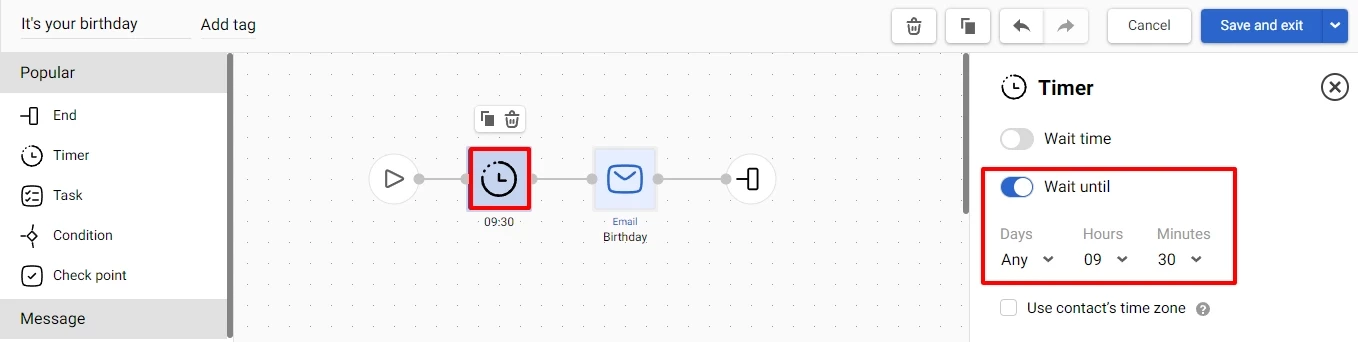
- In Timer settings, select sending time.
Important
Since segments are updated at 3 a.m, the workflow will be launched at the same time. To avoid bothering your customers at night, set a delay block and specify the desired send time.
- Click Save and exit.
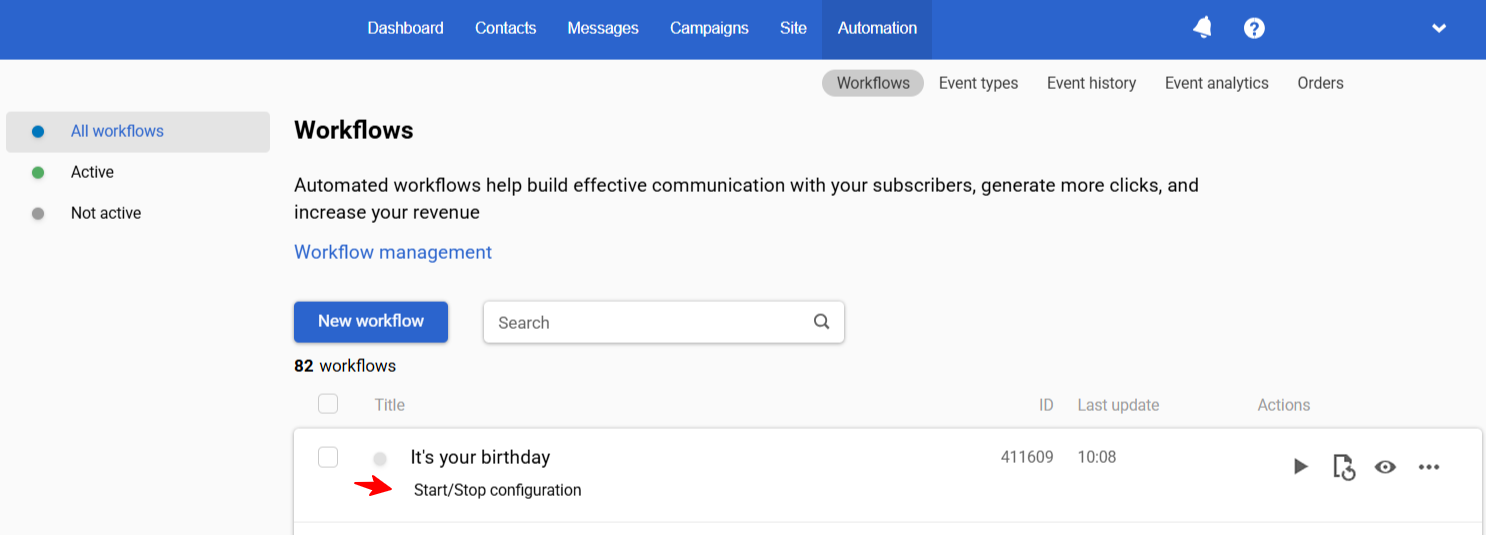
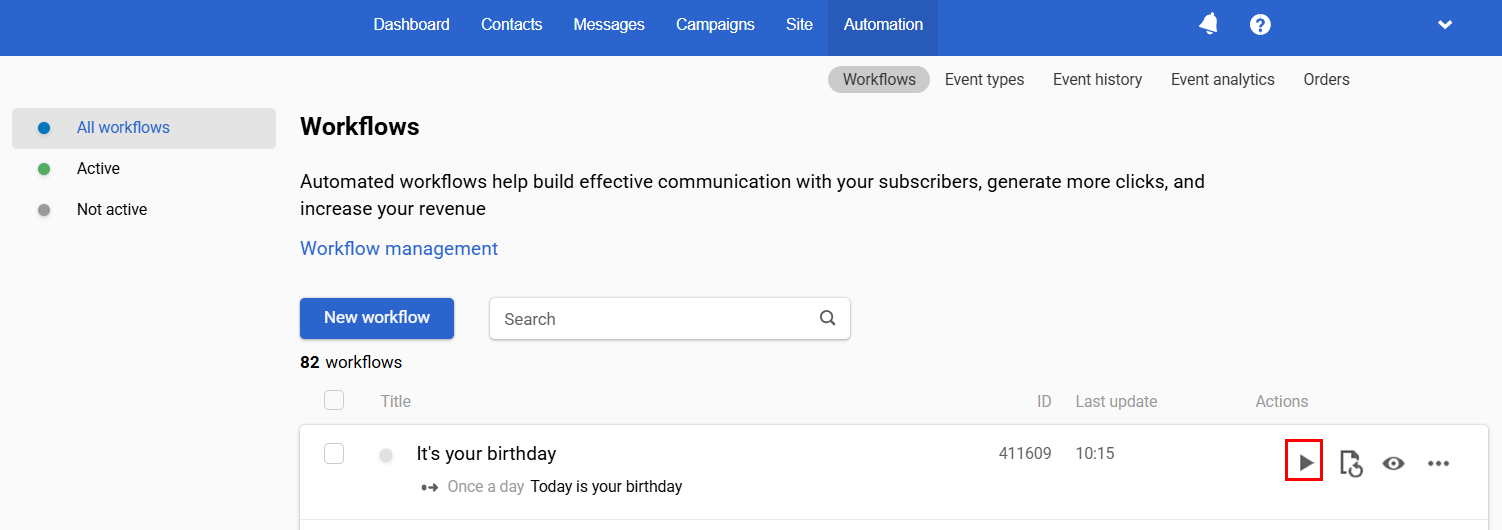
The saved workflow will be shown in Automation → Workflows.
Workflow launching and activation
- Click Start/Stop configuration.
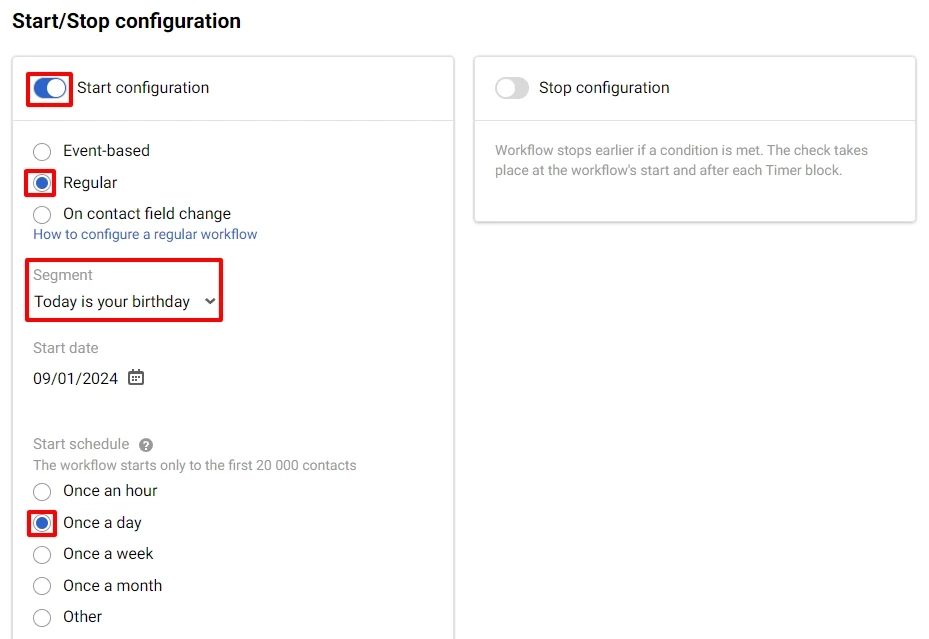
- Select the Regular tab, the segment to send to, and the start schedule.
- In the Process unique events select Each time and click Apply.
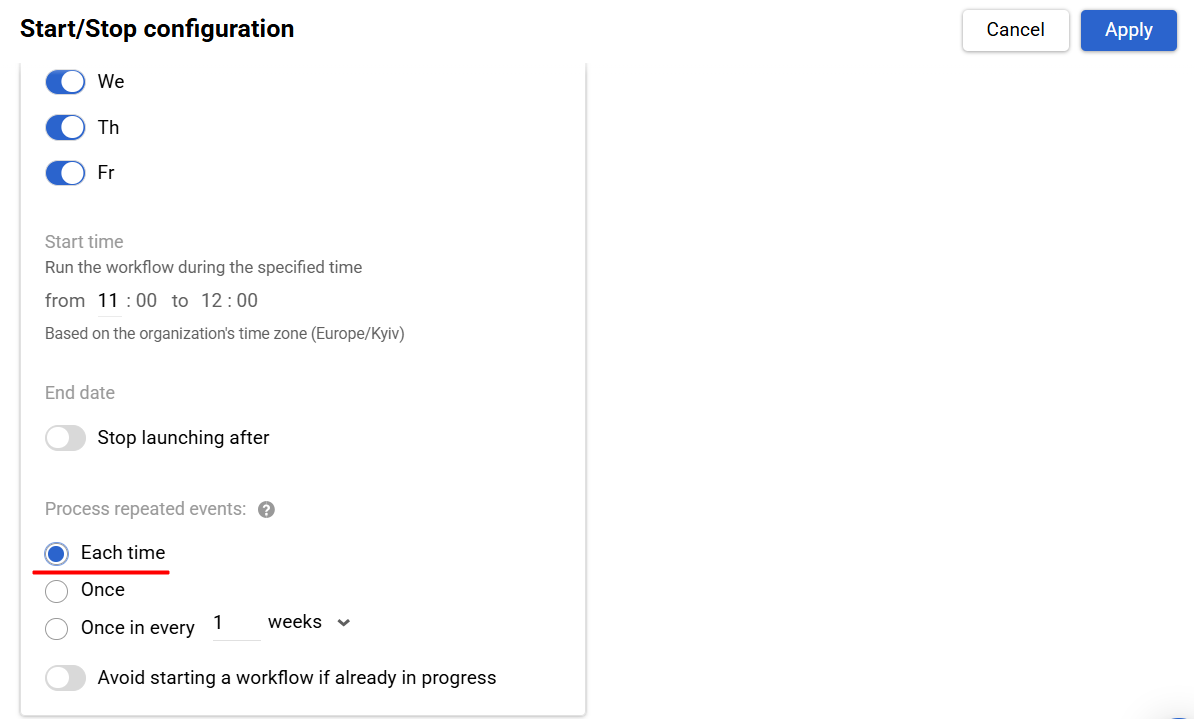
- Click Activate and launch a workflow.
Workflow Options
Apart from the standard birthday greetings, you can create different workflows that will help make a gift for the customer, for example, promo code, sales discount, etc. For example, you can send a promo code for a promotion in advance or a belated holiday greeting:
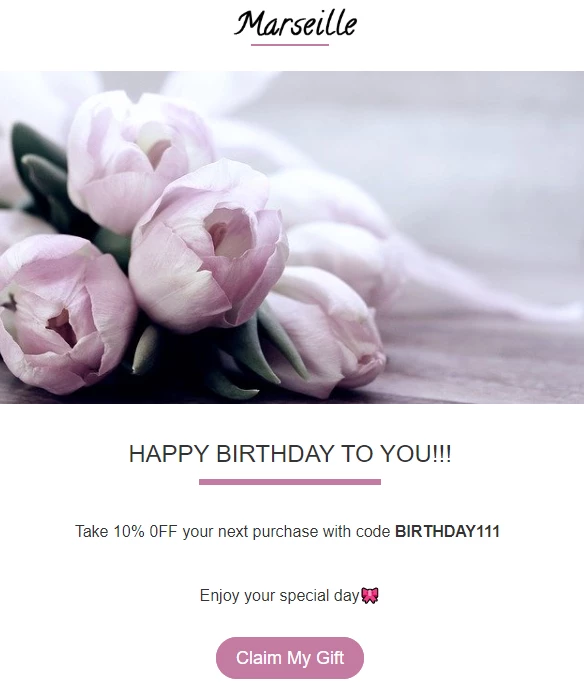
Such a campaign should be sent a few days before or a few days after the birthday. To send it, create the following segment:
- Go to Contacts → Segments, and click Add a segment.

- Choose Dynamic, and click Create.

- Fill the fields and click Next:
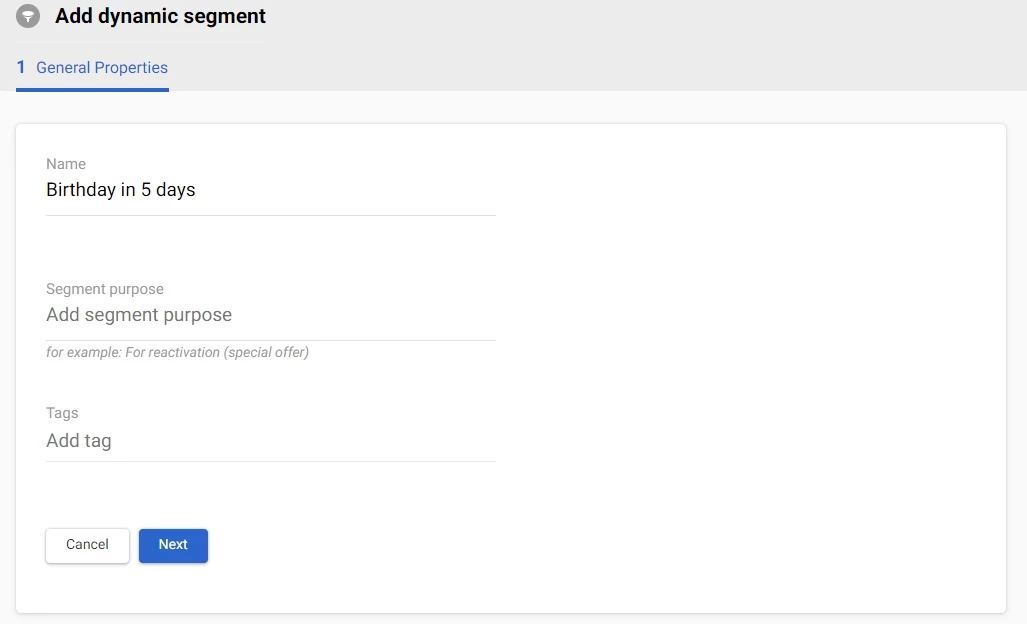
- Click *Add card and select Fields → Personal information → Date of birth → via → 5 → days.
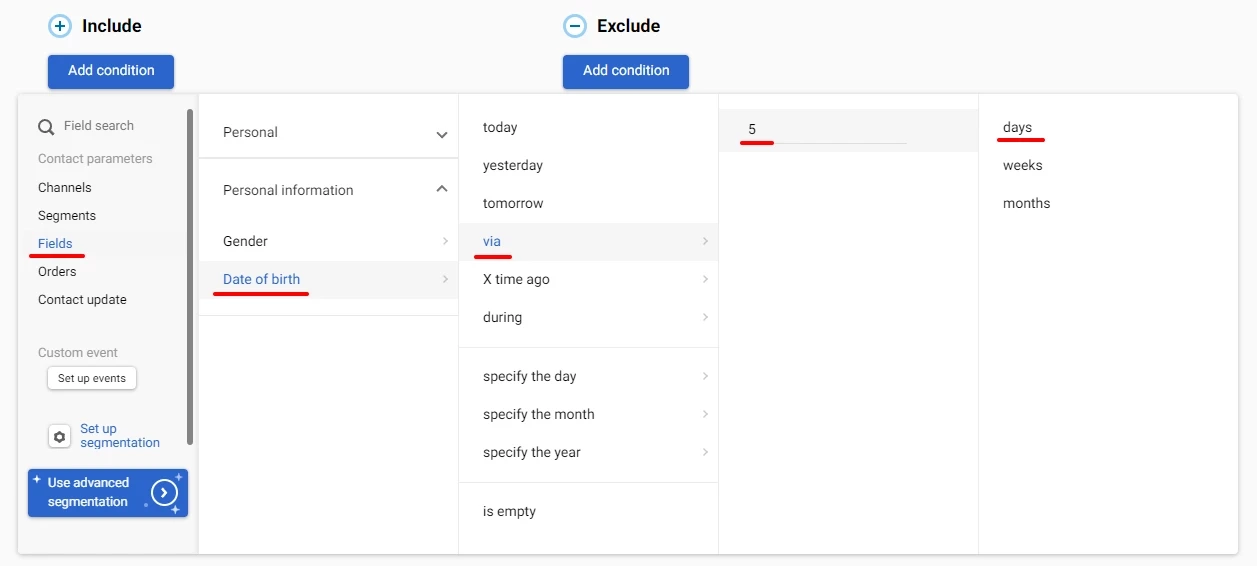
Attention
A segment can be created for contacts whose birthday occurred within a specific number of days. This condition is available for all regular dates.
- Save the segment, and launch the campaign as described above. Contacts from the segment will receive the birthday campaign 5 days before their birthday.
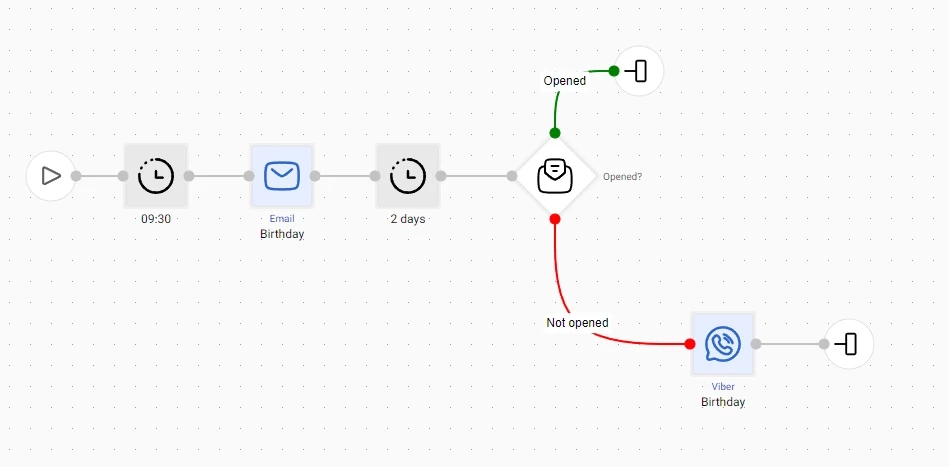
Note that Email is not the only channel you can use to congratulate your customer. You can also use SMS, Viber, Web Push, or Mob Push, or combine any channel in any order. For example, you can send a Viber message to contacts who haven’t opened the email within 2 days:
Updated 2 days ago