
Adding/Changing/Deleting a Sender Name
Use different sender names to separate different types of emails and let subscribers filter your messages. For example:
- promos;
- messages from managers;
- triggered emails, etc.
You can add or change a sender in a few ways:
Important
Before configuration, you must add email authentication.
Adding a Sender in the Email Editor
Static Sender Address
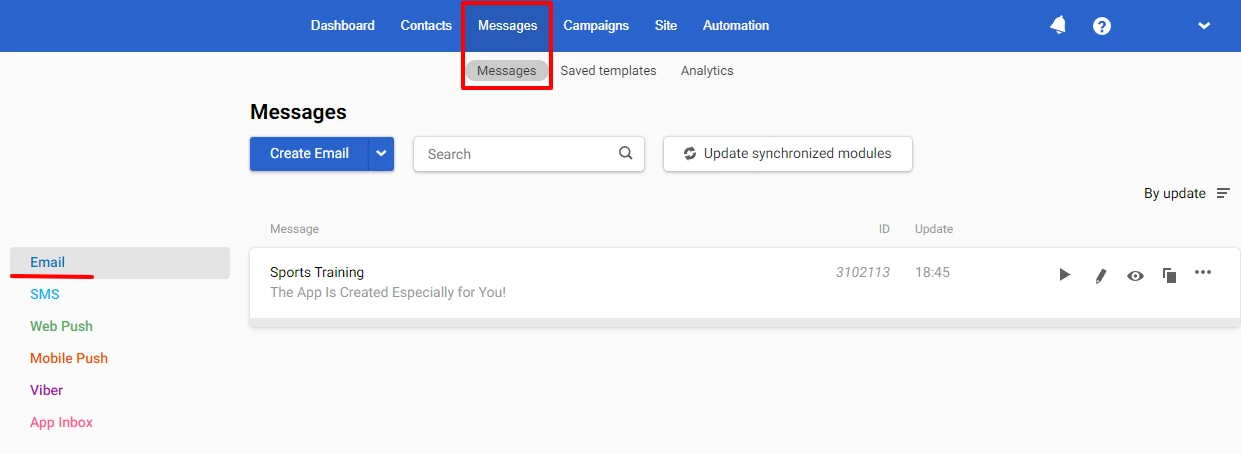
- Go to Messages → Messages → Email → open the email or create new one.
- Click the Title or Subject of the message to open the settings.
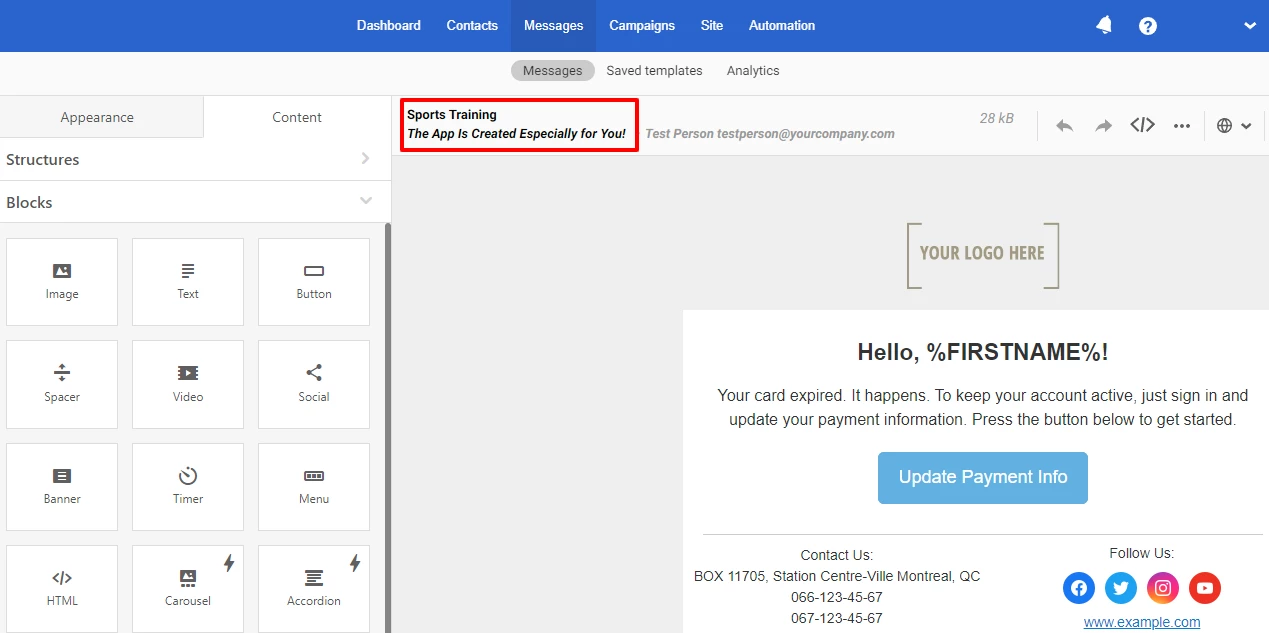
- Click + New sender.

- Enter a new sender name and email address.

Important
The sender's email address must be in your corporate domain. For example, for the site yourcompany.com you can add an address like this:
marketing@yourcompany.comsupport@yourcompany.com
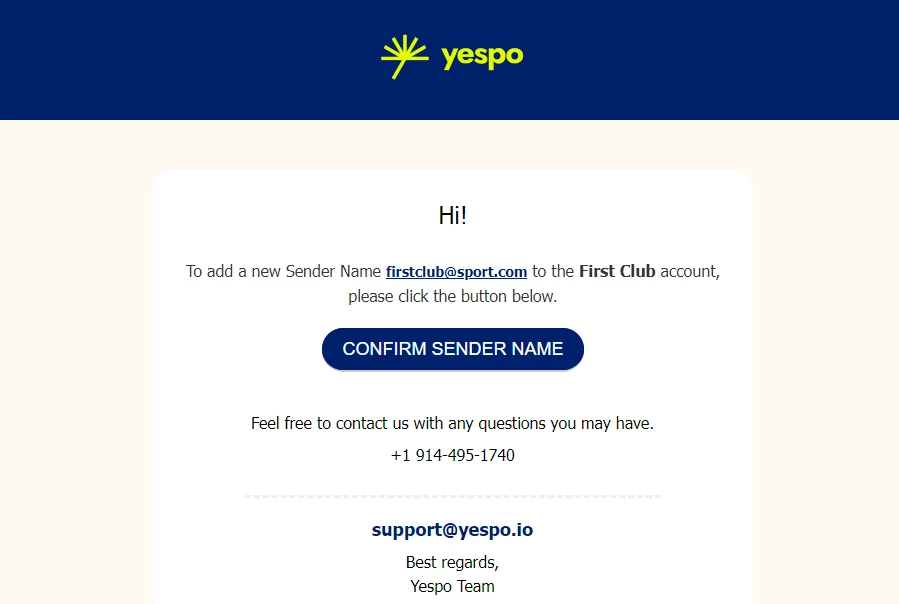
After clicking Add, the system will send a confirmation email to the specified email. Confirm the request in the email from Yespo Support.
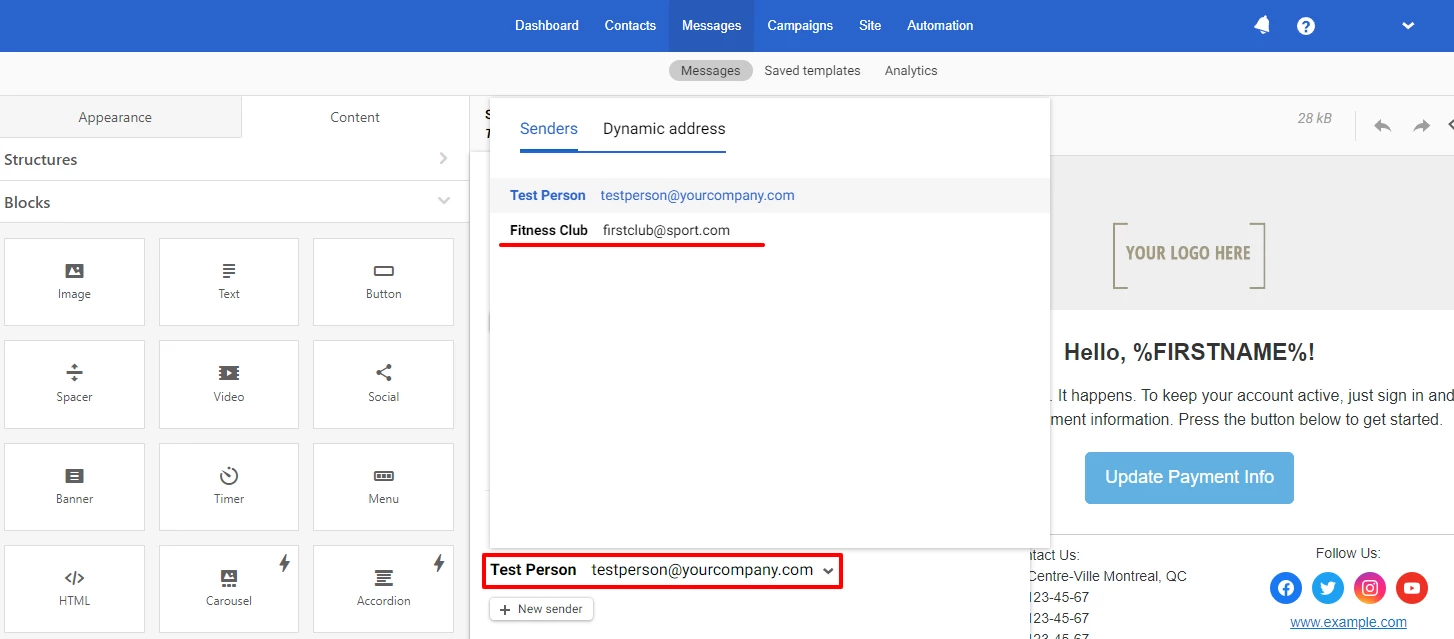
- To change the sender's address, click on a previously added sender and select a new one.
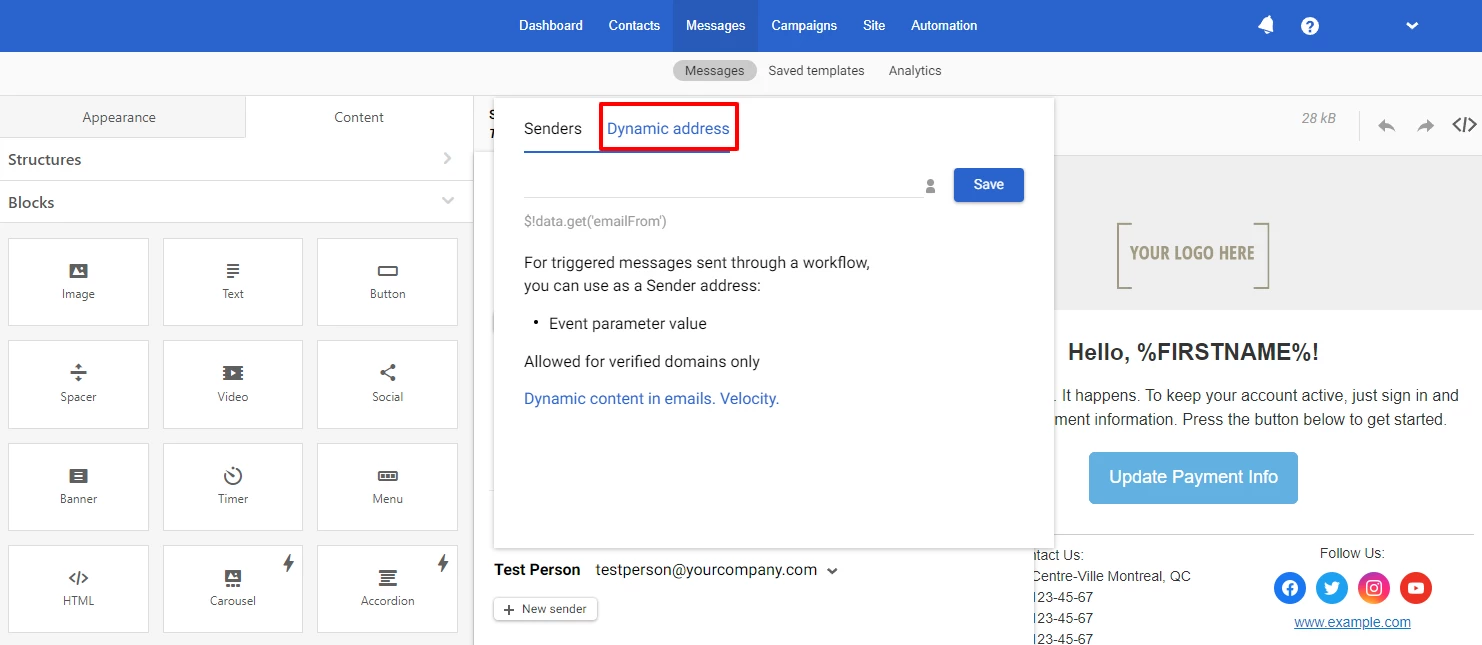
Dynamic Sender Address
Use this option to send a bulk campaign with different senders. For example, when you need to automatically substitute the names of a personal manager for each customer. For triggered messages sent through a workflow, you can use as a reply-to address:
- Event parameter value
- Contact field data
To add a dynamic sender address, follow the next steps in the email editor.
- Click on Sender.

- Go to Dynamic address.
Important
If this option is unavailable in your account, apply for activation
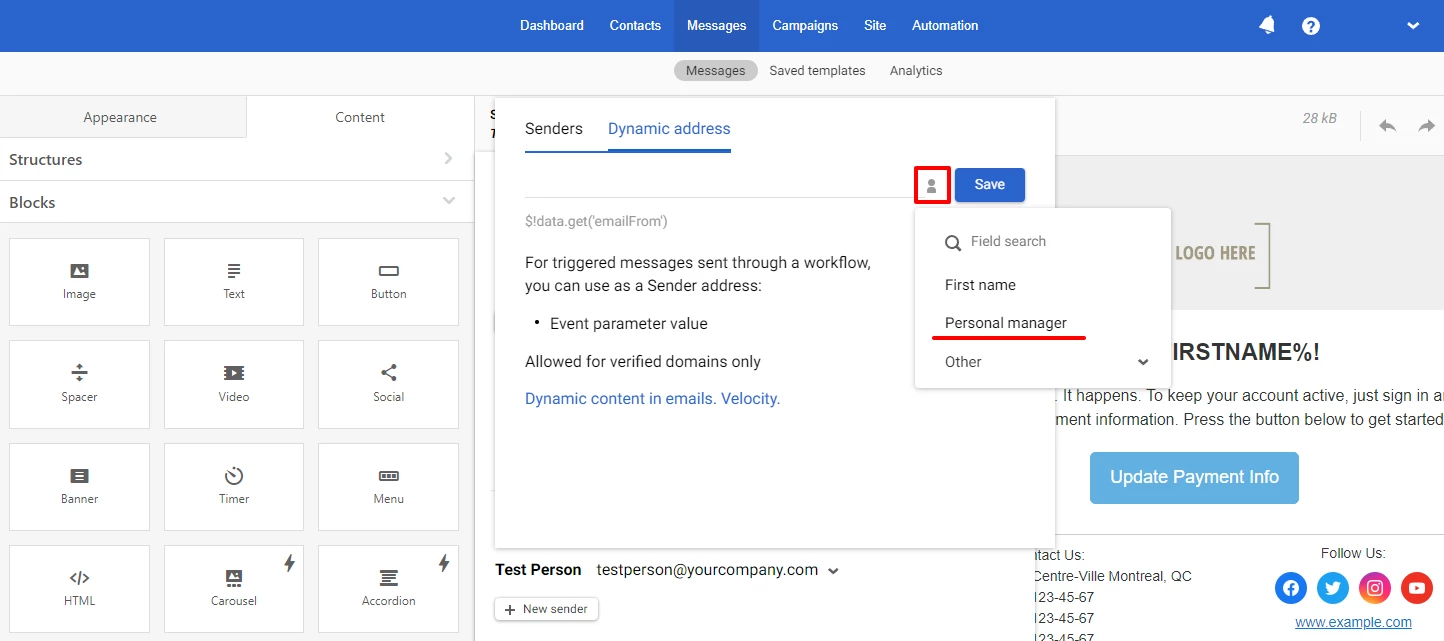
To substitute the sender from the event parameters, specify the velocity structure in the corresponding field. For example, $!data.get(‘yoursender_address’), where yoursender_address – variable from the event.
To substitute the sender from the contact card, click on the person icon and select the appropriate contact field. The variable will be automatically added to the field.
3. Click the Save button.
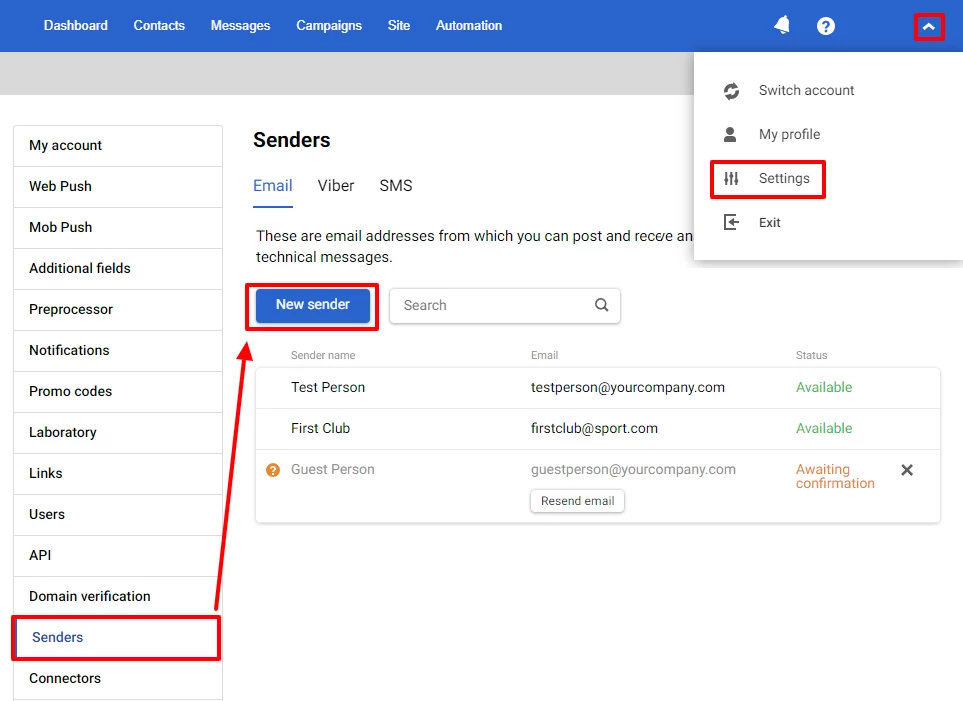
Adding a Sender Via Account Settings
Go to your account → Settings → Senders → New sender.
2. Enter a new sender name and email address.
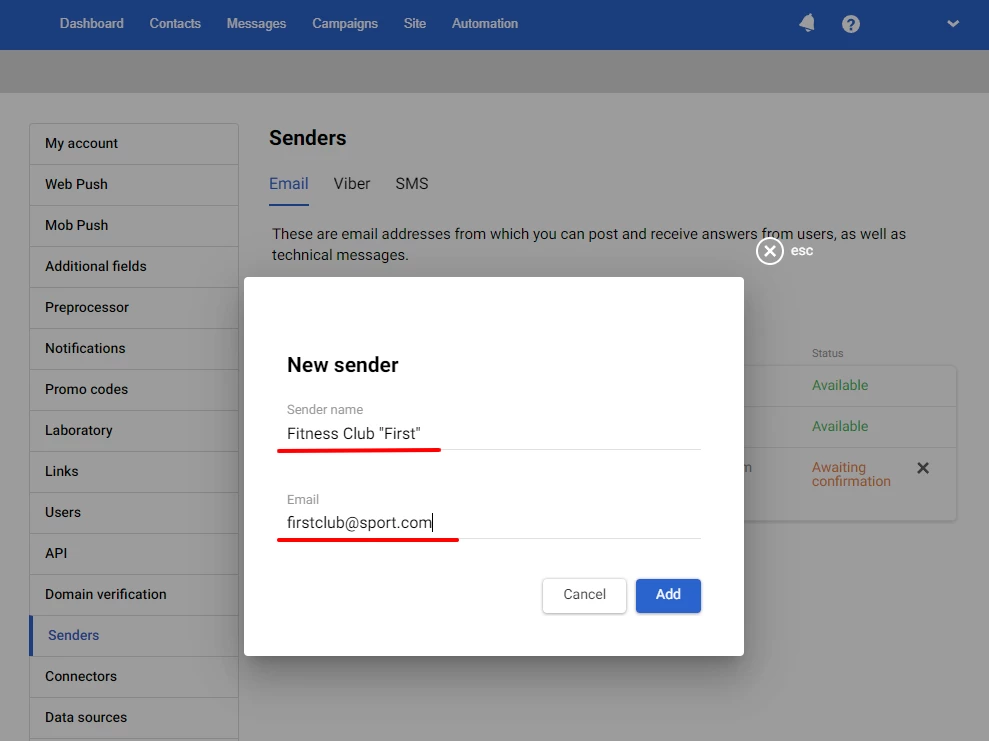
After clicking Add, the system will send a confirmation email to the specified email.
- Confirm the sender name in the email from Yespo Support.
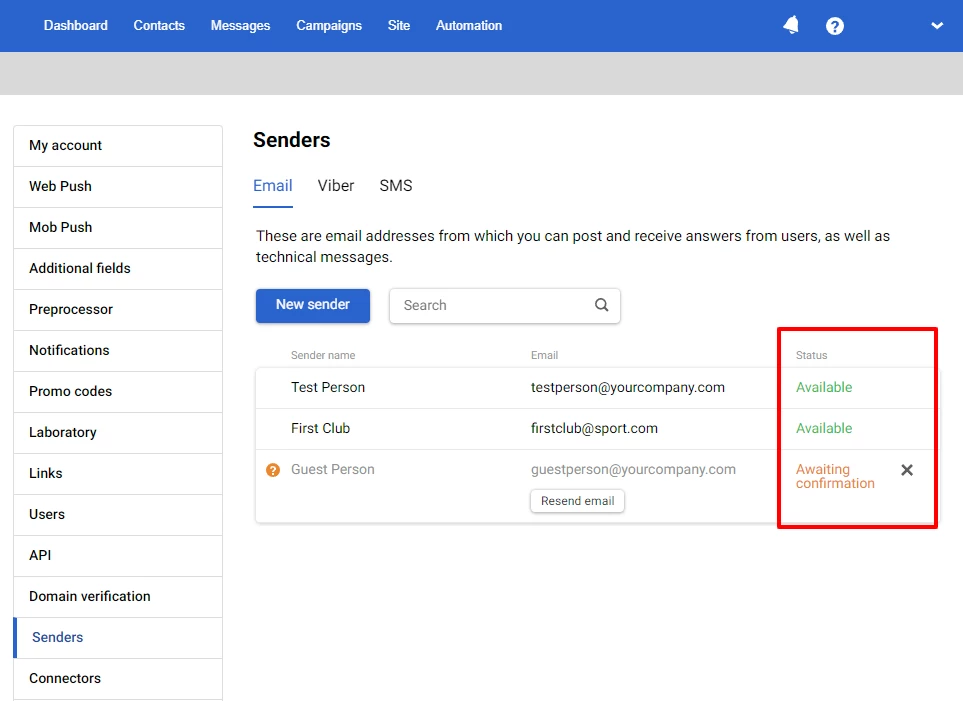
After confirmation, the sender receives the status “Available”. The status “Awaiting confirmation” will be displayed until you click the link from the email. In the “Sender name” tab, you can see a list of all senders with their statuses. For sender names awaiting confirmation you can resend request:
Adding Reply Address
By default, all users reply to the sender's address. If you need, add another reply address. Send messages from a common address, for example, news@yourcompany.com, and receive replies to another address.

The reply address is added in the same way as the sender name.
Important
Reply address must be in your corporate domain
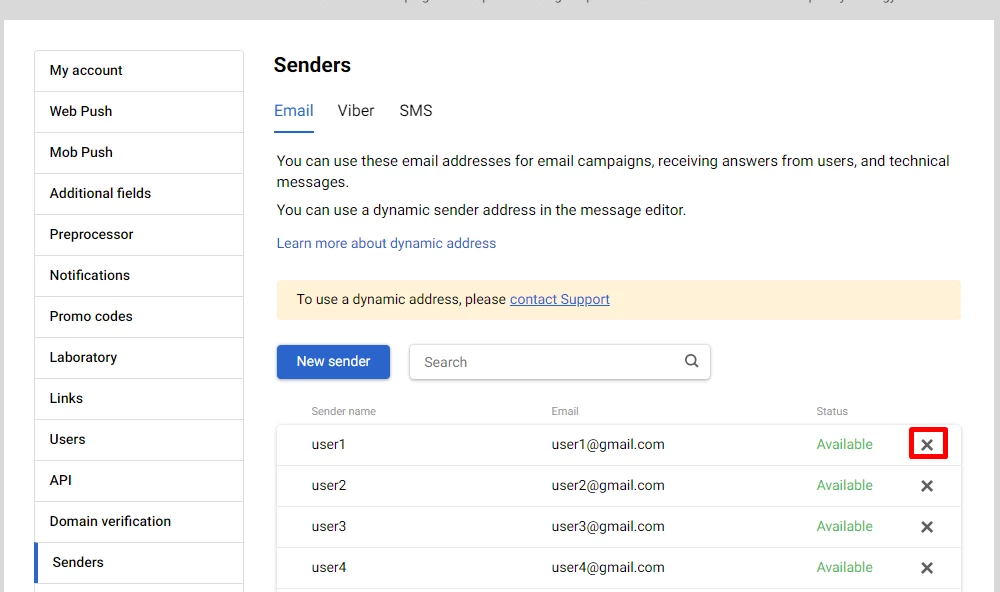
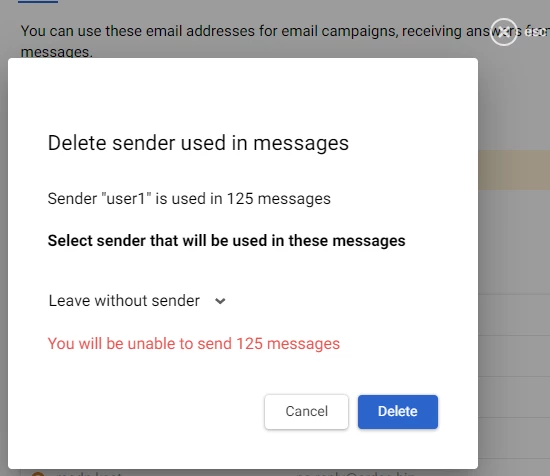
Deleting a Sender
Go to your account settings → Senders → Email tab. Click on the cross in the spacer with the sender you want to delete (if there is only one sender in the account, you cannot delete it).
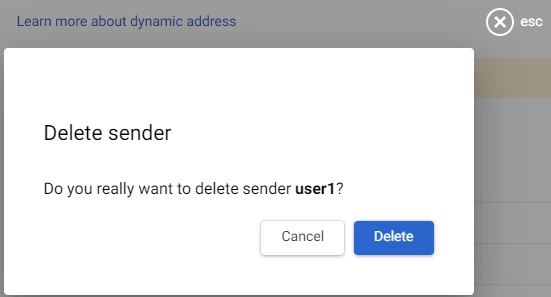
If the sender is not used in any messages, click Delete, after which the system will delete it from your account.
If the sender is used in messages, the system will prompt you to select a different one.
Select a new sender to apply to these messages and click Delete to remove the old sender from your account.
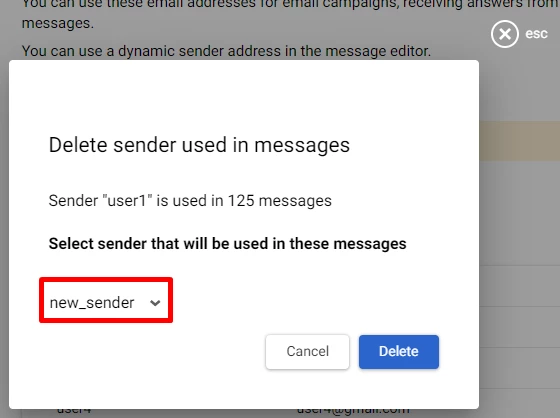
If you select the Leave without sender option, the system cannot send these messages until you specify a new sender.
Updated 3 months ago