
Responsive Email Editor Overview
Working in the responsive Yespo editor frees you from routine and saves time for segmentation, analytics, and personalization of communication. No knowledge of HTML code is required to create emails in our system. The layout is carried out by simply dragging and dropping blocks.
Let's look at the capabilities of the drag-and-drop editor.
Creating Template
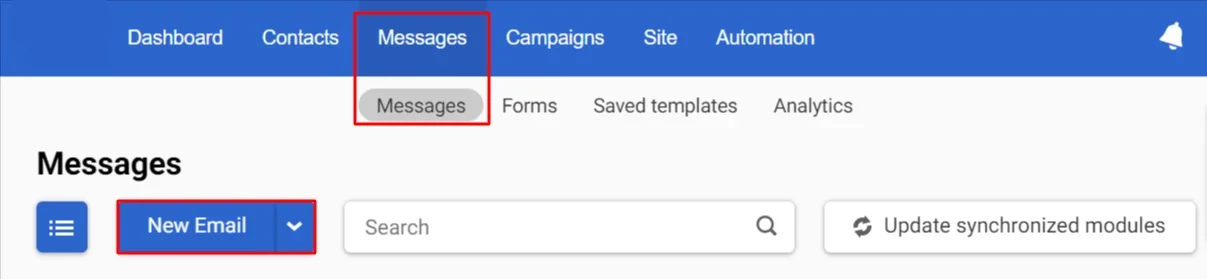
Go to Messages → Messages and click New Email.
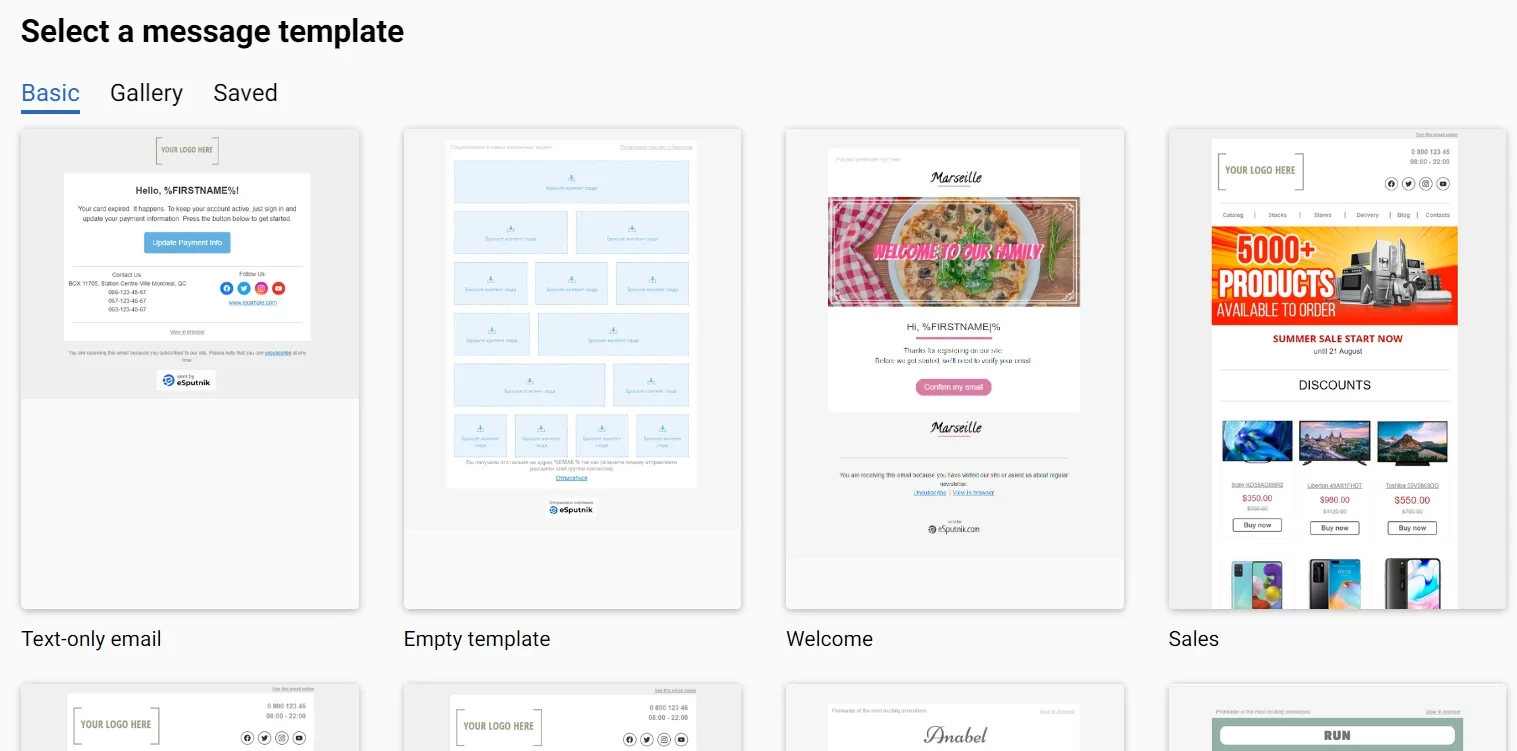
The template gallery will open with the Basic, Gallery, and Saved tabs. Choose the template that best matches your campaign intent.
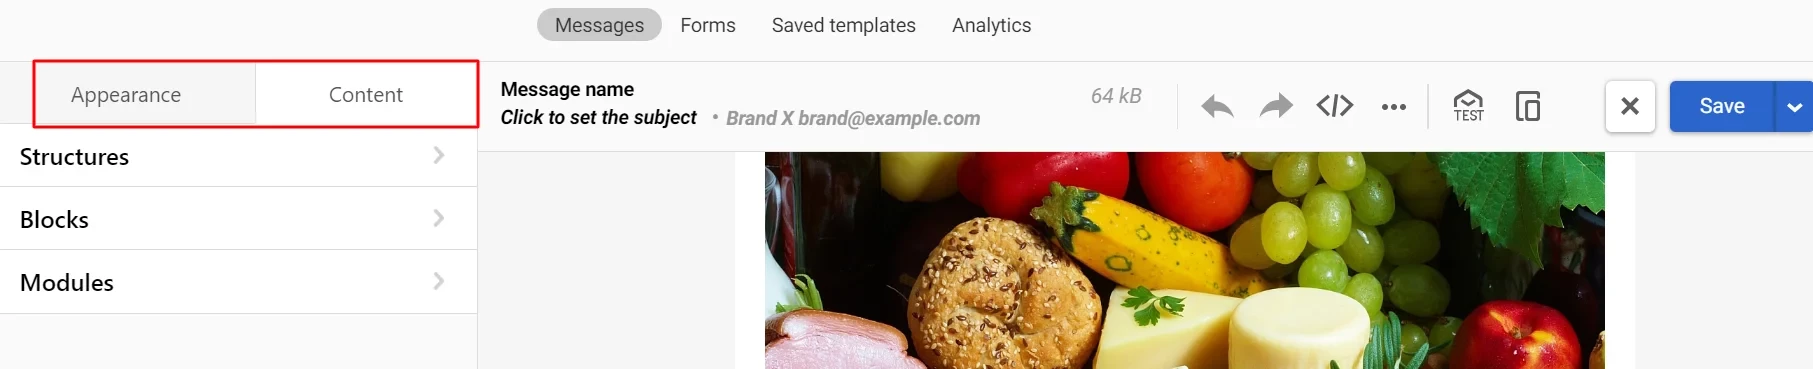
The selected template will open in the editor. On the left is the main panel for editing an email. It consists of 2 tabs:
- Appearance (learn more about working with this tab by following the link).
- Content.
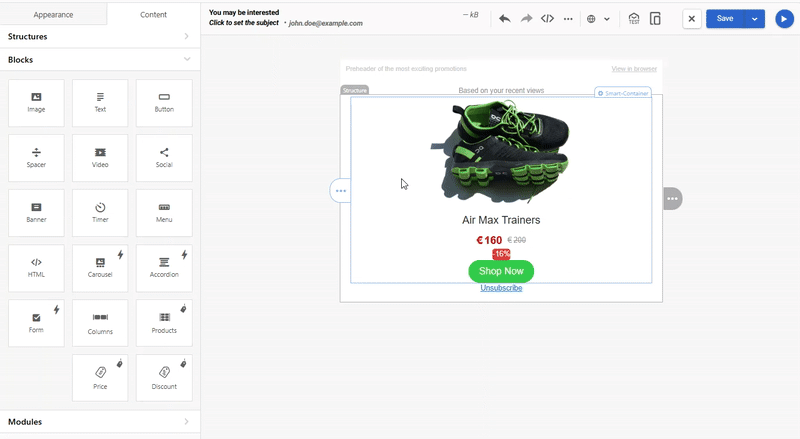
The Content tab contains 3 sections:
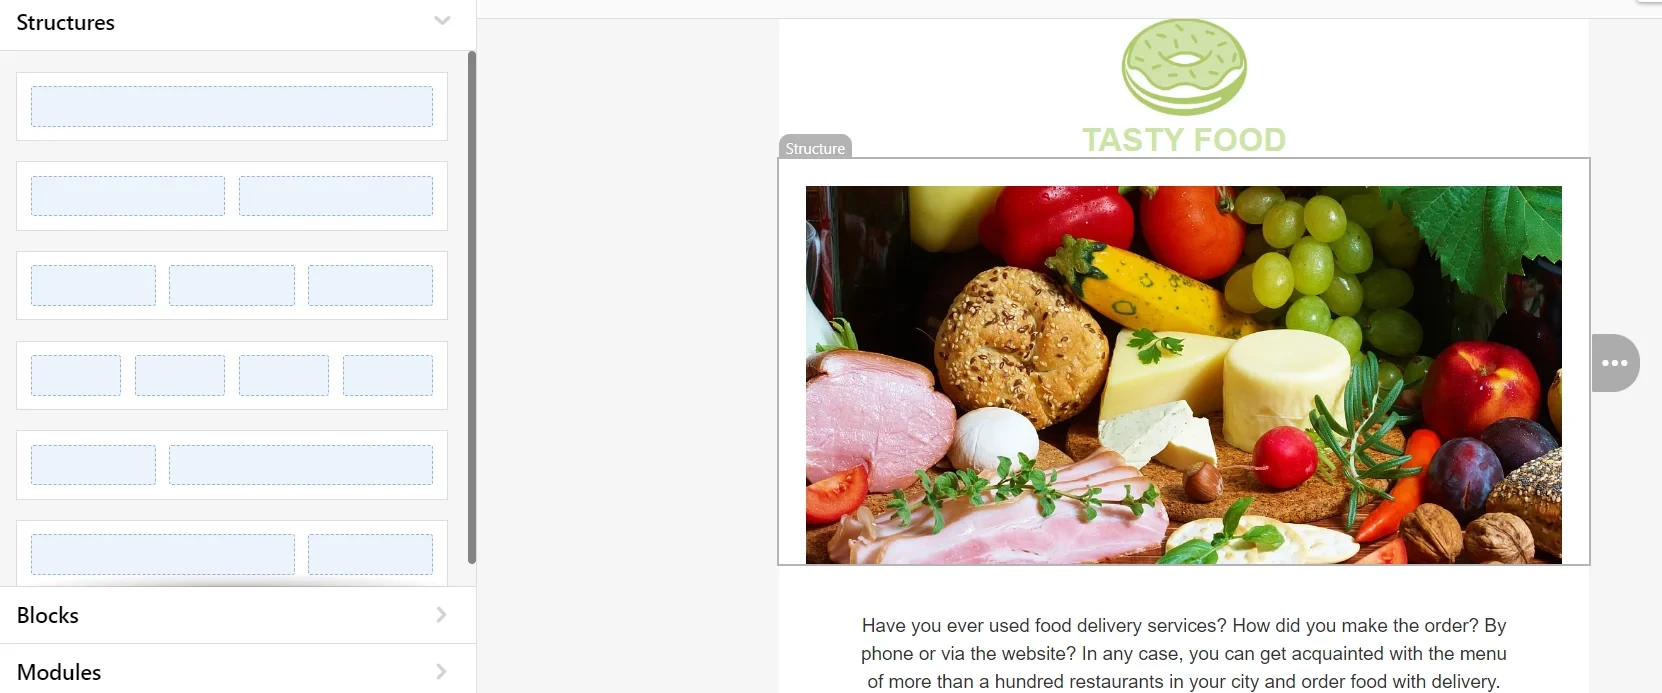
- Structures are containers for placing elements.
- Blocks – menu, banner, video, social networks, etc.
- Modules are a library of saved and common email elements, such as footers, headers, product cards, etc.
Template Structure
Each template consists of the following elements: stripe, structure, and container with blocks.
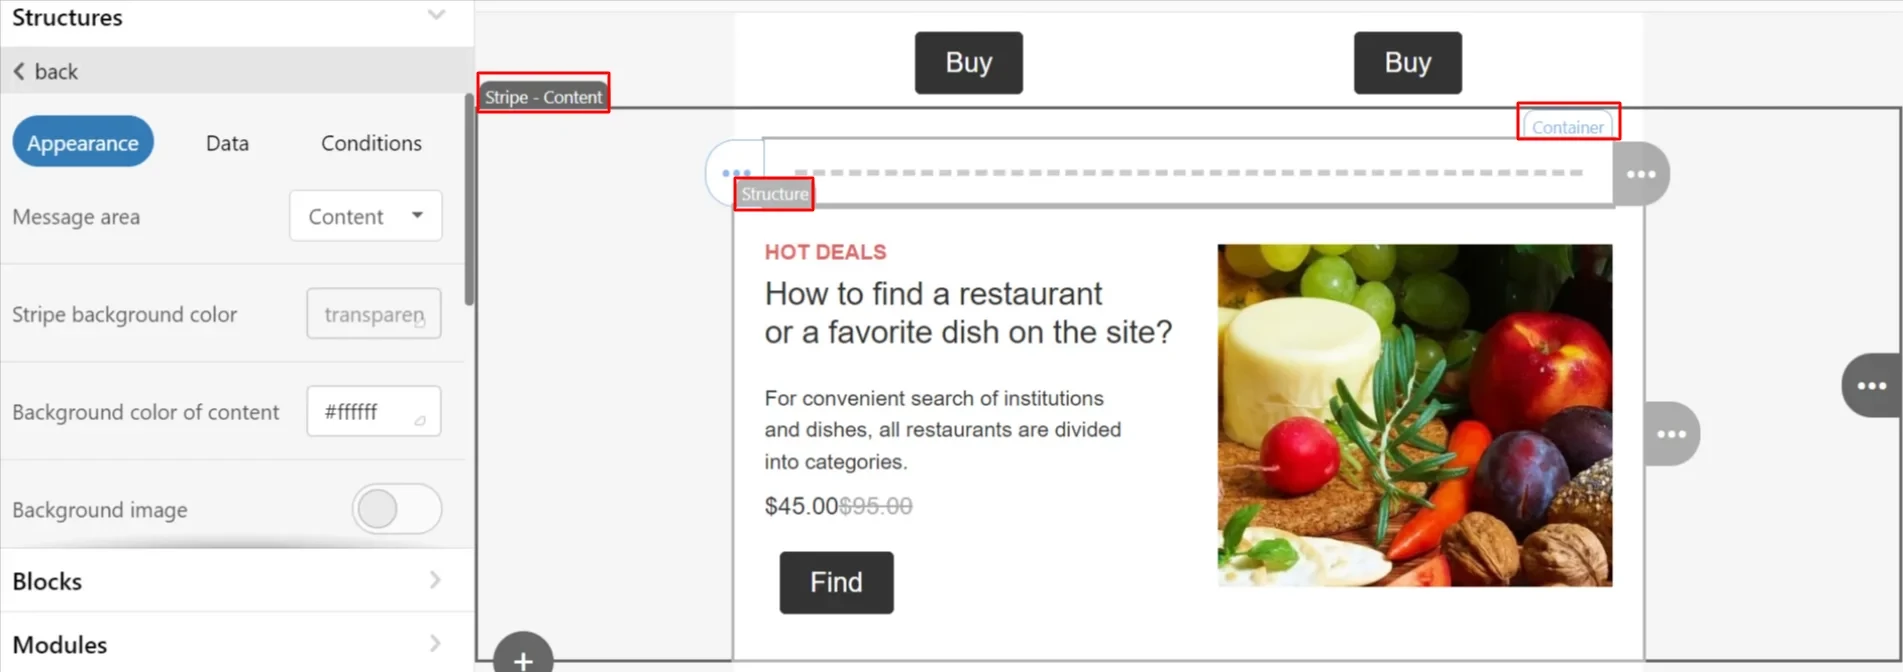
Stripe
Stripes contain blocks, structures, and containers. You can move, copy, delete, and format them.
Stripe appearance editing panel:
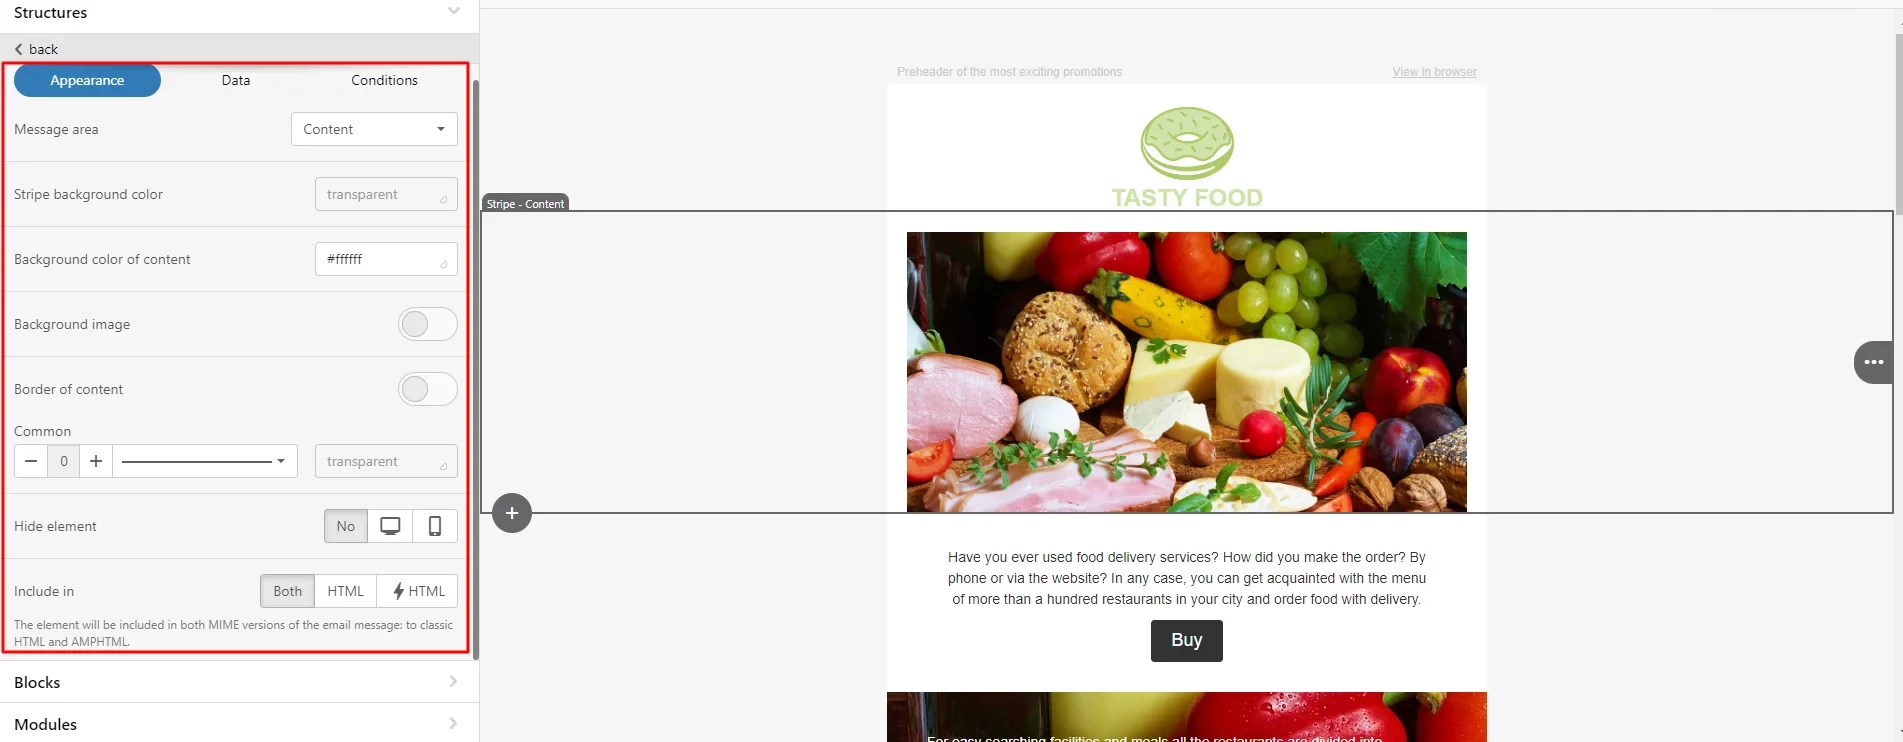
To edit a stripe, you can:
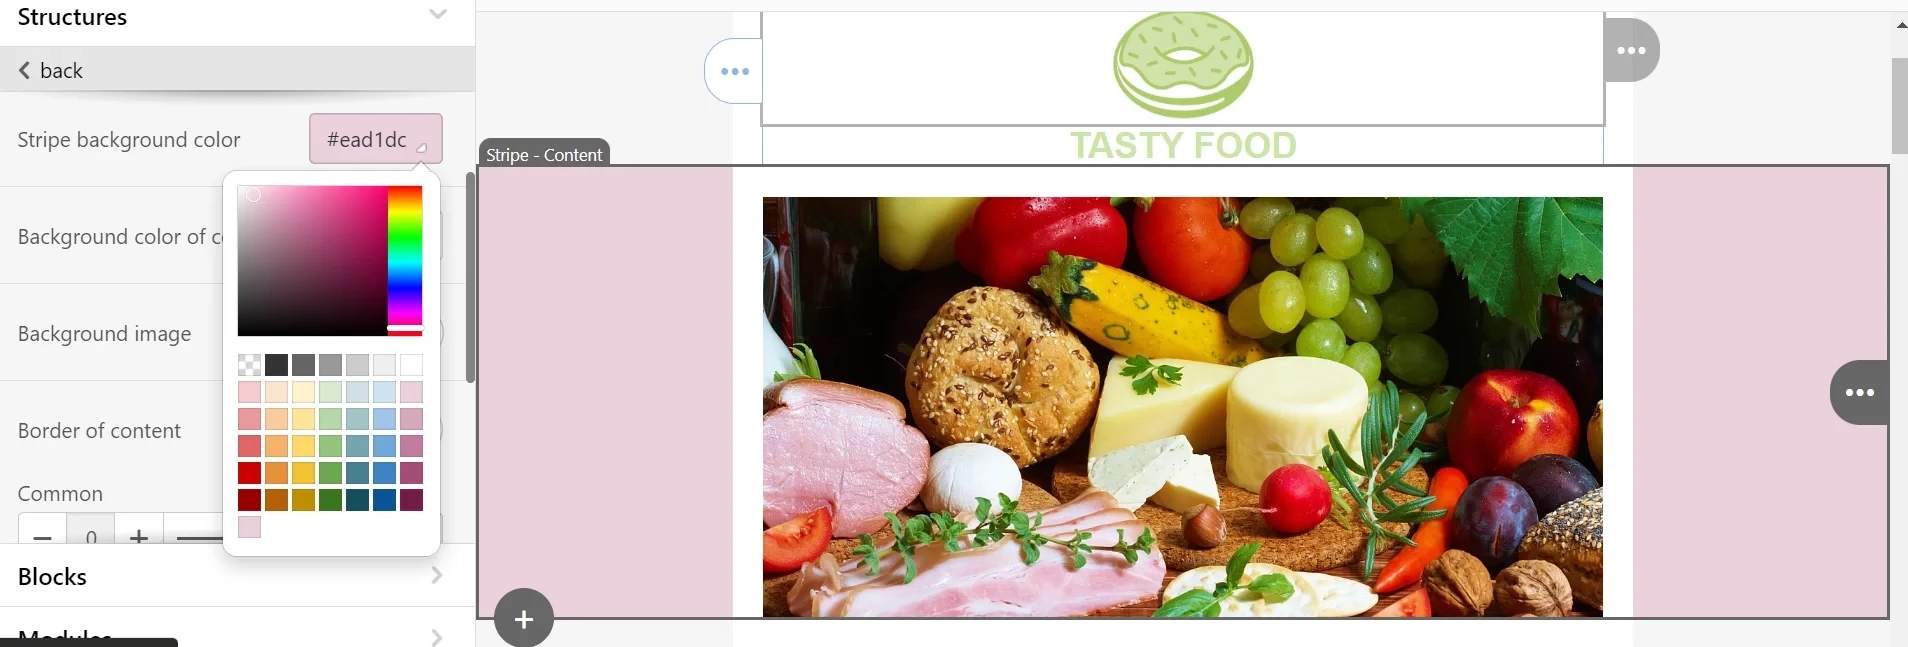
- set background color;
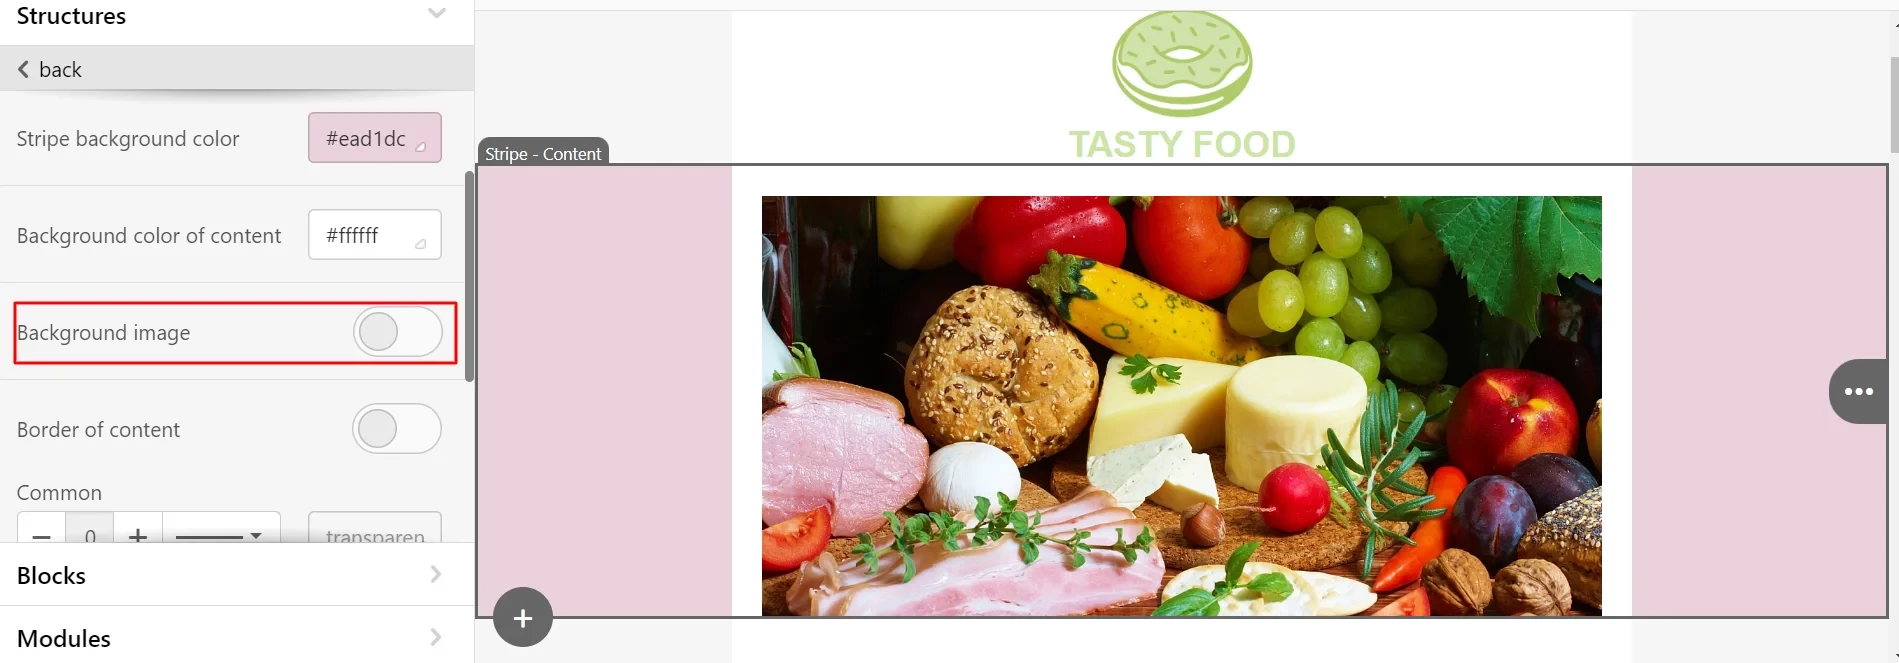
- add a background image — take an image from the bank, upload a prepared one, or insert a link to an external resource;
- set padding and color;
- hide the stripe for desktop or mobile versions;

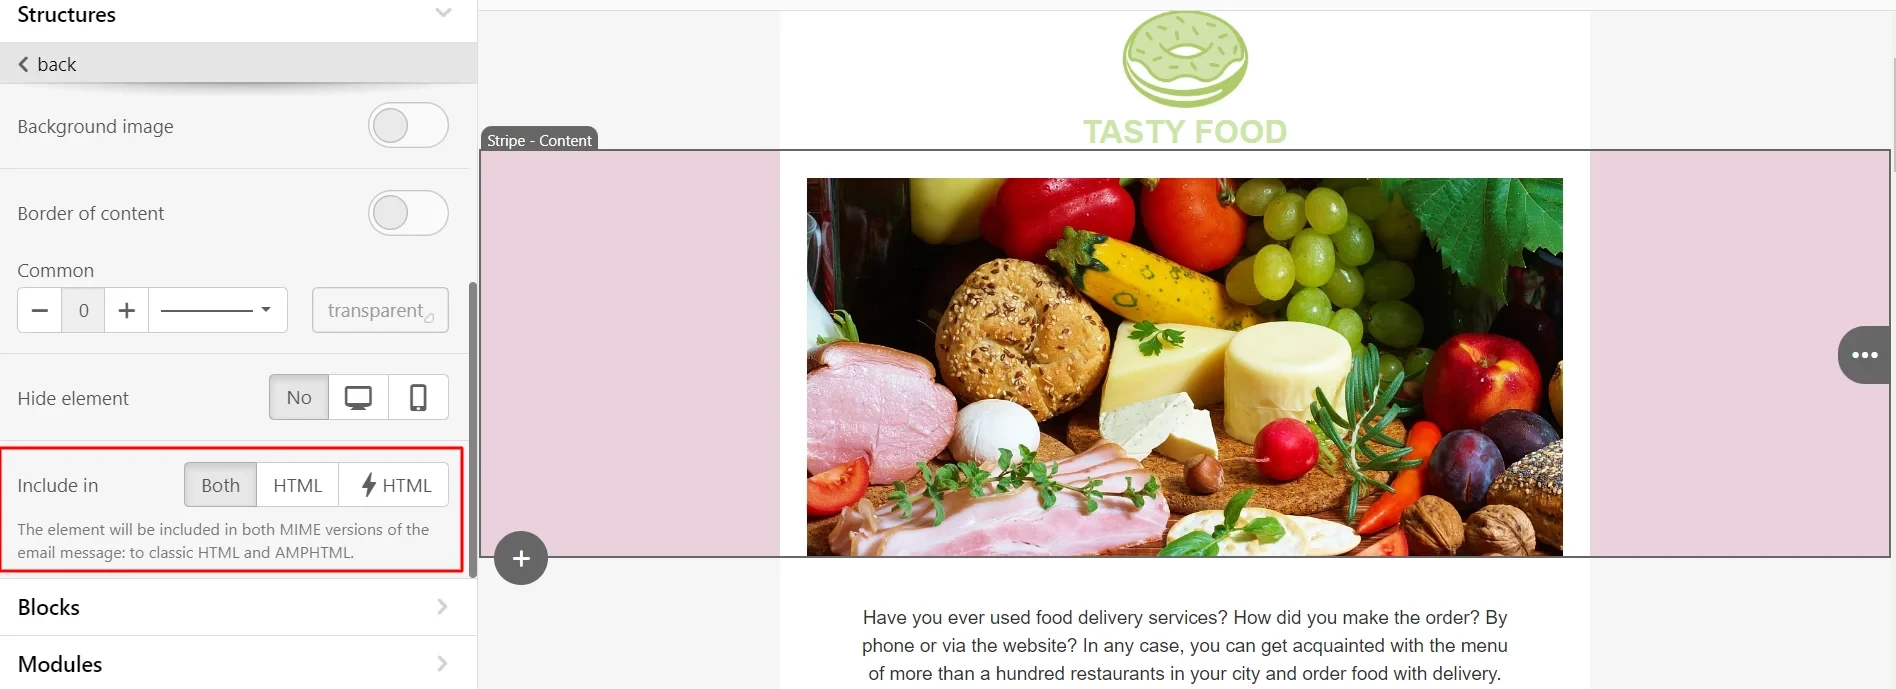
- enable/disable the stripe for the HTML or AMP version of the email.
Structures
The structure consists of blocks: video, images, text, banners, buttons, timer, etc. The structure can have from one to four sections.
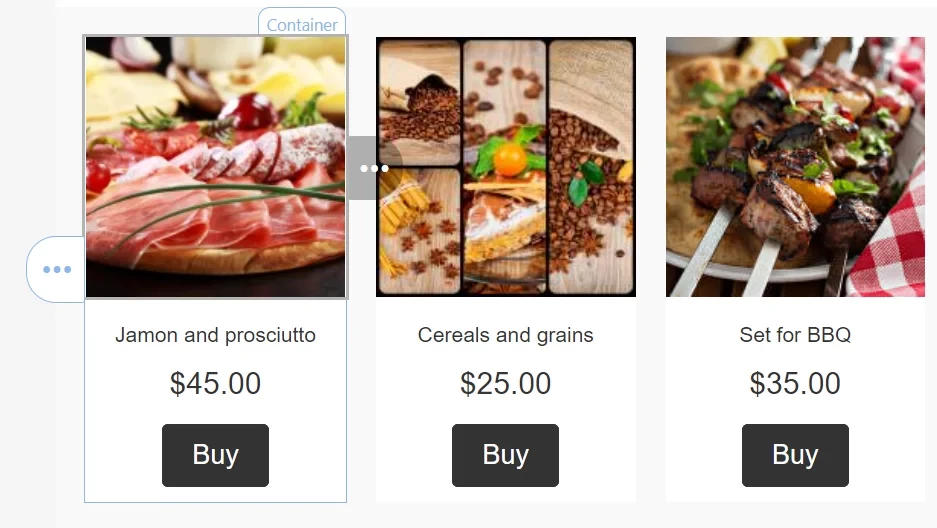
Container
A container can contain one or more basic blocks from the Blocks menu on the left, for example:
- Image
- Text
- Button
You can use containers to create product cards, describe blog posts, announce events and promotions, etc.
Blocks
Blocks tab contains all content blocks. With their help, you can fill out the content of the email.
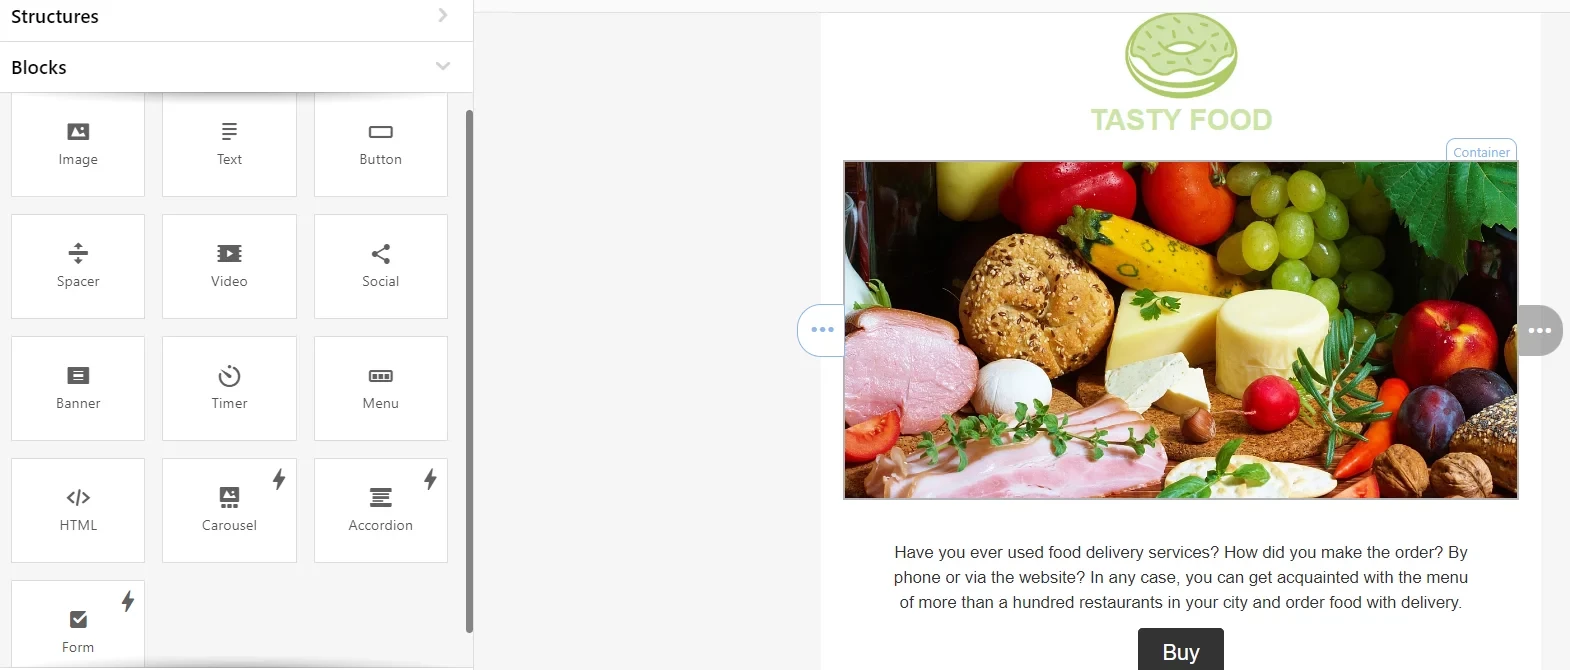
Let's look at the elements of the Blocks tab.
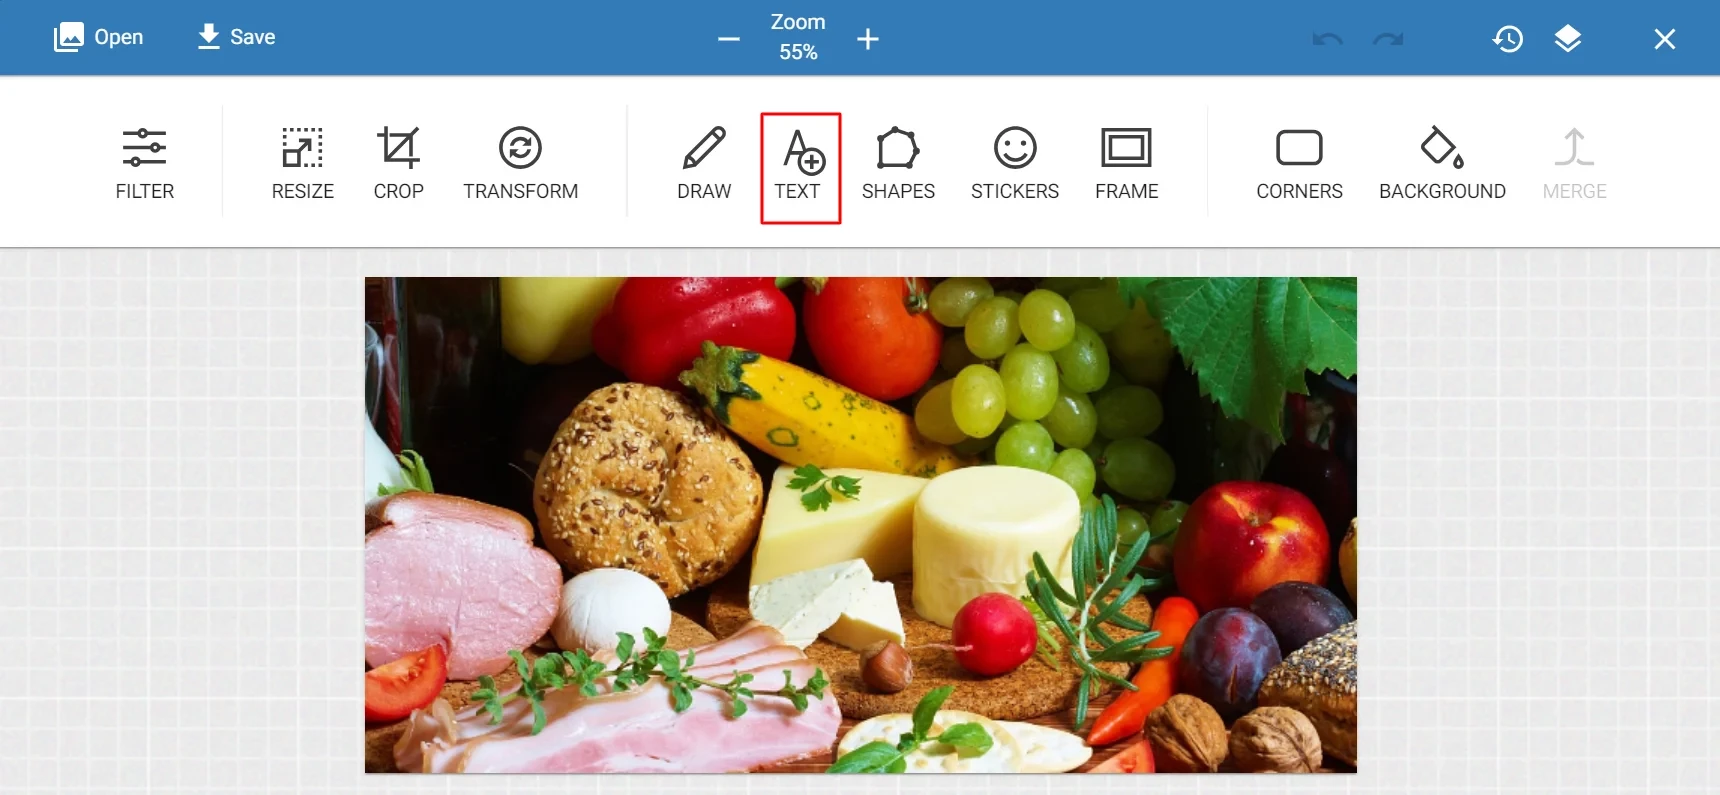
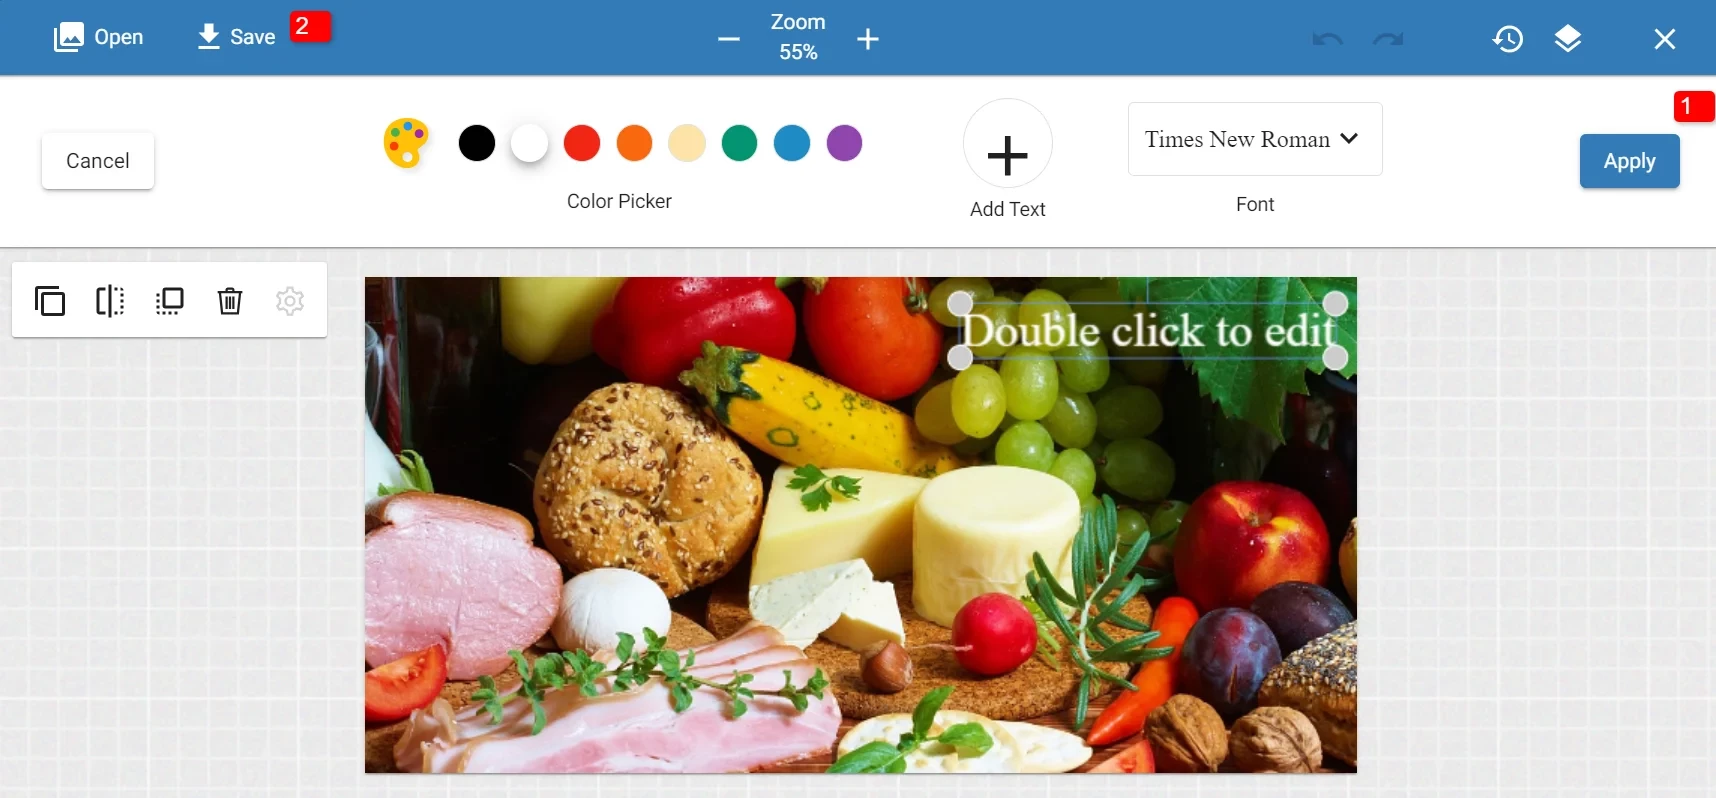
Image
Check out the possibilities of working with images in the separate article.
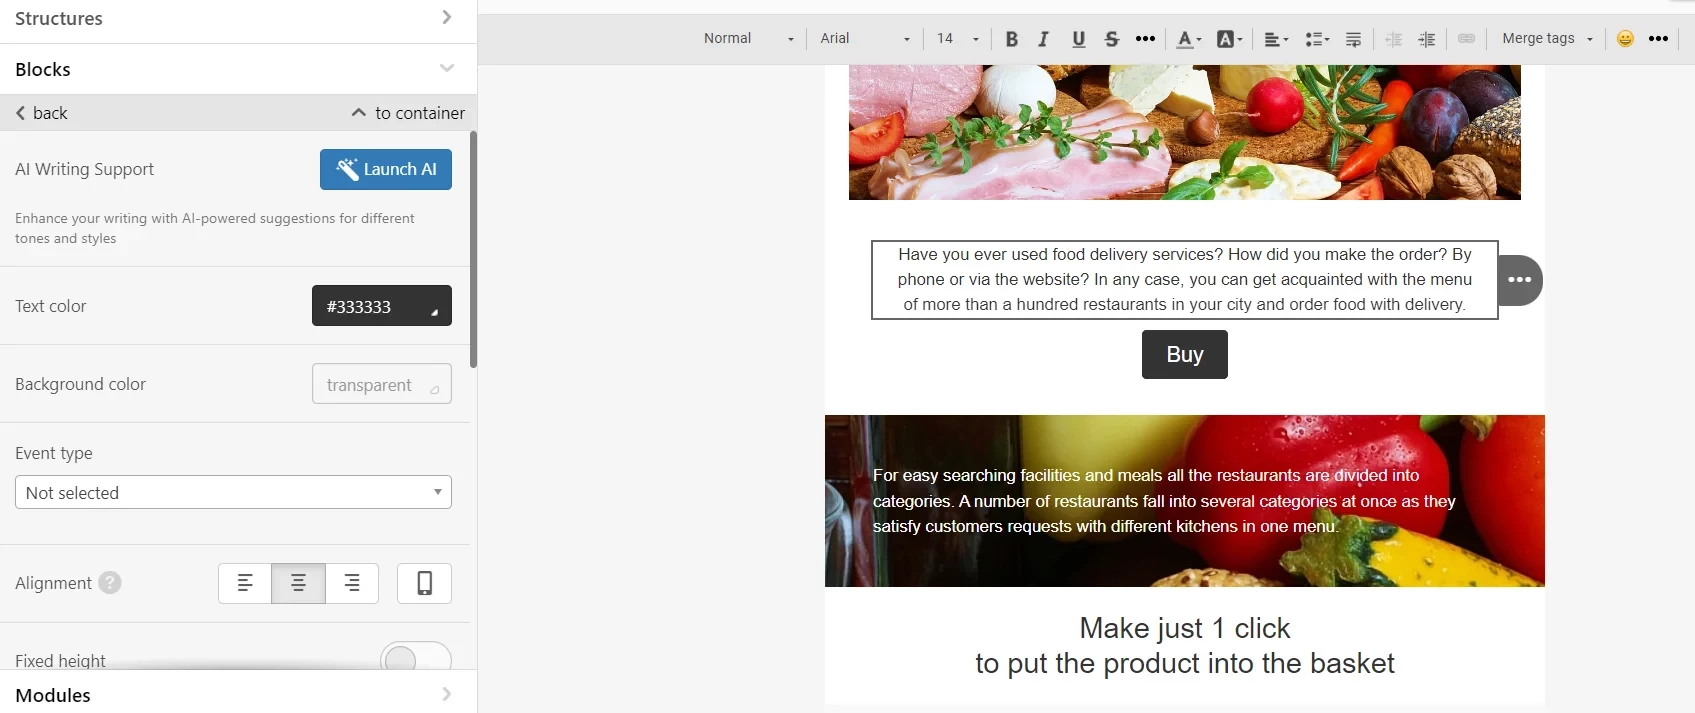
Text
The text block has a built-in editor that allows you to change the font, background color, indents, etc. In addition, the text generator using artificial intelligence is at your service.
Button
Check out the possibilities of working with buttons in the separate article.
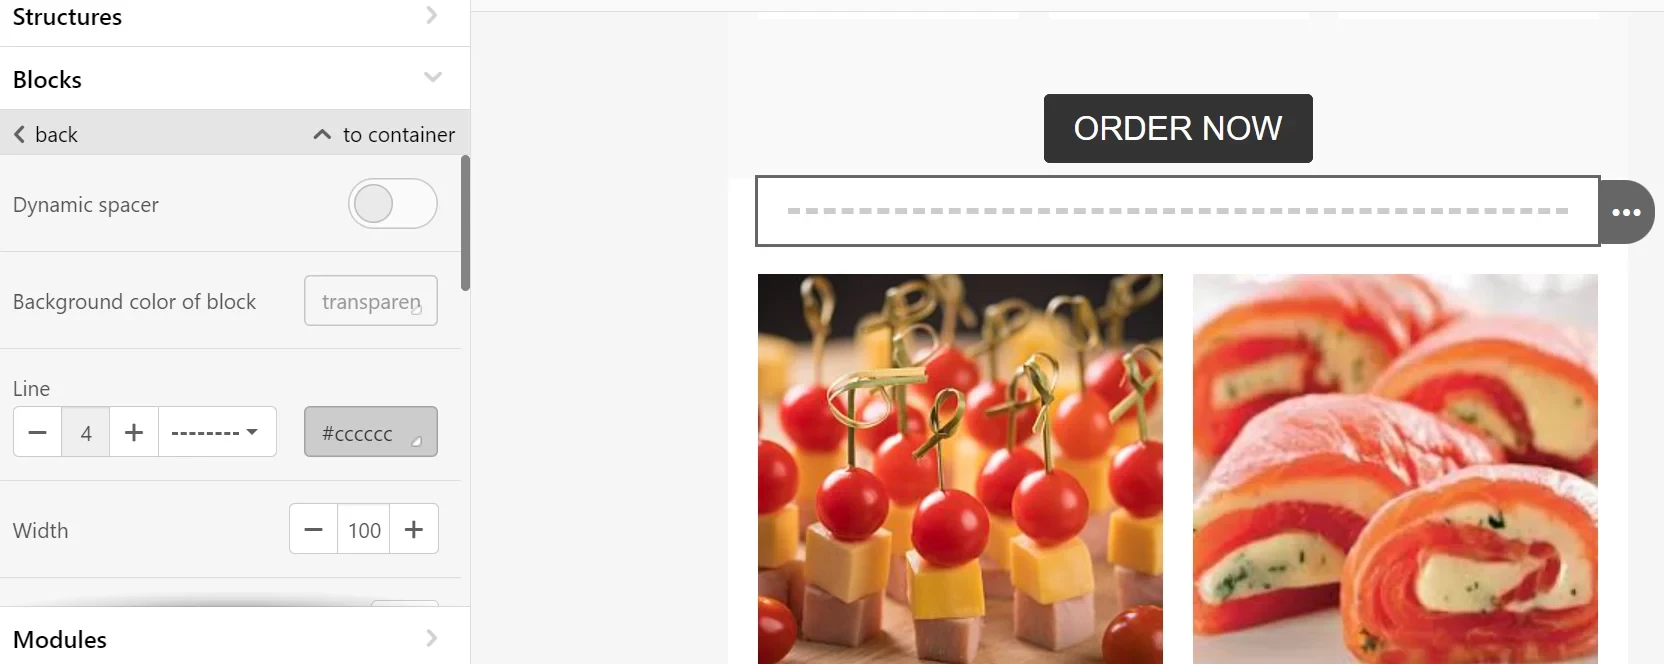
Spacer
The spacer helps visually separate different content blocks. In the block settings, you can select the line type, color, adaptivity, etc.
Video
Since HTML5 is not supported by all mailers, the video does not play in the email itself. The video file will open on the resource where it is posted (YouTube, Vimeo) by clicking the video button in the email.
To add a video to an email, you need to:
- Add a structure and place the Video block in it.
- Add video URL (YouTube, Vimeo) in the Link to video field.
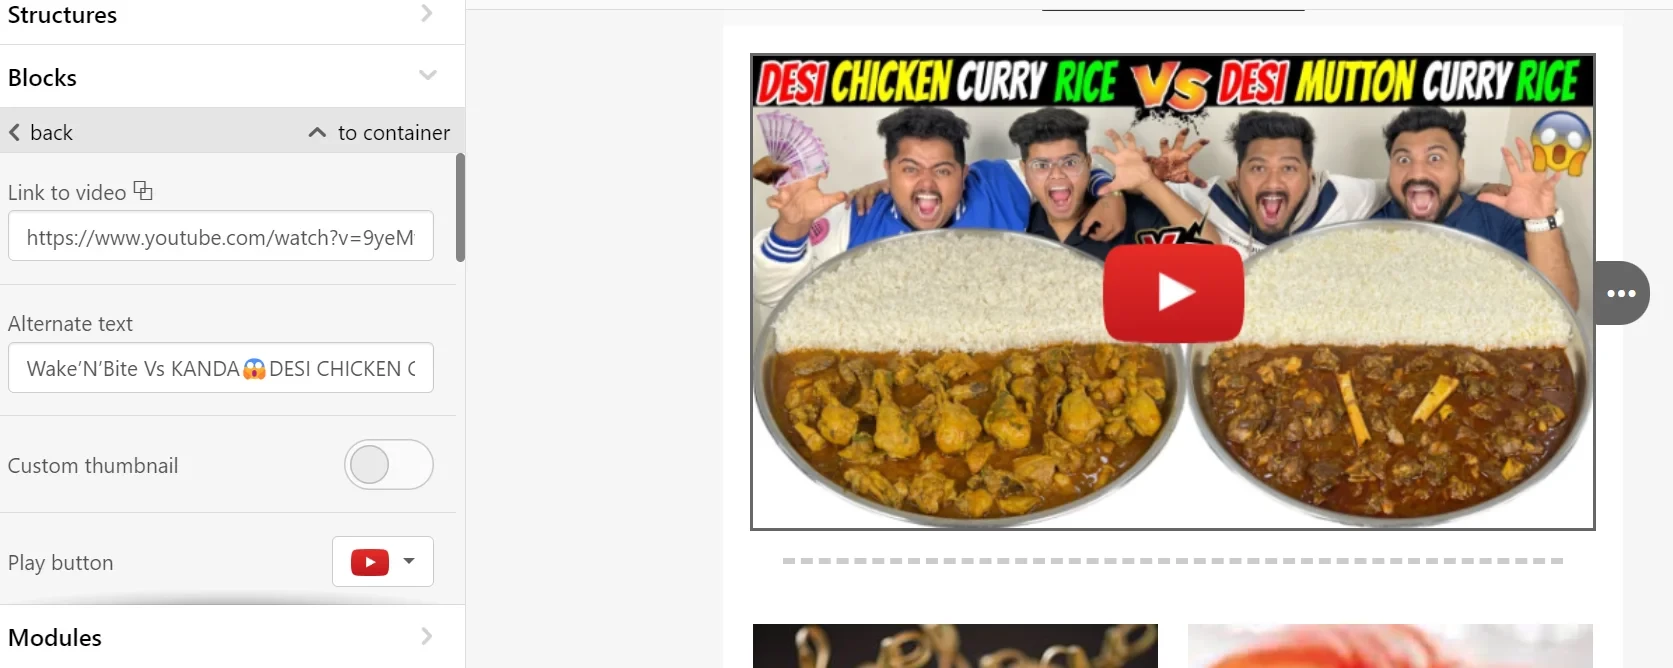
- Add a title image — this is an optional step since the system automatically pulls the cover image from the video. Alternative text for the video will also be added.
- Select the Play button.
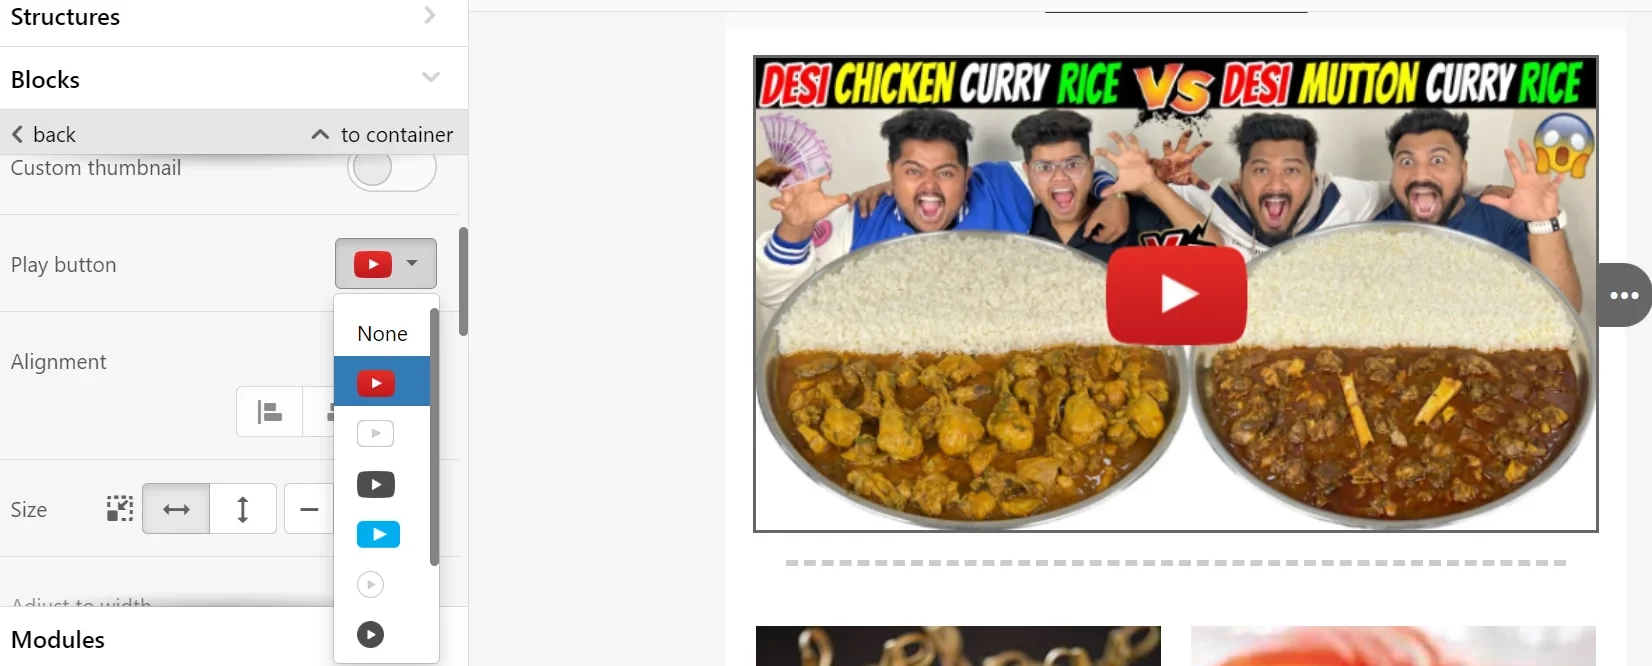
- Further video settings are similar to the settings for images: you can set alignment and size, image responsiveness, hide an element, add an anchor link, enable/disable an element for the HTML and AMP versions of the email.
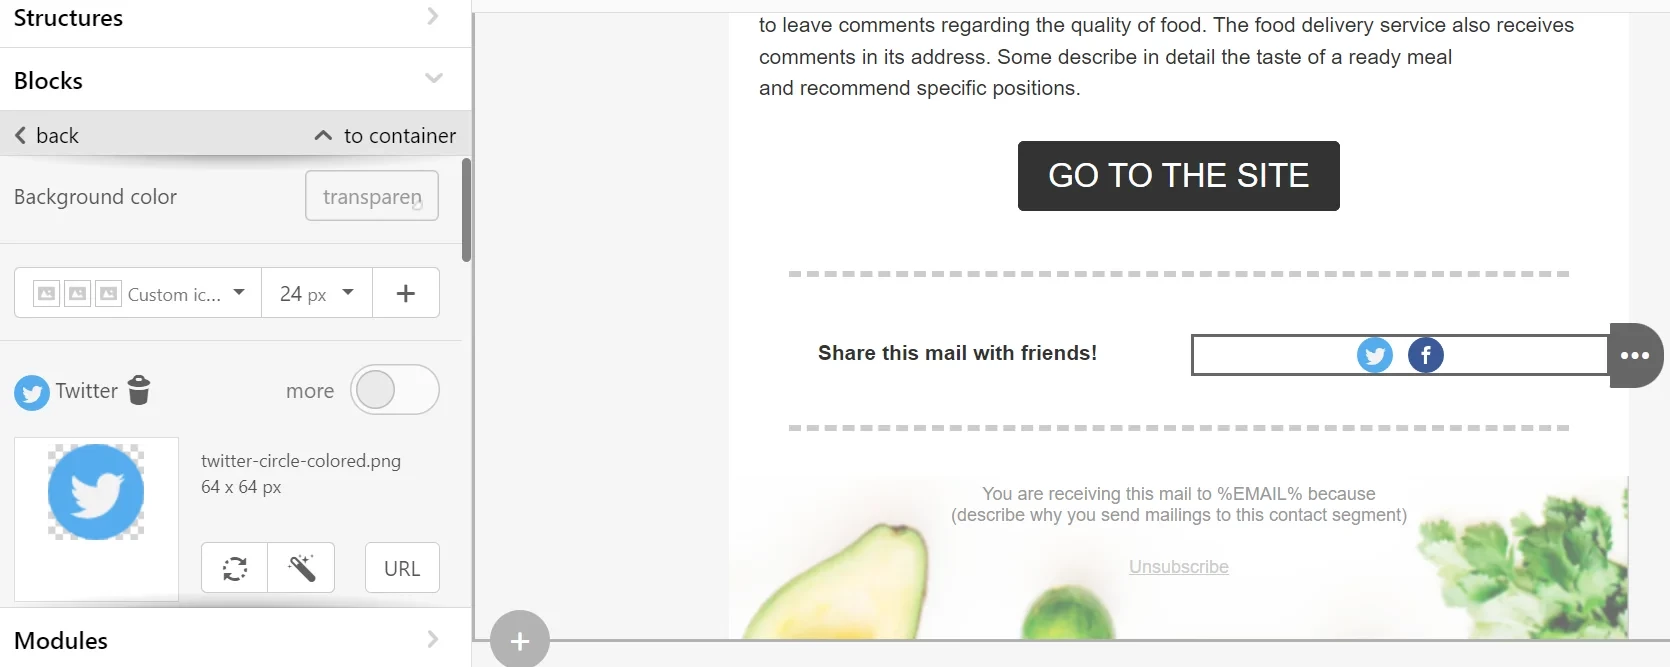
Social Networks
We recommend adding a Social block to all emails, as it allows you to draw the user’s attention to other communication channels. There are many variations in the appearance of this block in the editor.
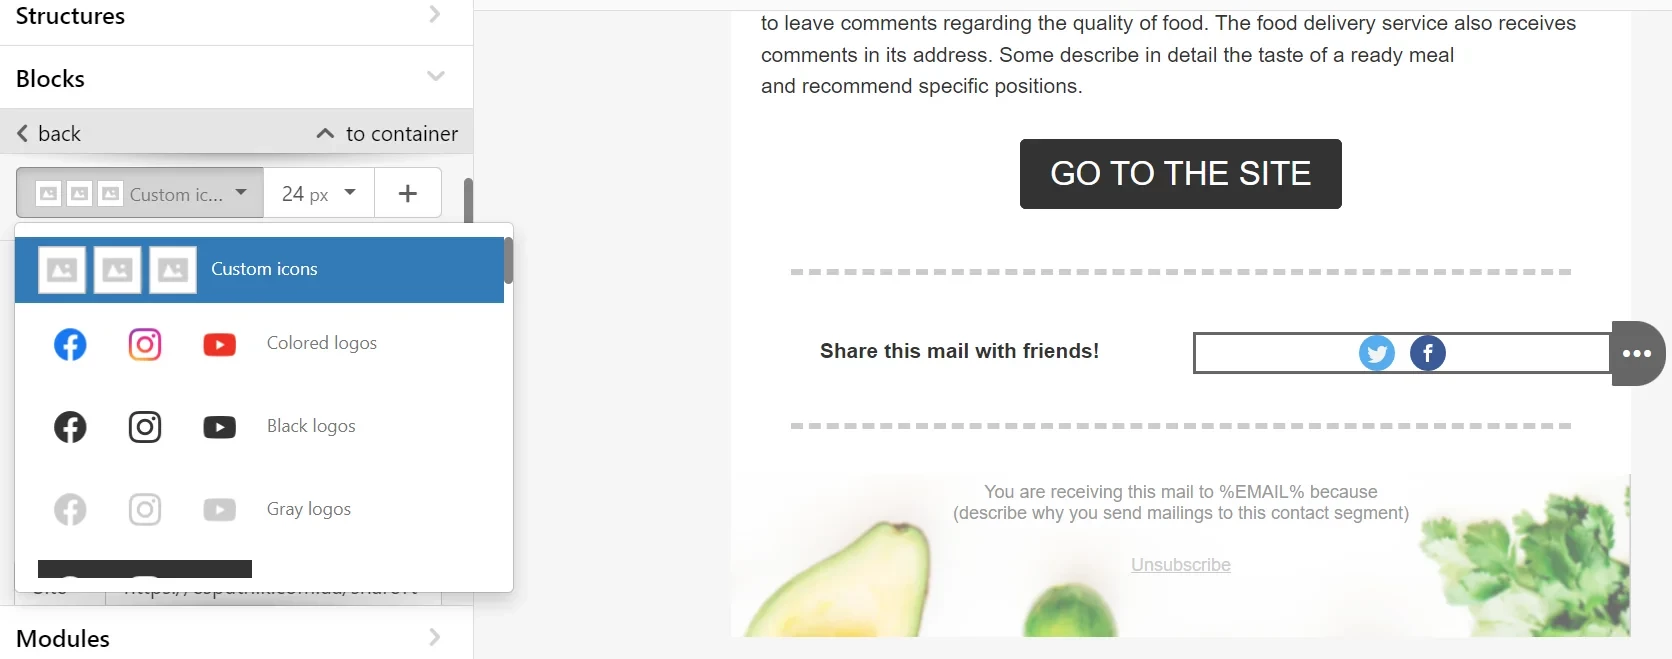
The same settings are available for this block as for other elements: specify a link, alternative text, select the block location, size, alignment, indents, etc.
You can create social media icons yourself using an image bank or your images.
Banner
An attractive banner will help hold the user’s attention and motivate them to read the email. You can select a banner with the corresponding elements in the list of modules and design it in the desired style.
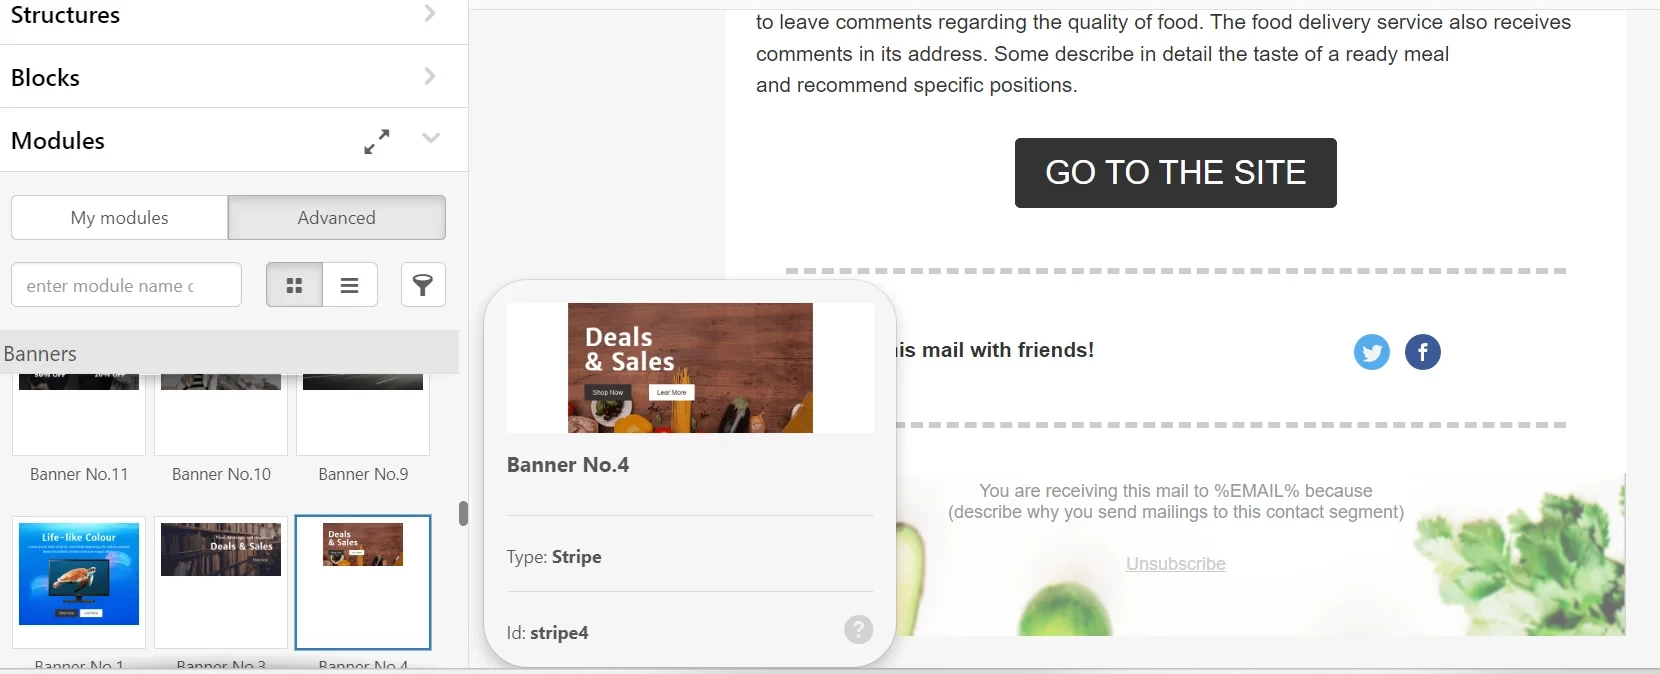
There are several ways to create a banner directly in the editor.
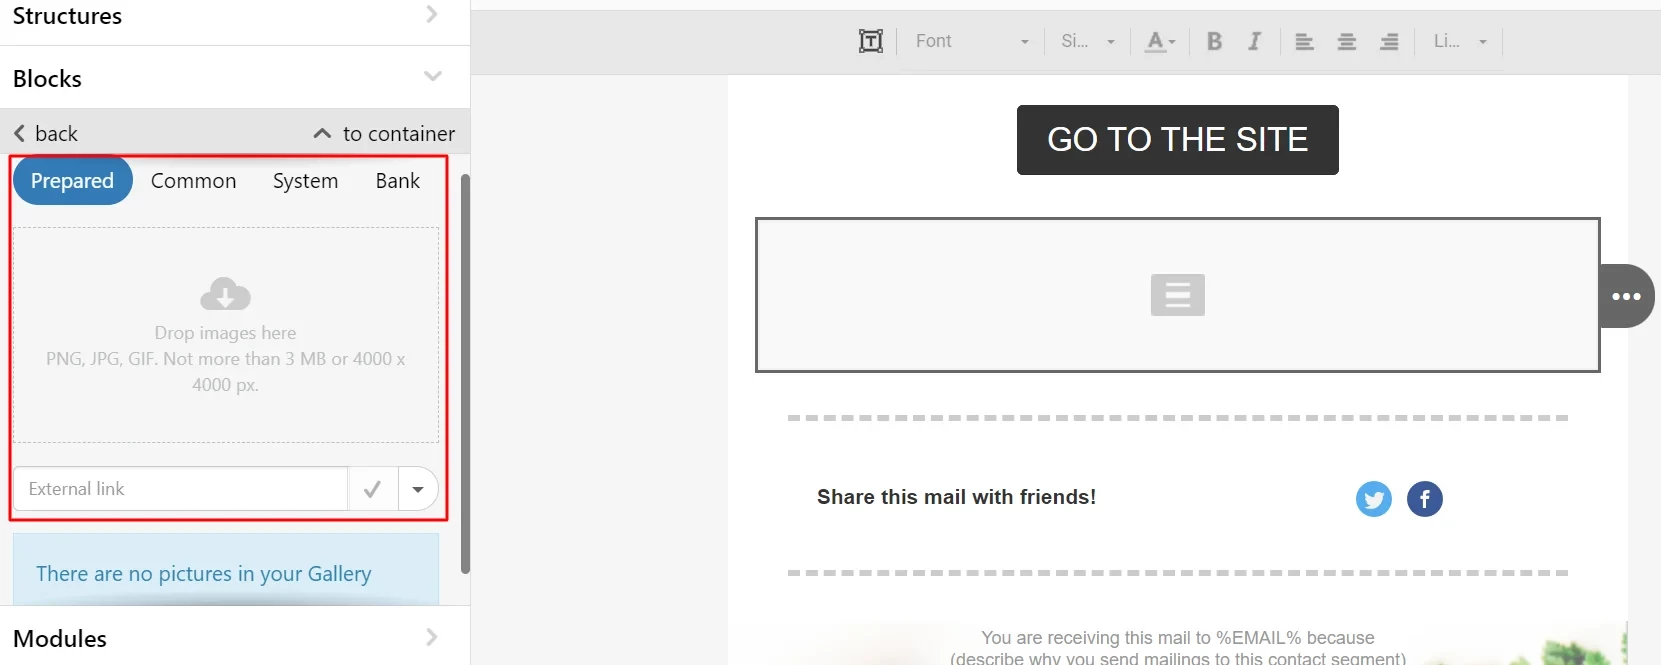
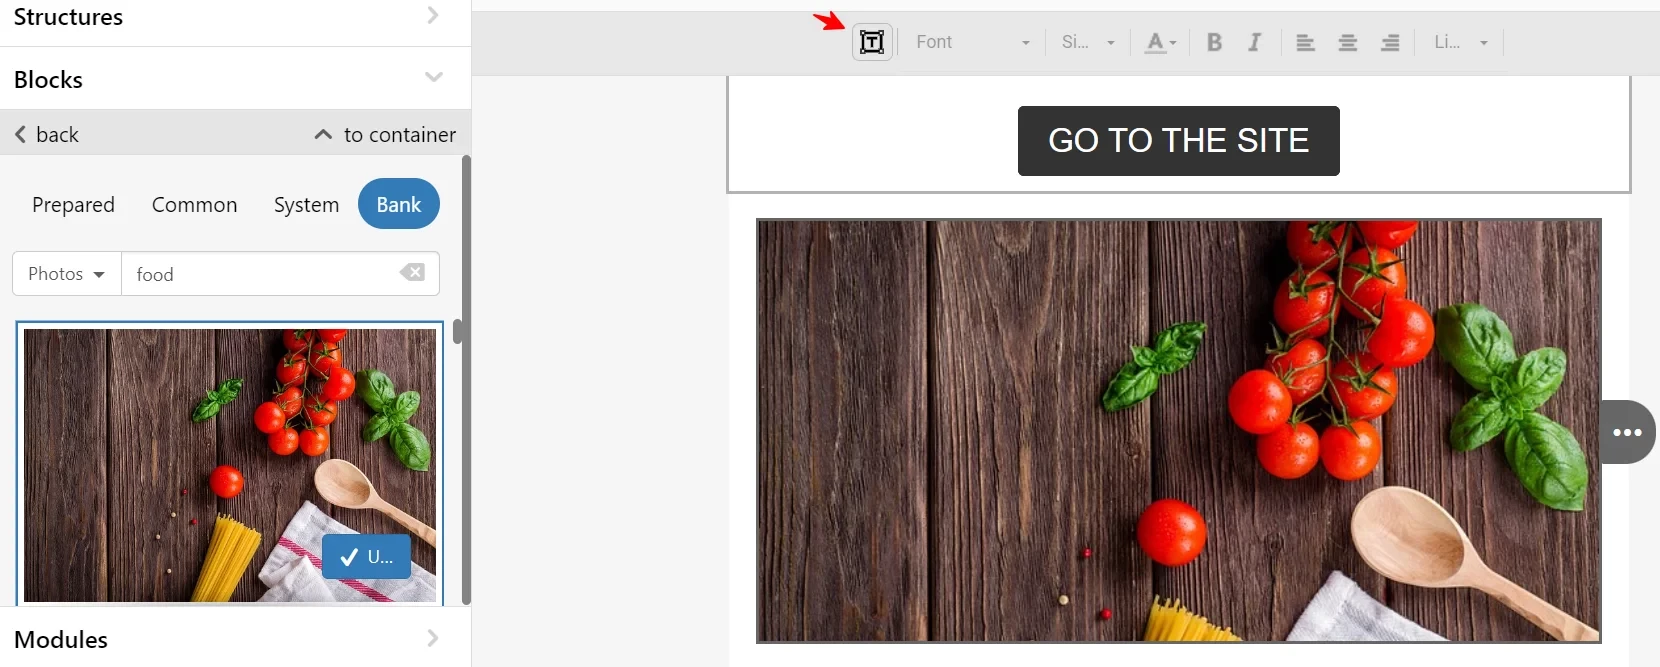
- Uploading the ready-to-use image and add the text to it.
- Using the built-in image bank (search is done by keyword). The selected image is added with one click, after which you can edit it.
- Adding the URL of an image from an open source and then editing it within the service.
There are several ways to add text to a banner image:
- Adding text to an image directly through the panel at the top (it opens by clicking on the image in the banner).
You can edit such a banner after converting it into an image. For example, replace a picture, delete or change text.
- Adding text in the image editor.
To do this, you need:
- Select Text;
- Select a font (220 fonts are available in the system, there is a search function);
- Write text on the banner and click Apply → Save.
Changing the text and font in such a banner is impossible after saving.
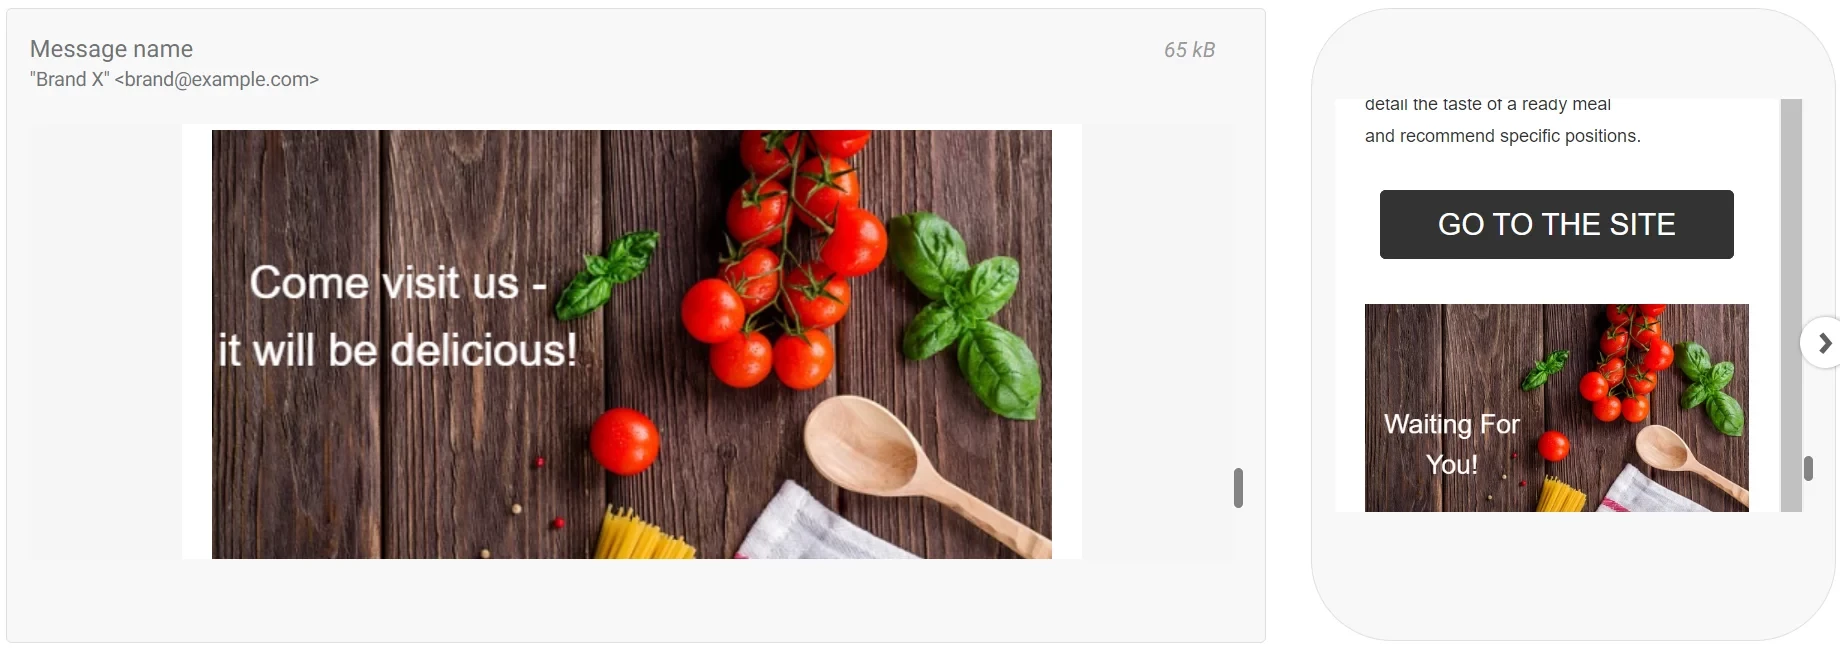
To make the banner look correct for desktop and mobile versions, we recommend creating a separate element for each. For example, we created a banner with a large text size that will be easily read on a mobile device and hid it for the desktop version.
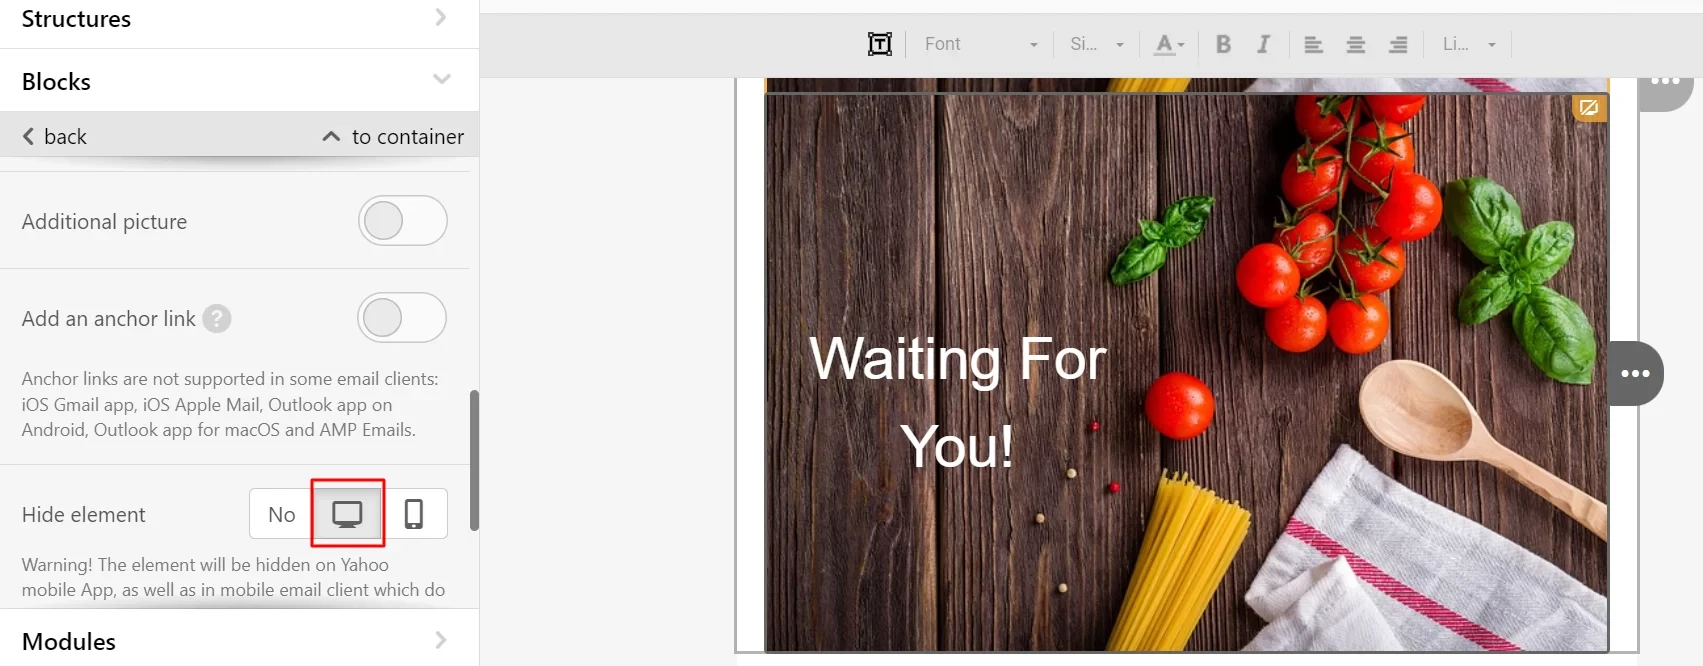
Similar settings are required for the banner of the desktop version.
Appearance of both versions of the banners:
Timer
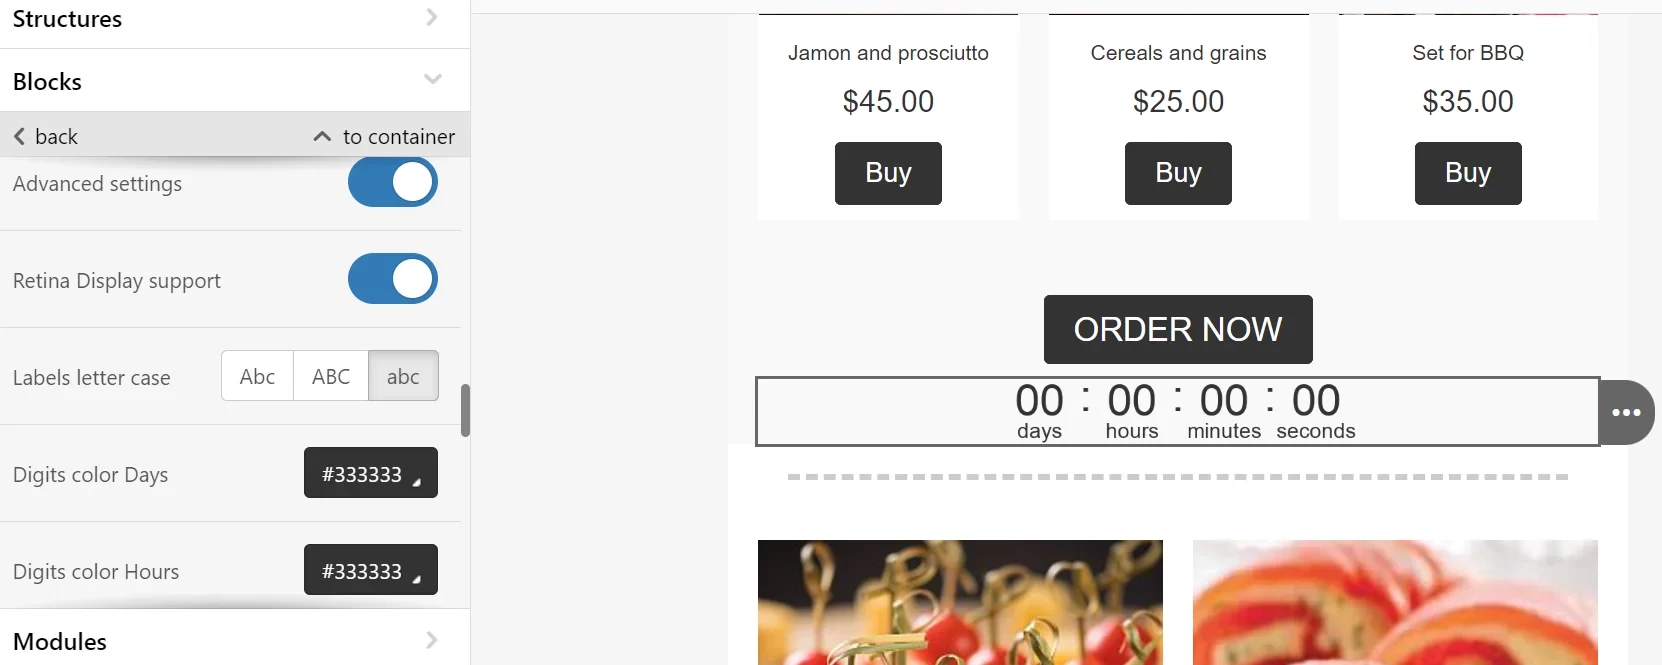
The timer in the message stimulates recipients to take targeted actions quickly. To set the timer, set:
- Start and finish time;
- Type;
- Type of number separator;
- Number signatures;
- Alignment (for desktop and mobile versions).
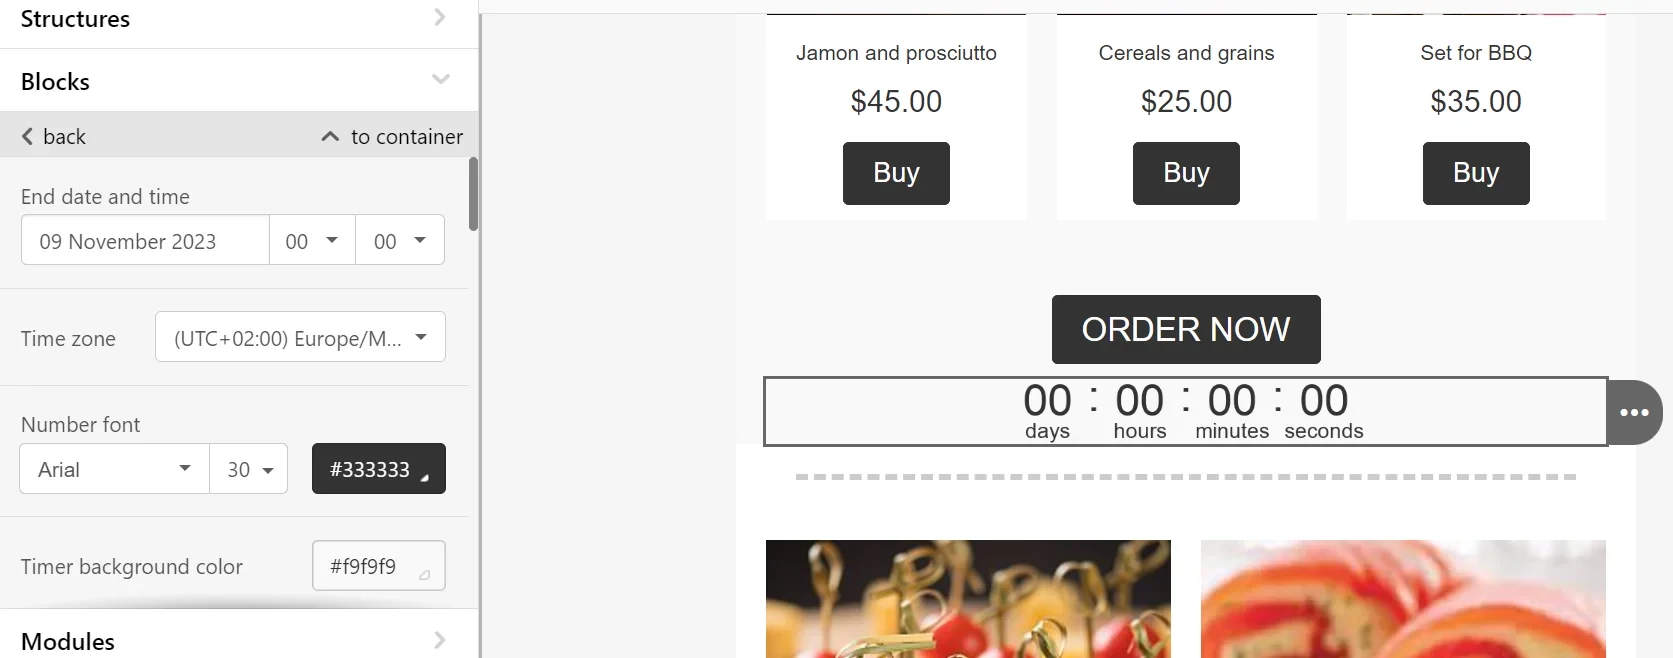
You can set color, font, size, and signature register for each value — day, time, minute, second.
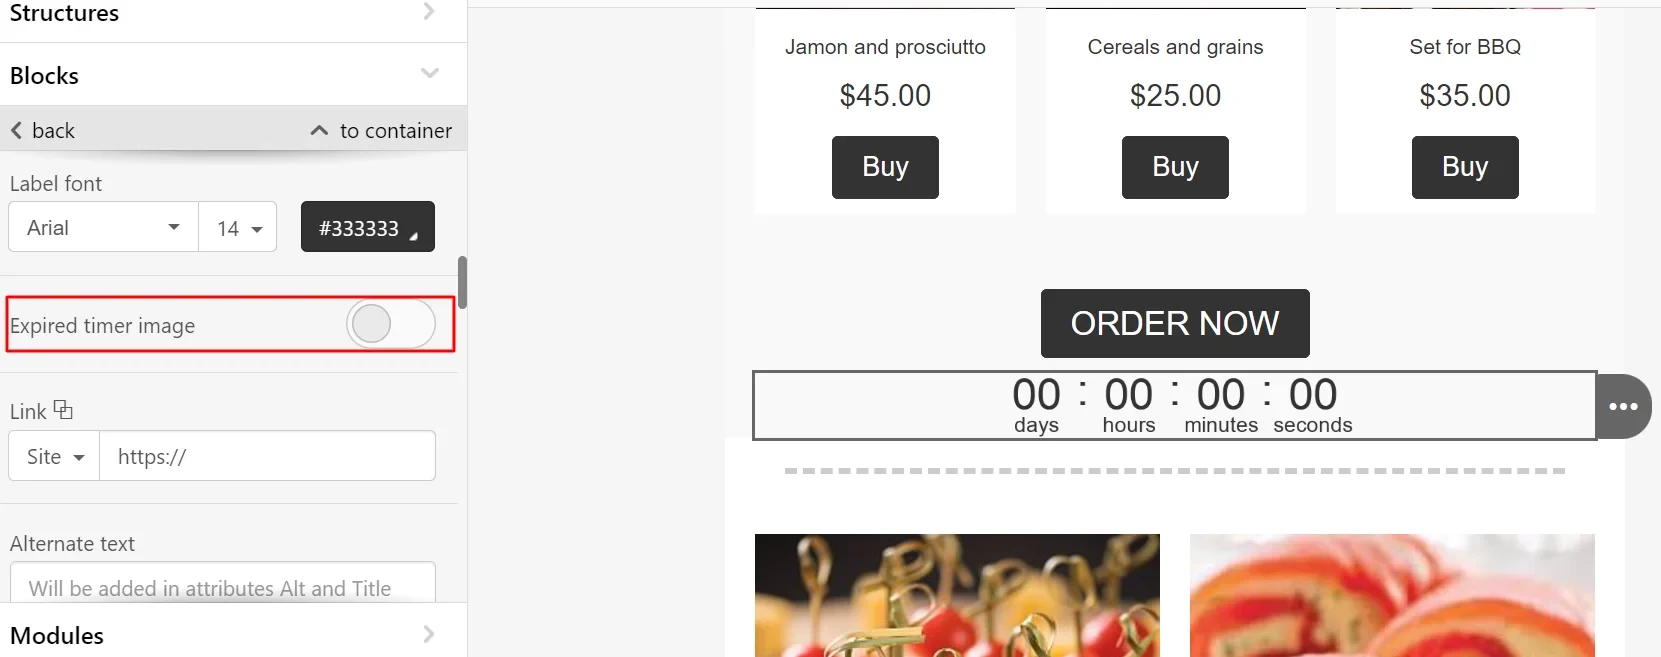
After the end of the countdown, you can replace the timer with an image. This option is necessary if the subscriber opens the email after the promotion ends.
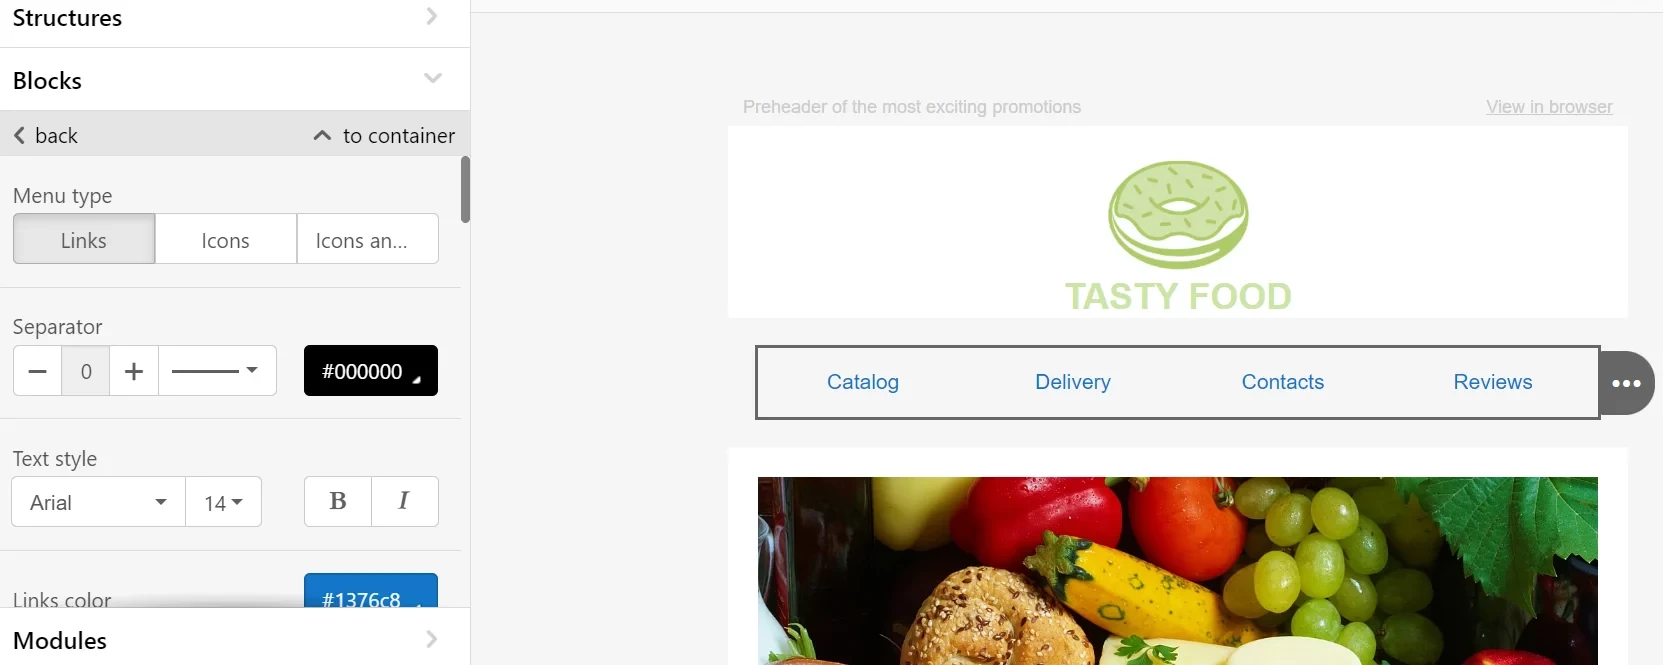
Menu
The Menu block is placed in almost all emails. You can add it both in the header and the footer. The menu is an easy way to add small CTAs if, for example, the user is not interested in the campaign offer but knows what they want to see on the site. Usually, the block from campaign to campaign stays the same.
There are 3 types of menus in Yespo: links, icons, icons and links.
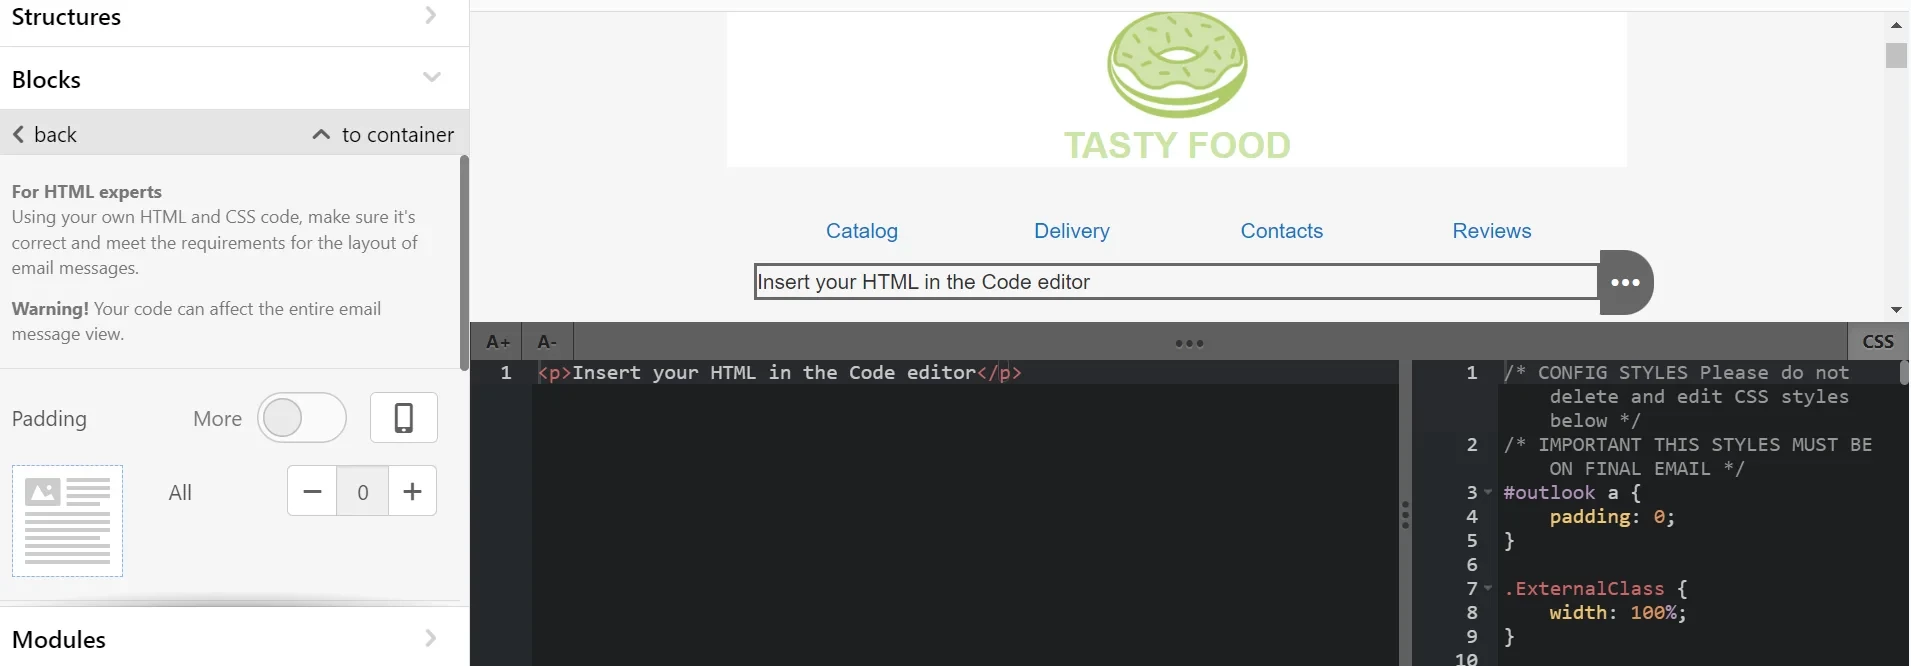
HTML
The HTML block is intended for adding your own HTML and CSS code. Note that only the functions of editing pictures and links will be available from the entire adaptive editor. The user configures the adaptability independently.
AMP Elements
AMP technology allows you to create emails that look like stand-alone web pages. The subscriber can perform an action directly in the email: view the product range, book a meeting, etc. Instructions for setting AMP elements:
Product Blocks
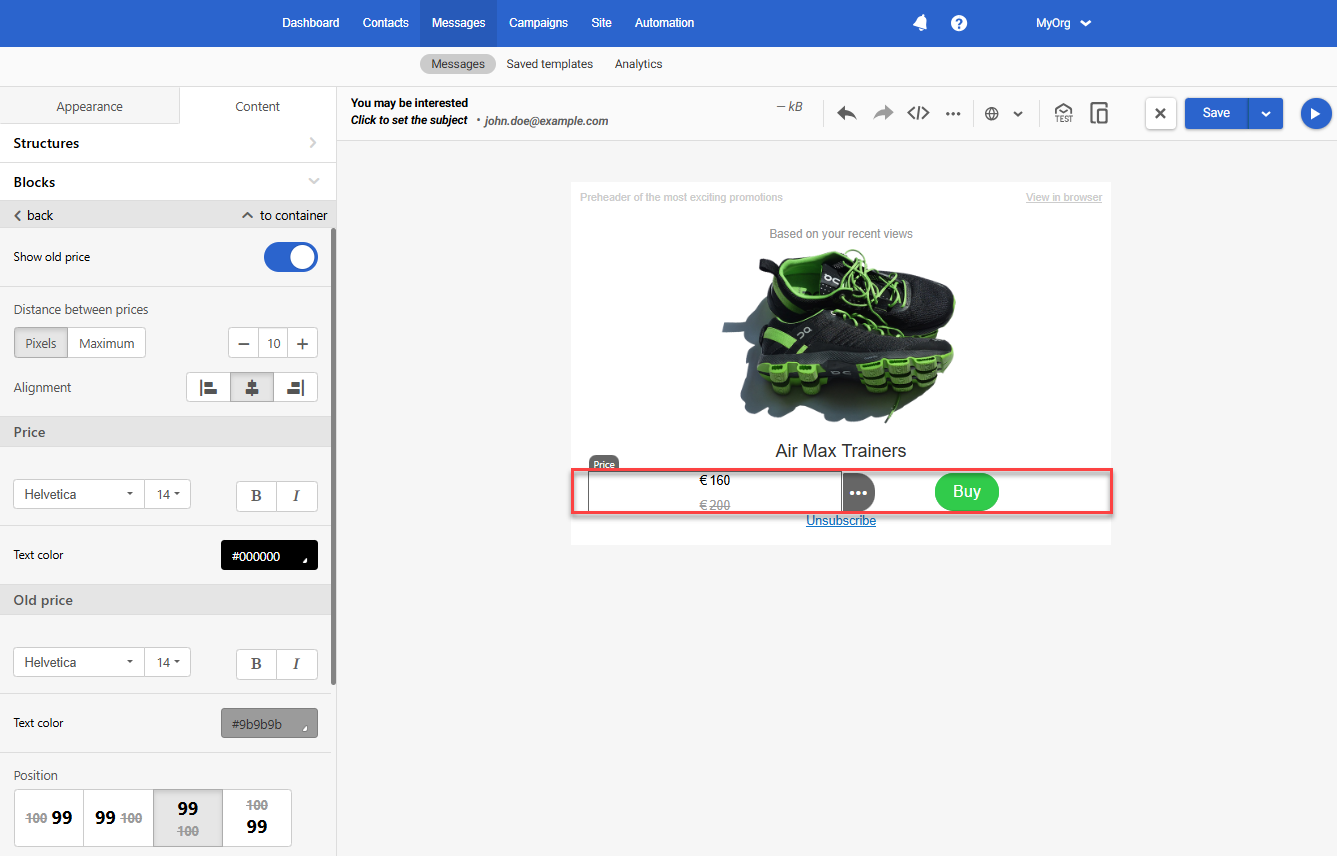
You can add personalized recommendations to your emails without using code with product blocks, which include:
- Products — displays recommendations,
- Price and discount for recommended offers,
- Columns — allows you to insert a two-column structure into any container (not just product blocks). The block is described below.
Columns
The Columns block allows you to populate a two-column frame inside a container or a smart container.
The columns have equal widths that cannot be changed.
The block’s menu is accessible after clicking the Columns tab, and contains the following options:
- Background color
- Rounding corners
- Padding
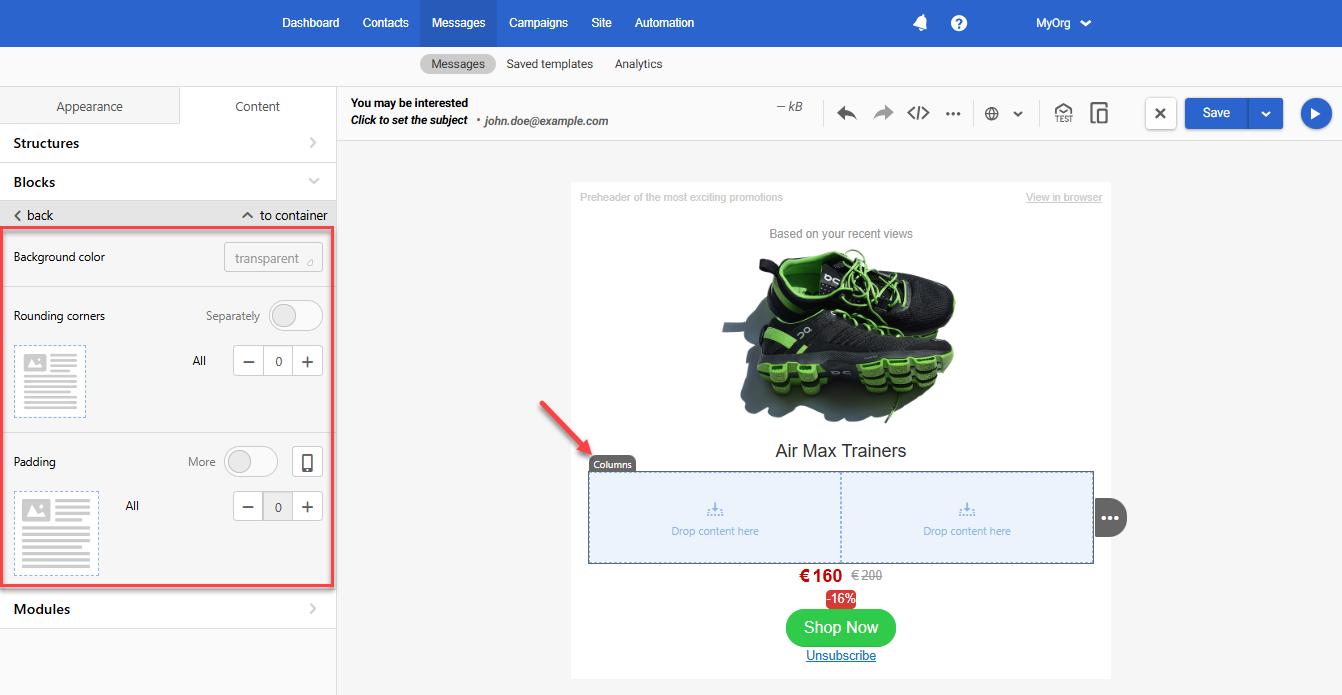
Practically, it can be used to position the Price and Button blocks horizontally inside the Product block.
Note"Columns" are part of a group of product blocks that are only enabled in accounts that use web tracking.
Updated 3 months ago